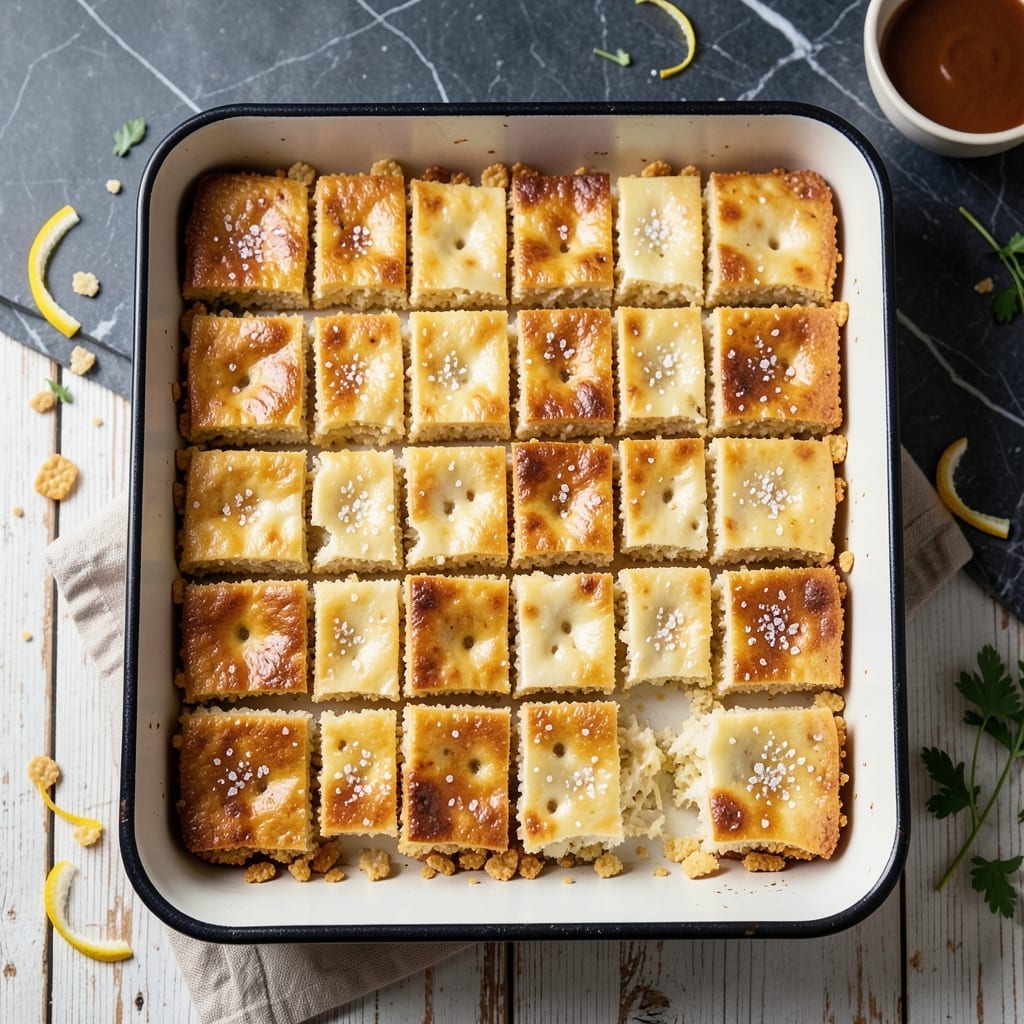
This microwave method delivers no-bake treats with minimal effort and maximum crispy texture. The process combines melted butter, marshmallows, and cereal in one bowl.
Ready in under 10 minutes, these squares maintain their signature crunch while being impossibly easy to make. Perfect for last-minute cravings or quick gatherings.
Ingredients for Rice Crispy Treats Recipe Microwave
Six ingredients. One bowl. Perfectly crispy no-bake treats ready fast.
| Ingredient | Amount | Notes |
|---|---|---|
| Butter 🧈 | ½ cup | Unsalted, for melting |
| Marshmallows 🍡 | 10 oz | Mini or regular size |
| Rice Krispies Cereal 🥣 | 6 cups | Standard or generic brand |
| Vanilla Extract 🌿 | 1 tsp | Pure for best flavor |
| Salt 🧂 | ¼ tsp | Fine grain table salt |
| Cooking Spray 💨 | 1 can | For greasing pan |
[recipe_ingredient_scaler]
The marshmallows are key here. Jet-Puffed or store brand both work—just avoid stale ones that won’t melt smoothly. Butter quality matters less for this recipe, but unsalted lets you control the salt level. For the cereal, Kellogg’s Rice Krispies give that classic snap, but any crisp rice cereal will do. I’ve had good results with the Malto-Meal brand too.
No vanilla extract? Almond extract at half the amount adds a nice twist. Out of marshmallows? Marshmallow fluff works in a pinch—use about 7 oz. For extra flavor, a pinch of cinnamon or cocoa powder can be stirred into the melted butter. The salt can be skipped if you’re using salted butter, but I recommend keeping it for balance.
Store in an airtight container at room temperature for up to 3 days. They’ll soften slightly but stay delicious. For longer storage, wrap individually and freeze for 6 weeks. Thaw at room temperature before serving.
Why You’ll Love This Recipe
- Microwave Magic: I melt the butter and marshmallows in one bowl, stir in the cereal, and we’re done. No stove, no fuss.
- Vanilla Boost: The vanilla extract turns the simple marshmallow-butter mix into something rich and crave-worthy.
- Party Ready: I’ve served these at birthday parties, bake sales, and impromptu movie nights—always a hit.
- Budget Friendly: A box of cereal and a bag of marshmallows feed a crowd for pennies. Honestly, it’s my go-to for last-minute treats.
Step-by-Step Instructions for Rice Crispy Treats
This no-bake method delivers perfectly crispy results with minimal effort and maximum speed.
Step 1: Prepare the Pan and Measure Ingredients
Lightly coat a 9×13-inch baking dish with the cooking spray, ensuring all surfaces are covered to prevent sticking. I always use a paper towel to spread the cooking spray evenly, especially in the corners where treats tend to cling.
Measure out the Rice Krispies Cereal and set it aside in a large mixing bowl. Having all your ingredients prepped and ready to go is crucial for this quick process—once the marshmallow mixture is ready, you need to work fast before it begins to set.
Step 2: Melt Butter and Marshmallows
In a large microwave-safe bowl, combine the 0.5 cup Butter and 10 oz Marshmallows. Microwave on high for 1 minute, then stir well. The mixture will be hot and sticky, so use a silicone spatula to scrape the sides and bottom of the bowl thoroughly.
Return the bowl to the microwave and heat in 30-second intervals, stirring between each, until the mixture is completely smooth. This usually takes 1-2 minutes total, depending on your microwave’s power. You’ll know it’s ready when the marshmallows are fully melted and the butter is completely incorporated, with no lumps remaining.
Immediately stir in the 1 tsp Vanilla Extract and 0.25 tsp Salt. The vanilla adds depth to the sweetness, while the salt balances the flavors and enhances the buttery richness.
Step 3: Combine with Rice Krispies Cereal
Pour the melted marshmallow mixture over the Rice Krispies Cereal in the large bowl. Using the same silicone spatula, fold everything together gently but quickly. The goal is to coat every piece of cereal evenly without crushing it—this preserves the signature crispy texture.
Work efficiently here, as the mixture will begin to thicken as it cools. If it becomes too difficult to stir, you can microwave the entire mixture for an additional 10-15 seconds to loosen it, but avoid overworking it.
Step 4: Press and Set the Treats
Transfer the coated cereal mixture to your prepared baking dish. Using the spatula or lightly greased hands (to prevent sticking), press the mixture evenly into the pan. Apply firm, consistent pressure to create a smooth, compact layer—this ensures the treats hold their shape when cut.
Avoid pressing too hard, as this can make the treats dense rather than light and crispy. Aim for an even thickness throughout the pan. Let the treats cool at room temperature for 30-45 minutes until fully set.
Once cooled, cut into squares using a sharp knife for clean edges. For best results, serve the same day—they’re at peak crispiness when fresh but will still taste delicious for up to 2 days stored in an airtight container.
Pro Tips For Making Rice Crispy Treats Recipe Microwave
- Melt Butter First: Start by melting the butter alone for 30 seconds before adding marshmallows—this prevents uneven heating and that dreaded half-melted, half-burnt mess I learned this the hard way.
- Use Fresh Marshmallows: Skip the stale ones; fresh marshmallows puff up better and give that perfect gooey texture. After burning three batches with old ones, I finally figured out why.
- Don’t Over-Microwave: Heat in 20-second bursts and stir between each—marshmallows go from perfect to rock-hard in seconds. Sounds weird, but it works.
- Press Lightly: When mixing in the cereal, use a spatula sprayed with oil and press just enough to bind—over-compressing turns them dense instead of crispy. My grandmother swore by this, and she was right.
Dietary Considerations for These Flavors
Gluten-Free Adaptation
For those avoiding gluten, simply swap the standard cereal for gluten-free Rice Krispies or another crisp rice cereal. I’ve tested with Nature’s Path Organic and Three Wishes brands—both work perfectly. The texture remains identical to the original. 💪
Vegan Modifications
Use vegan butter like Miyoko’s or Earth Balance and Dandies vegan marshmallows. These melt just like traditional ones. Add 1 tbsp plant-based milk if the mixture seems too thick.
Dairy-Free Version
Replace regular butter with coconut oil or dairy-free margarine. I prefer Country Crock Plant Butter for its neutral flavor. The marshmallows already provide sweetness, so no other adjustments are needed.
Lower Sugar Option
Cut sugar by using half the marshmallows (about 5 oz) and adding 2 tbsp honey or maple syrup. The treats will be less sweet but still hold together. Stir in ¼ cup chopped nuts for added texture.
Nut-Free Safety
This recipe is naturally nut-free, but always check cereal and marshmallow labels. Kellogg’s Rice Krispies are made in nut-free facilities. For marshmallows, Kraft Jet-Puffed are a safe bet. 🌟
Allergen Awareness
Contains dairy (butter) and may contain soy depending on marshmallow brand. For severe allergies, use dedicated allergen-free facilities and brands like Enjoy Life marshmallows to ensure safety.
Nutrition Facts
Frequently Asked Questions
Can I use mini marshmallows instead of regular?
Mini marshmallows melt faster, so reduce microwave time to 30-second intervals. They create a gooier texture that coats the cereal perfectly. No need to adjust quantities.
Why are my treats hard instead of crispy?
Overmixing or pressing too firmly compacts the cereal. Use a light touch when combining and pressing. Also, ensure marshmallows are fully melted before adding cereal.
How long do they stay fresh?
Store in an airtight container at room temperature for up to 3 days. For longer storage, freeze for up to 6 weeks in individual wraps. Thaw before serving.
Can I make these in a smaller pan?
Yes, but use an 8×8-inch pan for thicker treats. Press the mixture evenly and adjust cooling time to 45-60 minutes. They’ll be denser but just as tasty.

Trained in classic French technique but raised on slow-cooked ribs and spicy rubs, she blends culinary skill with smoke and soul.
- Recipe for Boneless Pork Chops in Cast Iron Skillet: Sear and Baste to Juicy Perfection - October 3, 2026
- Recipe for Boneless Cross Rib Roast: Slow-Roasted Beef with Herb Crust - October 3, 2026
- Hamburgers in Sauce Recipe Crock Pot: Slow-Cooked Savory Delight - October 3, 2026