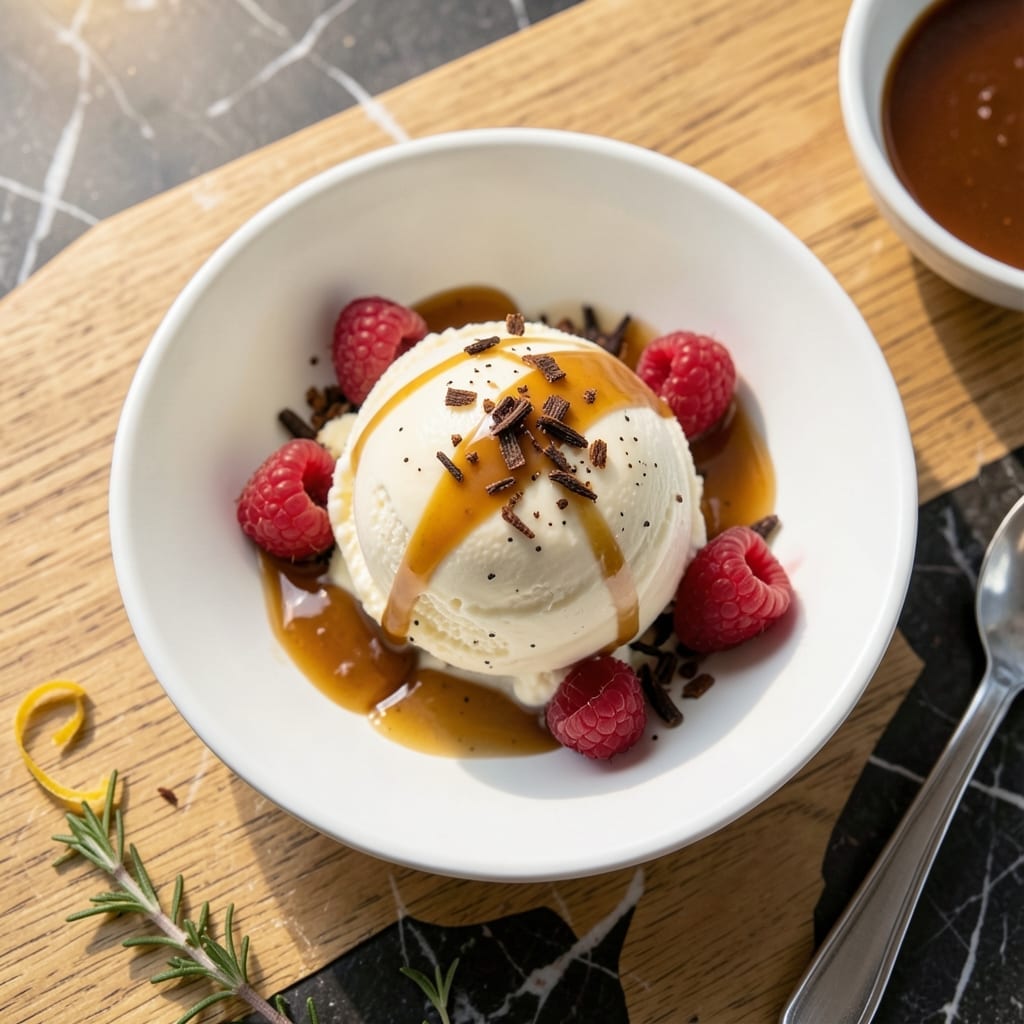
This custard-based ice cream delivers a rich, velvety texture that’s impossible to resist. Heavy cream forms the foundation for a base that’s smooth and luxurious.
With a few simple ingredients and proper churning, you’ll create a dessert that’s creamy and satisfying. Perfect for any occasion when you crave something indulgent.
Ingredients for Ice Cream Recipe with Cream
Rich custard base starts with cream and a handful of pantry staples.
| Ingredient | Amount | Notes |
|---|---|---|
| Heavy Cream 🥛 | 2 cups | Full-fat for luxurious texture |
| Whole Milk 🥛 | 1 cup | Whole for richness |
| Granulated Sugar 🍚 | ¾ cup | Fine white sugar preferred |
| Large Egg Yolks 🥚 | 6 whole | Room temperature for smooth custard |
| Vanilla Bean 🌿 | 1 whole | Split and scraped |
| Pure Vanilla Extract 💧 | 1 tsp | For depth of flavor |
| Table Salt 🧂 | ¼ tsp | Fine grain for even distribution |
| Light Corn Syrup 🍯 | 2 tbsp | Prevents ice crystals |
| Unsalted Butter 🧈 | 1 tbsp | Melted for richness |
| Heavy Pinch of Flaky Sea Salt 🧂 | 1 pinch | For finishing |
[recipe_ingredient_scaler]
The heavy cream is non-negotiable here—look for at least 36% fat. I grab mine from Whole Foods or Trader Joe’s since they stock high-quality organic options. The egg yolks need to be fresh (check the carton date) and ideally from free-range eggs. The vanilla bean makes a difference, but Nielsen-Massey extract is a solid backup if you can’t find beans locally.
No vanilla bean? Double the extract—but use the good stuff. Short on whole milk? Half-and-half works in a pinch. The corn syrup can be swapped for honey or agave, but it might change the texture slightly. If you’re watching sugar, try half the amount of granulated sugar and supplement with a sugar substitute like allulose.
This custard base keeps in the fridge for 3 days before churning. Once churned, the ice cream stays fresh in an airtight container for 1 week (if it lasts that long). Freeze in portions for up to 3 months—just thaw slightly before scooping.
Why You’ll Love This Recipe
- One Bowl Wonder: I just dump everything in one pot, heat it, chill it, and churn—no fancy gadgets, no fuss.
- Velvety Vanilla: The heavy cream and real vanilla bean make it so rich and smooth, it tastes like a fancy parlor scoop.
- Crowd Pleaser: I’ve served this at birthdays, backyard BBQs, and random Tuesday dinners—always disappears fast.
- Leftovers? Ha: Honestly, it freezes beautifully, so I can sneak a bite whenever the craving hits.
Step-by-Step Instructions for Ice Cream With Cream
Here’s the method I use to create that ultra-creamy texture with a perfect custard base.
Step 1: Infuse the Cream with Vanilla
In a medium saucepan, combine the 2 cups Heavy Cream with the 1 cup Whole Milk. Split the 1 whole Vanilla Bean lengthwise with a sharp knife, scrape out the seeds, and add both the seeds and the pod to the cream mixture. This ensures maximum vanilla flavor infusion.
Heat this over medium heat until the mixture just begins to simmer—you’ll see tiny bubbles forming around the edges. Don’t let it come to a full boil. Remove from heat, cover, and let steep for 15 minutes to allow the vanilla to fully infuse the dairy.
Step 2: Temper the Egg Yolks with Sugar
In a separate bowl, whisk together the 6 whole Large Egg Yolks with the 0.75 cup Granulated Sugar until the mixture turns pale yellow and becomes slightly ribbony. This typically takes 2-3 minutes of vigorous whisking by hand.
The sugar not only sweetens but also helps stabilize the egg yolks, preventing them from curdling when exposed to the hot cream. Room temperature yolks are crucial here—they incorporate air better and create a smoother custard base.
Step 3: Create the Custard Base
Slowly pour the warm cream mixture into the egg yolk mixture while constantly whisking. This tempering process gradually raises the temperature of the eggs, preventing them from scrambling. Once fully combined, return the mixture to the saucepan.
Add the 0.25 tsp Table Salt and 2 tbsp Light Corn Syrup to the pan. Cook over medium-low heat, stirring constantly with a wooden spoon or silicone spatula, until the mixture thickens enough to coat the back of the spoon—about 8-10 minutes. The custard should reach 170-175°F on an instant-read thermometer.
Step 4: Finish and Chill the Custard
Remove the custard from heat and stir in the 1 tsp Pure Vanilla Extract and 1 tbsp Unsalted Butter. The butter adds a luxurious richness to the base, while the vanilla extract enhances the flavor from the bean. Strain the mixture through a fine-mesh sieve into a clean bowl to remove any cooked egg bits or vanilla pod remnants.
Press plastic wrap directly onto the surface of the custard to prevent a skin from forming. Refrigerate for at least 4 hours, or preferably overnight, until completely chilled. This step is crucial for achieving that silky-smooth texture in your final ice cream.
Step 5: Churn and Freeze
Pour the chilled custard into your ice cream maker and churn according to the manufacturer’s instructions—typically 20-25 minutes. The ice cream should look like soft-serve when it’s ready, with a thick, creamy consistency that holds its shape.
Transfer the ice cream to a lidded container, smooth the top with a spatula, and sprinkle with the 1 pinch Heavy Pinch of Flaky Sea Salt. Freeze for at least 4 hours until firm. The flaky sea salt adds a delightful contrast to the sweet creaminess, enhancing all the flavors in every bite.
Pro Tips For Making Ice Cream Recipe With Cream
- Temper the Yolks: Slowly whisk a cup of the hot cream mixture into the egg yolks before combining—this prevents scrambled eggs in your ice cream base.
- Use Full-Fat Dairy: Skip the low-fat milk or cream; the higher fat content in whole milk and heavy cream is what gives your ice cream that rich, creamy texture.
- Don’t Rush the Chill: Let the custard chill in the fridge for at least 4 hours, or overnight if you can wait—it deepens the flavor and makes churning smoother.
- Scrape the Vanilla Bean: Split the vanilla bean lengthwise and scrape out every last speck of seeds; those tiny black flecks carry a ton of flavor and look beautiful in the finished ice cream.
Health Benefits of ice cream recipe with cream
Calcium Boost
Heavy cream and whole milk provide a significant calcium punch—about 30% of your daily needs per serving. This mineral is essential for bone strength and muscle function. I love that this dessert doubles as a calcium source. 💪
Energy Source
The natural sugars and fats in this creation offer a quick energy boost. The 0.75 cup granulated sugar provides immediate fuel, while the cream’s fats sustain energy longer. Perfect for when you need a mid-afternoon pick-me-up.
Vitamin A Rich
Egg yolks and cream are packed with vitamin A, supporting vision and immune health. A single serving delivers about 20% of your daily vitamin A requirement. The vanilla bean adds a small amount too.
Protein Contribution
With 6 large egg yolks, this recipe provides a surprising 6-8 grams of protein per serving. Protein helps maintain muscle mass and keeps you feeling full. It’s not just empty calories!
Mood Enhancer
Vanilla has been shown to have mood-boosting properties. The combination of cream, sugar, and vanilla in this dish creates a comforting experience that can elevate your spirits. I always feel happier after a scoop. ✨
Minimal Preservatives
When you make this at home, you control the ingredients. No artificial preservatives or stabilizers—just pure heavy cream, whole milk, and natural flavorings. Your body will thank you for the clean indulgence.
Frequently Asked Questions
Can I use half-and-half instead of heavy cream?
For best results, stick with heavy cream. Half-and-half has less fat, which can make your ice cream icy rather than creamy. If you must substitute, use 1 cup half-and-half and 1 cup heavy cream to balance the texture.
Why does my custard base curdle?
Curdling happens when eggs cook too fast. To prevent it, always temper your eggs by slowly adding the hot cream while whisking constantly. Keep the heat at medium-low and stir continuously.
How long does homemade ice cream last?
In an airtight container, it stays fresh for up to 1 week in the freezer. For longer storage, freeze in portions for 3 months. Let it sit at room temperature for 5 minutes before scooping.
Nutrition Facts

Trained in classic French technique but raised on slow-cooked ribs and spicy rubs, she blends culinary skill with smoke and soul.
- Recipe for Boneless Pork Chops in Cast Iron Skillet: Sear and Baste to Juicy Perfection - October 3, 2026
- Recipe for Boneless Cross Rib Roast: Slow-Roasted Beef with Herb Crust - October 3, 2026
- Hamburgers in Sauce Recipe Crock Pot: Slow-Cooked Savory Delight - October 3, 2026