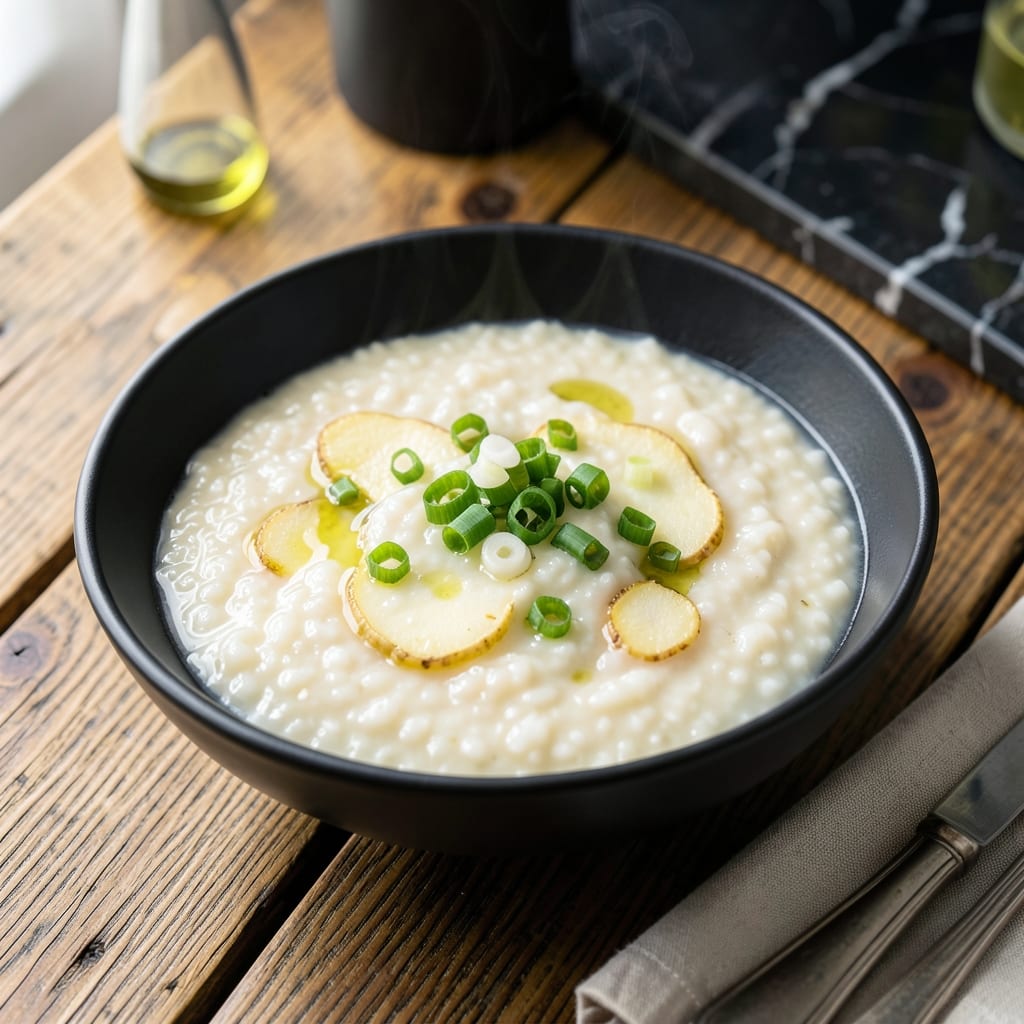
There’s something deeply comforting about a bowl of silky congee that’s been simmered to perfection. This method transforms simple rice and water into a creamy, porridge-like dish with minimal effort.
Using an Instant Pot cuts the traditional hours-long process down to 30 minutes while delivering the same velvety texture. The key is the right rice-to-water ratio and a natural pressure release for even cooking.
What emerges is a blank canvas of smooth, comforting rice porridge ready for any toppings you choose. It’s the kind of dish that warms you from the inside out.
Perfect for breakfast, a light lunch, or when you need something gentle on the stomach. Here’s how to make it right every time.
Ingredients for Instant Pot Congee Recipe Plain
Simple rice, water, and a few aromatics create this velvety porridge in no time.
| Ingredient | Amount | Notes |
|---|---|---|
| Jasmine Rice 🍚 | 1 cup | Rinsed until water runs clear |
| Water 💧 | 8 cups | Or sub chicken broth |
| Ginger Root 🌿 | 1 whole | 2-inch piece, sliced thin |
| Salt 🧂 | 1 tsp | Kosher or sea salt |
| Neutral Oil 🫒 | 1 tsp | Avocado or vegetable oil |
| Green Onions 🧅 | 3 whole | Thinly sliced for garnish |
| Sesame Oil 🫒 | ½ tsp | For finishing, optional |
| White Pepper 🌶️ | ¼ tsp | Ground, traditional flavor |
| Garlic Cloves 🧄 | 2 cloves | Smashed lightly |
| Dried Shrimp 🦐 | 2 tbsp | Optional umami boost |
[recipe_ingredient_scaler]
The rice choice matters most here. Jasmine rice breaks down beautifully into that signature creamy texture. I grab mine from Asian markets—better quality and cheaper than grocery stores. The ginger should be fresh (those jarred minced kinds don’t have the same punch). Look for firm, smooth roots without wrinkles. For the water, filtered tastes cleaner but tap works just fine if that’s what you’ve got.
No jasmine rice? Short-grain white rice works almost as well. Skip the brown rice—it stays too chewy. The dried shrimp adds depth but omit for vegetarian versions. Fresh ginger can be swapped for 1 tsp ground ginger (not ideal but functional). For extra richness, replace 2 cups water with chicken broth. The green onions? Any onion works, but scallions add that fresh crispness.
This keeps 4-5 days in the fridge—reheat with a splash of water to thin it out. Freezes for 3 months (portion before freezing for easy grab-and-go meals). The texture thickens as it cools, so add liquid when reheating. Perfect for meal prep—make a big batch on Sunday.
Why You’ll Love This Recipe
- Set and Forget: I just toss jasmine rice, water, and a knob of ginger in the Instant Pot, press a button, and walk away.
- Ginger Warmth: The fresh ginger root infuses the congee with a cozy, aromatic depth that’s subtly comforting.
- Blank Canvas: I love how this plain version lets me customize it—top with soy sauce, herbs, or leftover protein.
- Stretches Far: One batch makes enough for days, and it reheats beautifully. Honestly, it’s my budget-friendly lunch staple.
Step-by-Step Instructions for Instant Pot Congee
Here’s the method. Straightforward, tested, works every time.
Step 1: Rinse and Prepare the Aromatics
Begin by rinsing the 1 cup Jasmine Rice under cold water until the water runs completely clear. This removes excess starch and prevents the congee from becoming gummy. Drain well in a fine-mesh strainer.
Thinly slice the 1 whole Ginger Root and lightly smash the 2 cloves Garlic Cloves. If using the 2 tbsp Dried Shrimp, rinse briefly under cold water to remove excess salt, then drain. These aromatics will infuse the porridge with deep, comforting flavor.
Step 2: Sauté the Base Ingredients
Set your Instant Pot to the Sauté function on Normal heat. Add the 1 tsp Neutral Oil and swirl to coat. Once hot, add the sliced ginger, smashed garlic, and dried shrimp. Sauté for 1-2 minutes until fragrant and the dried shrimp turns lightly golden.
Pour in the 8 cups Water and scrape the bottom of the pot to deglaze, ensuring no bits are stuck. This step prevents the Burn notice and incorporates all those flavorful browned bits into your congee.
Step 3: Pressure Cook to Silky Perfection
Add the drained jasmine rice and 1 tsp Salt to the pot. Stir well to combine, then secure the lid and set the valve to Sealing. Cook on High Pressure for 20 minutes.
Once the cooking cycle completes, allow the pressure to release naturally for 10 minutes, then quick-release any remaining pressure. The rice should have broken down into a thick, creamy porridge consistency.
Step 4: Adjust Texture and Finish
If the congee is thicker than you prefer, stir in an additional ½ to 1 cup hot water until it reaches your desired consistency. Taste and adjust seasoning—this is the moment to add the 0.25 tsp White Pepper for that authentic warmth.
Turn off the Instant Pot and let the congee sit for 5 minutes to thicken slightly. The texture should be silky smooth, like a rich, velvety porridge.
Step 5: Garnish and Serve Warm
Ladle the congee into bowls and drizzle each serving with 0.5 tsp Sesame Oil. Thinly slice the 3 whole Green Onions and sprinkle them over the top for a fresh, vibrant finish.
Serve immediately while hot. Each spoonful should be creamy and comforting, with the subtle heat of ginger and white pepper lingering on your tongue. This is the kind of dish that warms you from the inside out.
Pro Tips For Making Instant Pot Congee Recipe Plain
- Rinse the Rice: Wash the jasmine rice until the water runs clear—this removes excess starch and prevents a gummy, sticky congee.
- Sauté the Ginger: Cook the minced ginger in neutral oil for 30 seconds before adding rice and water; it deepens the flavor and eliminates any raw bite.
- Use More Water: I learned this the hard way—use a 1:8 rice-to-water ratio (or even 1:10) for that perfect porridge-like consistency.
- Stir Once Only: After pressure cooking, give it one good stir and then let it sit—overmixing breaks the rice and turns it gluey.
Best Sauces and Condiments for This instant pot congee recipe plain
Classic Soy Sauce Drizzle
I always keep light soy sauce on hand for this dish—just 1-2 tsp per bowl adds a salty depth without overpowering. David prefers Kikkoman for its balanced flavor. Drizzle in a circular motion for even distribution.
Spicy Chili Crisp
Lao Gan Ma chili crisp from the Austin farmers market is my secret weapon. A ½ tsp spoonful adds texture and heat. The crunchy bits contrast beautifully with the silky congee. I test every new batch on David first.
Fresh Herbs Garnish
Beyond green onions, try cilantro or Thai basil for brightness. 2 tbsp chopped per bowl is perfect. These herbs cut through the richness while adding a fresh aroma that reminds me of Nana Mae’s kitchen.
Umami Bombs
Fried shallots add a sweet, crispy element—I grab mine at Central Market. 1 tbsp per serving transforms the texture. For extra depth, a ½ tsp of toasted sesame seeds provides nutty notes. 🌟
Citrus Zing
A squeeze of lime or calamansi brightens the dish. 1 wedge per bowl is all you need. The acidity balances the creaminess beautifully, a trick I learned working in Asheville farm-to-table kitchens.
Nutrition Facts
Frequently Asked Questions
Can I use a different type of rice?
Short-grain white rice works well as a substitute. Avoid brown rice as it stays too chewy. The right rice choice ensures that silky texture congee is known for.
How do I prevent a burn notice?
Always deglaze the pot after sautéing by scraping the bottom with a wooden spoon. This removes any stuck bits that could trigger the Burn notice.
Can I make this ahead of time?
Yes! It keeps for 4-5 days in the fridge. Reheat with a splash of water to thin it out. For longer storage, freeze for up to 3 months.

Trained in classic French technique but raised on slow-cooked ribs and spicy rubs, she blends culinary skill with smoke and soul.
- Recipe for Boneless Pork Chops in Cast Iron Skillet: Sear and Baste to Juicy Perfection - October 3, 2026
- Recipe for Boneless Cross Rib Roast: Slow-Roasted Beef with Herb Crust - October 3, 2026
- Hamburgers in Sauce Recipe Crock Pot: Slow-Cooked Savory Delight - October 3, 2026