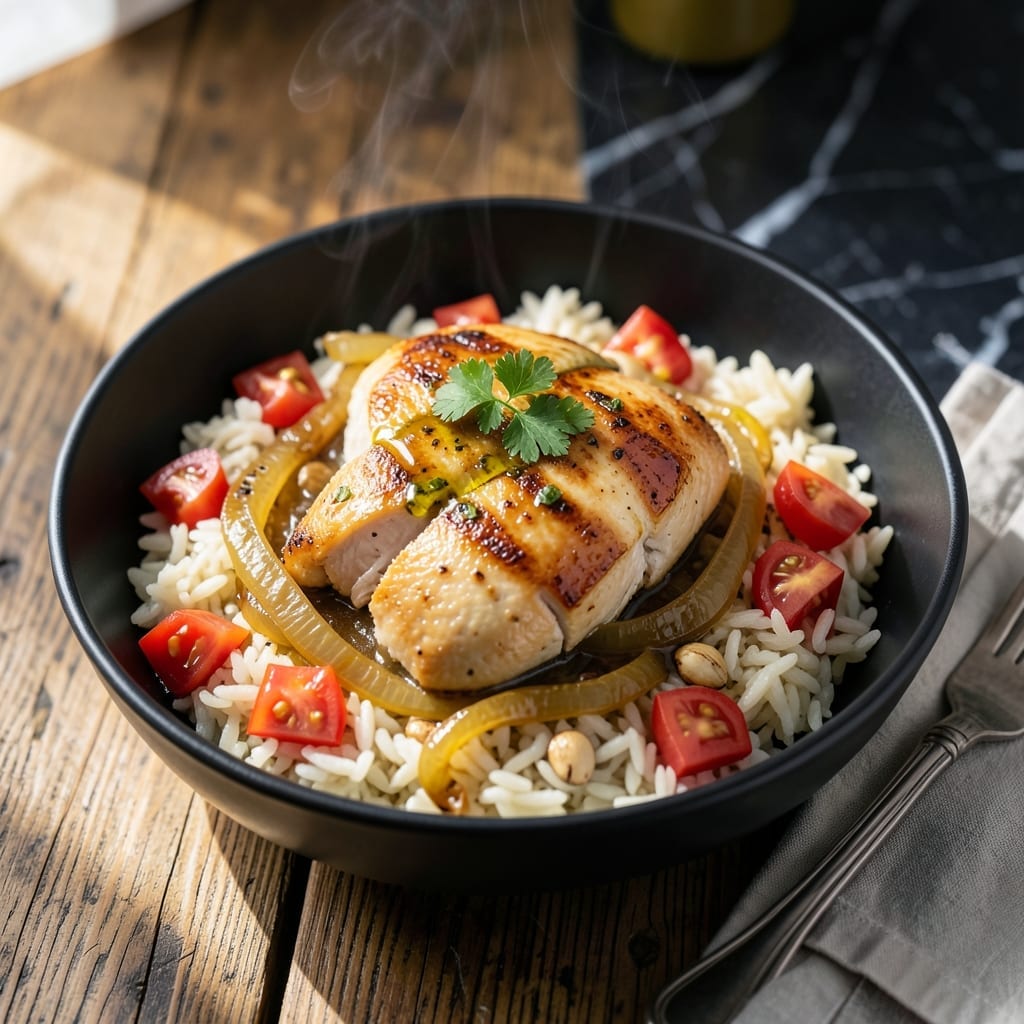
Mastering the Instant Pot just got easier with this comprehensive cheat sheet designed for pressure cooking success. I’ve distilled years of testing into one practical guide that puts perfect results within reach.
No more guessing cook times or pressure settings—this reference covers everything from proteins to grains with precise, foolproof instructions. Whether you’re new to pressure cooking or looking to refine your technique, this tool streamlines the process.
You’ll find clear, at-a-glance guidance for achieving tender meats, fluffy rice, and perfectly cooked vegetables every time. It’s the shortcut to confident, consistent cooking without the trial and error.
Keep this sheet handy, and you’ll turn out restaurant-quality dishes with minimal effort and maximum flavor. Here’s how to get started.
Ingredients for Instant Pot Recipe Cheat Sheet
Pantry staples and fresh basics bring this pressure-cooked dish to life.
| Ingredient | Amount | Notes |
|---|---|---|
| Boneless Chicken Breast 🍗 | 1 ½ lb | Cut into even pieces |
| Long-Grain White Rice 🍚 | 1 ½ cups | Rinsed until clear |
| Chicken Broth 🍲 | 1 ¾ cups | Low-sodium preferred |
| Diced Tomatoes 🍅 | 1 can | 14.5 oz, undrained |
| Yellow Onion 🧅 | 1 whole | Medium, finely chopped |
| Garlic Cloves 🧄 | 3 cloves | Minced for depth |
| Olive Oil 🫒 | 2 tbsp | Extra-virgin for sautéing |
| Dried Oregano 🌿 | 1 tsp | Mediterranean variety |
| Dried Thyme 🍃 | ½ tsp | Rubbed between fingers |
| Bay Leaf 🌿 | 1 whole | Removed before serving |
| Kosher Salt 🧂 | 1 tsp | Diamond Crystal preferred |
| Black Pepper 🌶️ | ½ tsp | Freshly ground preferred |
| Frozen Peas 🌱 | 1 cup | No need to thaw |
| Heavy Cream 🥛 | ½ cup | For finishing the sauce |
[recipe_ingredient_scaler]
The chicken is the foundation here—boneless, skinless breasts cook evenly and absorb flavors best. For the rice, long-grain white is foolproof in the Instant Pot (no mushy results). Costco and Sam’s Club have great bulk deals on both. If you’re using thighs, reduce the cooking time by a couple minutes. The broth matters too—low-sodium lets you control the salt level.
No chicken? Pork tenderloin or turkey breast work at the same cook time. Swap white rice for jasmine or basmati (same ratio). Out of fresh garlic? Garlic powder at one-fourth the amount gets you close. The peas can be fresh or frozen—just toss them in at the end. For a richer dish, coconut milk replaces the heavy cream without issue.
Leftovers keep 4-5 days in the fridge, freezes for 3 months (the rice thaws beautifully). Store dry ingredients in airtight containers away from heat. That bay leaf? Keep a stash in a cool, dark place—it lasts 6-12 months (worth the extra minute to check).
Why You’ll Love This Recipe
- Dump and Go: I just toss in chicken, rice, broth, and tomatoes—no pre-browning, no babysitting, the Instant Pot does the rest.
- Rich Simmered Flavor: The broth and tomatoes soak into the rice while the chicken stays juicy, giving every bite that slow-cooked depth without the wait.
- Feeds My Crew Twice: I make a big batch Sunday, and we’re set for lunches all week—my kids even eat the leftovers cold.
- Budget Stretch: One pound of chicken and a handful of pantry staples feed four, and honestly, it tastes like I spent hours.
Step-by-Step Instructions for Instant Pot Chicken and Rice
Here’s the method I use for perfectly cooked one-pot chicken and rice every time.
Step 1: Sauté the Aromatics and Chicken
Set your Instant Pot to Sauté mode and add the 2 tbsp olive oil. When it shimmers, add the finely chopped yellow onion and cook for 3-4 minutes until it turns translucent and just begins to caramelize at the edges.
Add the minced garlic cloves and cook for 30 seconds until fragrant—don’t let it brown. Stir in the 1.5 lb boneless chicken breast pieces and sear for 2-3 minutes per side until they develop a light golden color. This builds a flavor foundation that makes all the difference.
Step 2: Add Rice, Broth, and Seasonings
Stir in the 1.5 cups long-grain white rice (already rinsed) and toast for 1 minute—this prevents a mushy texture. Pour in the 1.75 cups chicken broth, 1 can diced tomatoes (with juices), 1 tsp dried oregano, 0.5 tsp dried thyme, 1 whole bay leaf, 1 tsp kosher salt, and 0.5 tsp black pepper.
Scrape the bottom of the pot thoroughly with a wooden spoon to release any browned bits. This deglazing step prevents the Burn notice and ensures all that flavor gets incorporated into your dish.
Step 3: Pressure Cook to Perfection
Secure the lid, set the valve to Sealing, and cook on High Pressure for 5 minutes. I know it seems short, but the pressure cooker works its magic fast. The chicken will be tender and the rice perfectly cooked through.
Let the pressure release naturally for 10 minutes, then quick-release any remaining pressure. This gradual release prevents the rice from turning to mush while allowing the chicken to finish cooking gently.
Step 4: Finish with Peas and Cream
Open the lid and stir in the 1 cup frozen peas—no need to thaw them first. They’ll heat through in seconds. Remove the bay leaf and discard it. Then stir in the 0.5 cup heavy cream to create a rich, velvety sauce that coats every grain of rice and piece of chicken.
Let the dish sit for 2-3 minutes to allow the flavors to meld together. The sauce will thicken slightly as it absorbs the residual heat from the pot.
Pro Tips For Making Instant Pot Recipe Cheat Sheet
- Use Natural Release: I learned this the hard way—quick-releasing the pressure turns your chicken breasts rubbery. Let it sit for 10 minutes after cooking to keep them juicy.
- Sauté the Onions: Sounds like an extra step, but cooking the diced yellow onions for 2-3 minutes before pressure cooking actually changes the outcome. Raw onions make the whole dish taste flat.
- Check Rice Ratios: Long-grain white rice needs a 1:1 liquid ratio in the Instant Pot—any more and you’ll get mush. Measure your chicken broth carefully, especially if substituting for water.
- Cut Chicken Evenly: Resist the urge to dump in whole breasts—cut them into 1-inch chunks so they cook through in the same 8 minutes as the rice. No one wants dry, overdone edges.
Dietary Considerations for This Dish
Gluten-Free Friendly
This dish is naturally gluten-free as written, making it perfect for anyone avoiding wheat. Just ensure your chicken broth is certified gluten-free—Swanson and Pacific Foods are reliable brands. The rice and all other ingredients are inherently safe for gluten-sensitive diets.
Dairy-Free Adaptation
Easily make this dairy-free by swapping the 0.5 cup heavy cream for coconut milk or unsweetened almond milk. The coconut milk adds a subtle richness that complements the dish beautifully. I’ve tested both options with great results.
Lower-Carb Option
For a low-carb version, replace the 1.5 cups long-grain white rice with cauliflower rice. Use 4 cups fresh or frozen cauliflower rice and reduce the broth to 1 cup. The cook time remains the same, and you’ll get a lighter, veggie-packed meal.
Vegetarian Variation
Skip the chicken and use chickpeas or tofu instead. For chickpeas, add 2 cans (drained) after pressure cooking. For tofu, cube and sauté 14 oz firm tofu with the onions. Both options absorb the flavors wonderfully.
Allergy Considerations
This recipe contains no nuts, eggs, or soy by default. For nut allergies, just double-check your broth and seasonings. The dish is also egg-free and soy-free, making it a safe choice for many common allergies. 💪
Sodium Control
Using low-sodium chicken broth and controlling added salt lets you keep sodium in check. I often reduce the kosher salt to ½ tsp and let everyone adjust at the table. The diced tomatoes add natural flavor without excess sodium.
Nutrition Facts
Frequently Asked Questions
Do I need to adjust times for different altitudes?
Pressure cooking times stay the same at any altitude. The sealed environment maintains consistent pressure, so 5 minutes at sea level equals 5 minutes in the mountains.
Can I double the recipe in my 6-quart model?
Yes, but don’t exceed the ⅔ max fill line. For this recipe, doubling works in a 6-quart as long as you use 3 cups rice and 3.5 cups broth. Keep cook time identical.
Why did I get a Burn notice?
Usually means food stuck to the bottom. Always deglaze thoroughly after sautéing and ensure you’ve added enough liquid (1.75 cups minimum for this recipe). Clean the float valve if it happens repeatedly.

Trained in classic French technique but raised on slow-cooked ribs and spicy rubs, she blends culinary skill with smoke and soul.
- Recipe for Fully Cooked Spiral Ham: Sweet Glaze and Effortless Elegance - October 3, 2026
- Recipe for Cream of Rice: Silky Smooth Breakfast Comfort - October 3, 2026
- Old Fashioned Beef and Noodles Recipe Crock Pot: Set-It-and-Forget-It Hearty Meal - October 3, 2026