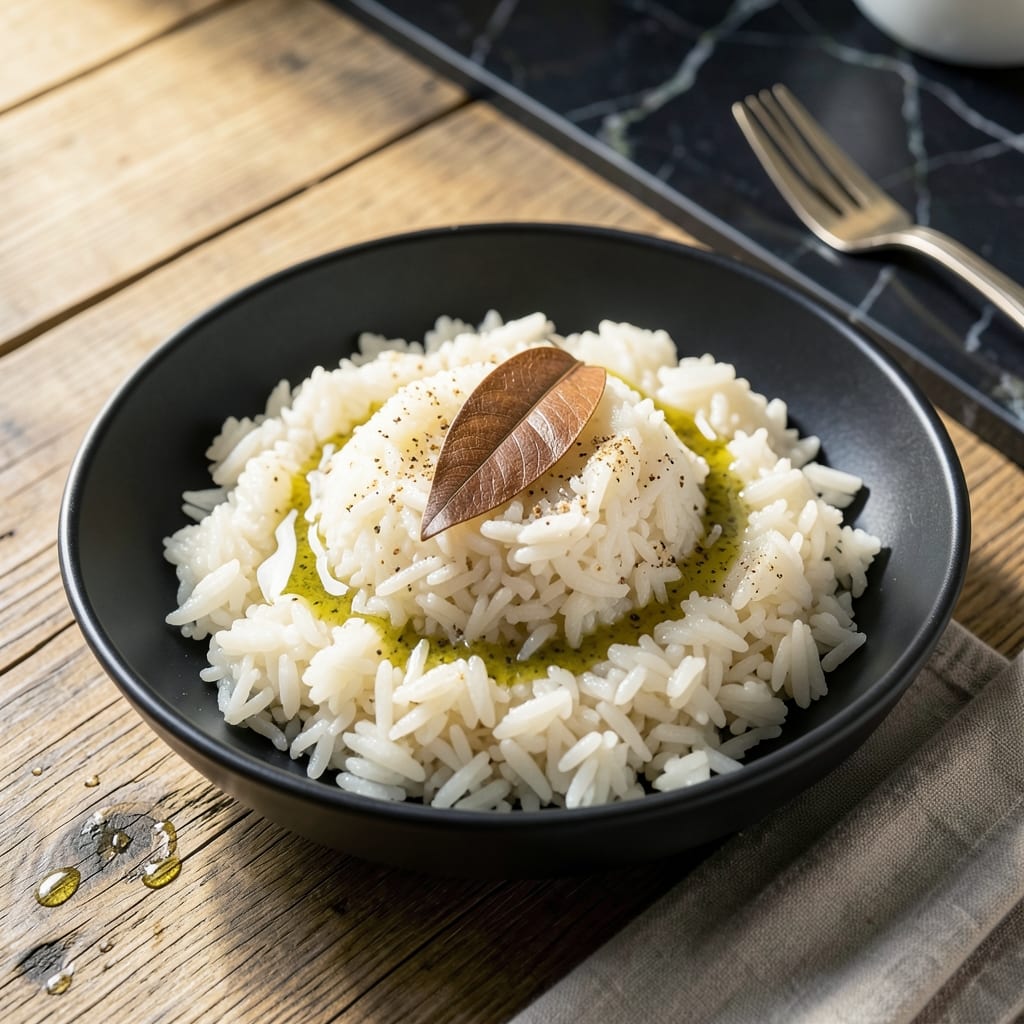
Achieving perfectly cooked rice every time is possible with this foolproof method. No more sticky or undercooked grains.
Using an Instant Pot revolutionizes the process, cutting cooking time while ensuring consistent results. The 2:1 liquid to rice ratio is the key to success.
With just 10 minutes of pressure cooking and a natural release, you’ll have fluffy, separate grains ready for any meal. The hands-off approach makes it effortless.
This technique works for white, jasmine, or basmati rice. Say goodbye to guesswork and hello to perfect rice, every single time.
Ingredients for Instant Pot Rice Recipe 2 Cups
Minimal ingredients, maximum flavor. Perfect rice every time with this method.
| Ingredient | Amount | Notes |
|---|---|---|
| White Rice 🍚 | 2 cups | Long-grain or jasmine variety |
| Water 💧 | 4 cups | Or vegetable broth for extra flavor |
| Sea Salt 🧂 | ½ tsp | Fine grain preferred |
| Olive Oil 🫒 | 1 tbsp | Optional, for rinsing rice |
| Garlic Powder 🧄 | ½ tsp | Optional, for added aroma |
| Bay Leaf 🍃 | 1 whole | Optional, for subtle flavor |
| Lemon Juice 🍋 | 1 tsp | Optional, to brighten flavor |
[recipe_ingredient_scaler]
The rice quality matters here. Long-grain white rice or jasmine rice yields the fluffiest results. Avoid instant rice, as it can turn mushy under pressure. The water ratio is critical—2:1 liquid to rice ensures even cooking. Most grocery stores carry suitable varieties, but bulk bins often have the freshest stock.
No sea salt? Kosher salt at the same amount works fine. Want more flavor? Vegetable broth instead of water adds depth. The garlic powder and bay leaf are optional but recommended for aromatic rice. If using basmati, rinse it first to remove excess starch (prevents clumping).
Uncooked rice keeps in a sealed container for 6-12 months. Cooked rice stays fresh in the fridge for 4-5 days or freezes for 3 months. Reheat with a splash of water to restore moisture.
Why You’ll Love This Recipe
- Set and Forget: Honestly, I just dump everything in the Instant Pot, press a button, and walk away—no babysitting required.
- Garlic Kissed: That hint of garlic powder and olive oil turns plain white rice into something I crave on its own.
- Meal Prep Hero: I make a big batch on Sunday and it pairs with everything from stir-fry to tacos all week long.
- Budget Stretch: Two cups of rice feeds my family for pennies, and leftovers taste just as good the next day.
Step-by-Step Instructions for Instant Pot Rice
Master the technique and achieve consistently perfect rice with minimal effort and maximum flavor.
Step 1: Rinse and Prepare the Rice
Place the 2 cups White Rice in a fine-mesh strainer and rinse under cold running water until the water runs clear. This removes excess starch and prevents the rice from becoming gummy during cooking. I always use a swirling motion with my hand to ensure every grain gets rinsed thoroughly.
While rinsing, I add the 1 tbsp Olive Oil to the strainer—this helps separate the grains and adds a subtle richness. Shake the strainer gently to remove all excess water. Proper rinsing ensures fluffy, separate grains rather than a sticky mass.
Step 2: Combine Ingredients in the Instant Pot
Transfer the rinsed 2 cups White Rice to the Instant Pot insert. Add the 4 cups Water, 0.5 tsp Sea Salt, 0.5 tsp Garlic Powder, and 1 whole Bay Leaf. The water-to-rice ratio is critical here—using exactly 2 cups White Rice to 4 cups Water guarantees perfect doneness.
Stir gently to distribute the Sea Salt and Garlic Powder evenly. I avoid vigorous stirring to prevent breaking the rice grains. The Bay Leaf adds a subtle depth of flavor that complements the rice beautifully without overpowering it.
Step 3: Pressure Cook to Perfection
Secure the Instant Pot lid, ensuring the valve is set to “Sealing.” Select the “Pressure Cook” or “Manual” function and set the timer for 3 minutes on high pressure. Yes, just 3 minutes—the Instant Pot’s pressure cooking method dramatically reduces the cooking time while delivering consistent results.
Once the cooking cycle completes, allow the pressure to release naturally for 10 minutes. This natural release prevents the rice from becoming mushy by allowing it to finish cooking gently in the residual steam. Avoid using the quick-release function, as this can make the rice undercooked or unevenly textured.
Step 4: Finish and Fluff the Rice
After the 10-minute natural release, carefully open the lid. Remove the Bay Leaf and discard it. Drizzle the 1 tsp Lemon Juice over the rice and gently fluff with a fork. The Lemon Juice brightens the flavor and balances the richness of the rice.
Let the rice sit uncovered for 5 minutes to allow excess moisture to evaporate. Fluff again before serving to ensure every grain is separate and light. The rice should be tender but still have a slight bite, with no hard or crunchy bits remaining.
Pro Tips For Making Instant Pot Rice Recipe 2 Cups
- Rinse the Rice: Always rinse your white rice under cold water until it runs clear—I learned this the hard way after ending up with gummy rice more times than I’d like to admit.
- Use Exact Water Ratio: For 2 cups of white rice, stick to 2.5 cups of water—any more and you’ll get mush, any less and it’ll be undercooked.
- Skip the Peek: Resist the urge to open the Instant Pot during cooking; releasing the pressure mid-cycle turns perfectly fluffy rice into a sticky mess.
- Toast the Rice: Sauté the rice with olive oil and garlic powder for 2-3 minutes before adding water—sounds small, but it adds a nutty depth that plain rice just can’t match.
Dietary Considerations for This Recipe
Gluten-Free Friendly
This dish is naturally gluten-free, making it safe for anyone with celiac disease or gluten sensitivity. The simple ingredients—2 cups White Rice, 4 cups Water, and optional seasonings—contain no gluten. Just double-check that your Garlic Powder and Sea Salt are certified gluten-free to be absolutely certain.
Vegan and Plant-Based
As a plant-based recipe, this fits perfectly into vegan diets. The 2 cups White Rice and 4 cups Water base provides a neutral canvas for any vegan meal. For extra flavor, use vegetable broth instead of water, which adds depth without compromising dietary needs.
Low-Fat Option
This is inherently a low-fat dish, with only 1 tbsp Olive Oil as an optional addition. Skip the oil entirely for a fat-free version, or use a cooking spray to prevent sticking. The rice cooks perfectly either way, maintaining its fluffy texture. 💪
Sodium Control
With just 0.5 tsp Sea Salt for the entire batch, this recipe keeps sodium in check. You can reduce it further or eliminate it entirely for a low-sodium diet. The Lemon Juice and Garlic Powder still provide plenty of flavor without added salt.
Allergen-Free
Free from common allergens like dairy, eggs, nuts, and soy, this dish is a safe choice for most dietary restrictions. The ingredients—White Rice, Water, and optional seasonings—pose minimal allergen risks. Always verify the purity of your spices if allergies are severe.
Diabetic Considerations
White rice has a high glycemic index, so those managing diabetes should monitor portions carefully. Using brown rice instead increases fiber content, which helps regulate blood sugar. Stick to the same 2:1 liquid ratio and adjust pressure cooking time to 22 minutes for brown rice. ⚡
Nutrition Facts
Frequently Asked Questions
What liquid ratio should I use?
Use a 2:1 liquid to rice ratio. For 2 cups of rice, you’ll need 4 cups of water or broth. This ensures even cooking and fluffy results every time.
Can I use quick release instead of natural?
No, always use a 10-minute natural release. Quick release can make the rice mushy or unevenly cooked. The natural release allows the grains to finish cooking gently.
Why is my rice sticky or gummy?
This usually happens if the rice wasn’t rinsed properly or the liquid ratio was off. Rinse until water runs clear and stick to the 2:1 ratio for best results.
How do I make brown rice instead?
Use the same 2:1 liquid ratio but increase pressure cooking time to 22 minutes. Let it naturally release for 10 minutes as well.

Trained in classic French technique but raised on slow-cooked ribs and spicy rubs, she blends culinary skill with smoke and soul.
- Recipe for Boneless Pork Chops in Cast Iron Skillet: Sear and Baste to Juicy Perfection - October 3, 2026
- Recipe for Boneless Cross Rib Roast: Slow-Roasted Beef with Herb Crust - October 3, 2026
- Hamburgers in Sauce Recipe Crock Pot: Slow-Cooked Savory Delight - October 3, 2026