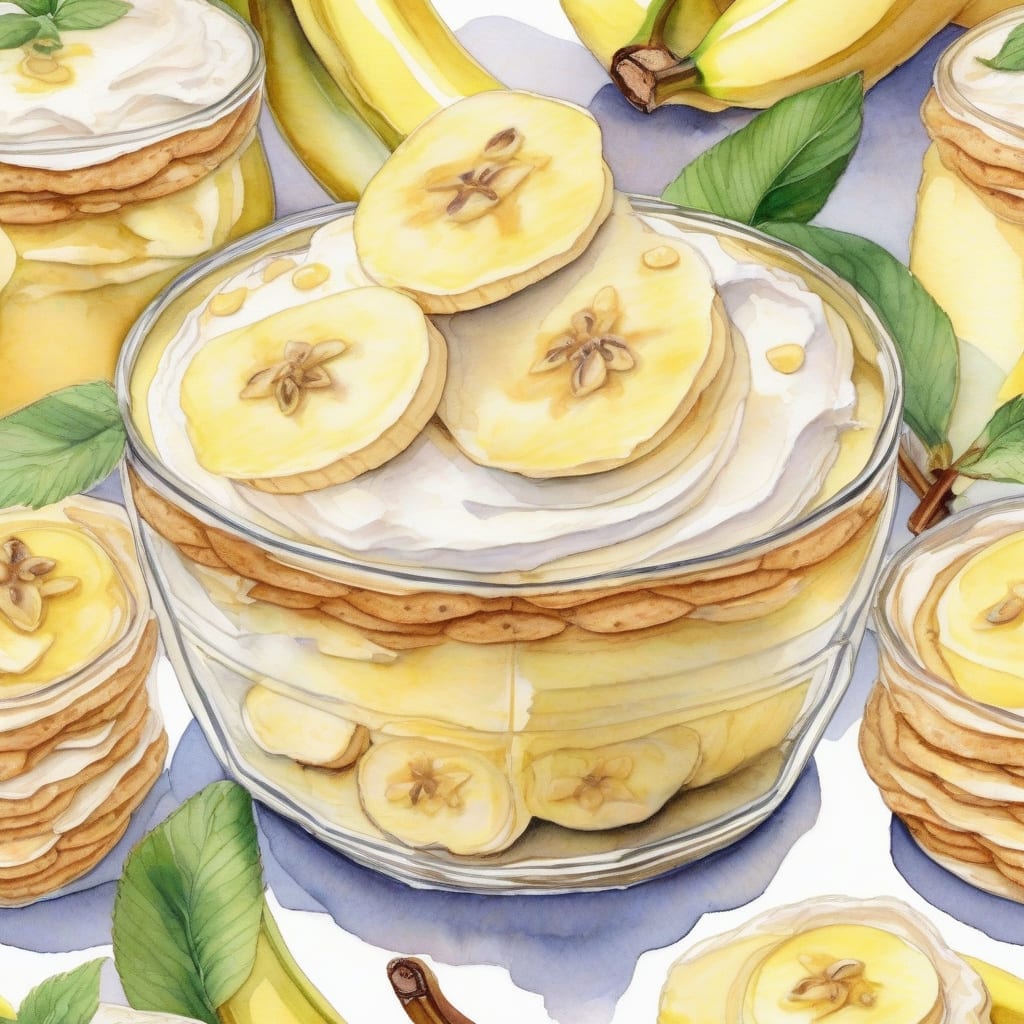
Classic Banana Pudding: Nilla Wafer Delight
I’m sharing my favorite classic banana pudding recipe using Jackson vanilla wafers – it’s a total comfort food winner! This creamy, dreamy dessert is perfect for potlucks, family gatherings, or just satisfying your sweet tooth.
The best part? It’s incredibly simple to make. We’ll be using vanilla pudding mix, sweetened condensed milk, and of course, Jackson vanilla wafers to create layers of creamy goodness and crunchy texture.
You’ll end up with a show-stopping dessert that’s sure to impress. The combination of ripe bananas, creamy pudding, and crunchy wafers is absolute perfection. Let’s get started and make this classic banana pudding!
Ingredients for jackson vanilla wafers banana pudding
Here’s what you need to make this classic banana pudding using Jackson vanilla wafers.
| Ingredient | Amount | Notes |
|---|---|---|
| Vanilla Pudding Mix 🍰 | 1 package | Regular or sugar-free |
| Sweetened Condensed Milk 🥛 | 1 can | Full-fat for best flavor |
| Cold Milk 🥛 | 2 cups | Whole or 2% milk |
| Vanilla Extract 🌿 | 1 tsp | Pure or imitation |
| Ripe Bananas 🍌 | 4 whole | Sliced into coins |
| Jackson Vanilla Wafers 🥠 | 1 box | Crushed for layers |
| Whipped Cream 🍰 | 1 cup | Optional topping |
[recipe_ingredient_scaler]
You can find Jackson vanilla wafers at most grocery stores or online. For the best flavor, use high-quality vanilla extract and full-fat sweetened condensed milk. Look for ripe but firm bananas for the perfect texture. If you can't find Jackson vanilla wafers, Nilla wafers are a great substitute.
For a creamier pudding, use whole milk or add a splash of heavy cream. You can adjust the amount of vanilla extract to your taste. If you prefer a less sweet pudding, use less sweetened condensed milk or try a sugar-free alternative. Fresh bananas are essential, so avoid using green or overripe bananas.
Store any leftover banana pudding in an airtight container in the refrigerator for up to 2 days. The wafers may soften over time, so it's best served fresh. You can prepare the pudding mixture ahead of time, but assemble the layers just before serving for the best texture.
Step-by-Step Instructions for Jackson Vanilla Wafers Banana Pudding
Follow these simple steps to create a classic banana pudding dessert that’s sure to impress.
👨🍳 Step 1: Prepare the Pudding Mixture
In a large mixing bowl, combine the 1 package Vanilla Pudding Mix and 1 can Sweetened Condensed Milk. Whisk until the pudding mix is well incorporated into the condensed milk, creating a smooth mixture. Gradually add the 2 cups Cold Milk, whisking continuously to prevent lumps from forming. The mixture should be smooth and free of lumps. Add the 1 tsp Vanilla Extract and whisk to combine.
Continue whisking for about 2 minutes until the mixture thickens slightly. This step is crucial for achieving the right consistency in your pudding. Once thickened, cover the bowl with plastic wrap, pressing the wrap directly onto the surface of the pudding to prevent a skin from forming. Refrigerate for at least 4 hours or overnight to allow the flavors to meld together.
🥘 Step 2: Assemble the Banana Pudding Layers
In a large serving dish or individual serving cups, create a layer of crushed Jackson Vanilla Wafers on the bottom. You can crush the wafers in a food processor or place them in a plastic bag and crush them with a rolling pin. The crushed wafers will help absorb some of the moisture from the pudding and add a delightful texture. Next, add a layer of sliced bananas on top of the wafers. You can arrange them in a single layer or create a pattern, depending on your preference.
Pour half of the chilled pudding mixture over the bananas, spreading it evenly to cover the entire surface. Repeat the layers, starting with the wafers, then the bananas, and finally the remaining pudding mixture. Top with another layer of crushed wafers or reserve some for garnish later. This layering process is key to creating a visually appealing dessert.
🍰 Step 3: Top with Whipped Cream and Serve
Just before serving, top the pudding with 1 cup Whipped Cream. You can either spread it evenly or create decorative peaks, depending on your presentation preference. If desired, sprinkle some additional crushed Jackson Vanilla Wafers on top for extra texture and visual appeal. Refrigerate the assembled pudding for at least 30 minutes to allow the flavors to meld together and the wafers to soften slightly.
Serve chilled, garnished with additional wafers or banana slices if desired. The pudding will keep in the refrigerator for up to 24 hours, making it a great make-ahead dessert for gatherings or parties. Enjoy your delicious homemade banana pudding with the crunch of Jackson Vanilla Wafers!
Are you ready to indulge in a classic dessert that never goes out of style? Look no further than the Jackson Vanilla Wafers Banana Pudding Recipe! This beloved treat is a staple in many Southern households, and for good reason. The combination of creamy pudding, sweet bananas, and crunchy vanilla wafers is a match made in heaven 🍰.
Key Ingredients 🔪
- 1 package of Jackson Vanilla Wafers (or Nilla Wafers)
- 4-5 ripe bananas, sliced
- 1 cup of sugar
- 2 tablespoons of cornstarch
- 2 cups of milk
- 1/4 teaspoon of salt
- 1/2 teaspoon of vanilla extract
- 3 large egg yolks
To make this delightful dessert, you’ll need to start by preparing the pudding mixture. In a medium saucepan, whisk together the sugar, cornstarch, and salt. Gradually add in the milk, whisking constantly to avoid lumps. Cook over medium heat, stirring constantly, until the mixture comes to a boil ⏰.
Cooking the Pudding 🔥
Reduce the heat to low and simmer for 2 minutes, or until the pudding thickens. Remove from heat and stir in the vanilla extract. In a separate bowl, whisk together the egg yolks. Gradually add the warm pudding mixture to the egg yolks, whisking constantly to prevent the eggs from scrambling. This is called tempering the eggs, and it’s crucial for a smooth pudding 👨🍳.
To assemble the banana pudding, layer the vanilla wafers, sliced bananas, and pudding mixture in a large serving dish. Repeat this process until you’ve used up all the ingredients, ending with a layer of pudding on top. Chill in the refrigerator for at least 30 minutes to allow the flavors to meld together ❄️.
Tips & Tricks for Perfect Banana Pudding
These tried-and-tested tips will help you create a show-stopping banana pudding that’s sure to impress your family and friends.
Layering Technique: To create a beautiful layered effect, start with a layer of crushed Jackson Vanilla Wafers on the bottom. This helps prevent the bananas from sinking to the bottom and adds a nice crunch. I like to use a food processor to get fine crumbs that distribute evenly.
Banana Selection: Choose ripe bananas that are firm but not too soft. If they’re too green, they won’t be sweet enough, and if they’re too ripe, they’ll be mushy. I find that bananas with a few brown spots are perfect for pudding.
Make-Ahead Strategy: You can prepare the pudding mixture and store it in the refrigerator for up to 24 hours before assembling the dessert. This allows the flavors to meld together beautifully. Just before serving, assemble the layers and top with whipped cream.
Whipped Cream Tip: For a stable whipped cream that holds its shape, chill your bowl and beaters in the freezer for 10 minutes before whipping. This makes a big difference in the texture and helps it last longer. 💡
Nutrition Facts
320kcal
This classic banana pudding is a treat that combines the natural sweetness of ripe bananas with the creamy texture of vanilla pudding. You’ll love the layers of crunchy vanilla wafers adding a delightful contrast to each spoonful. The whipped cream on top adds a luxurious finish.
This dessert is rich in carbohydrates from the bananas, pudding, and vanilla wafers, providing quick energy. The sweetened condensed milk adds significant sugar content. You’ll get some protein from the milk and a small amount from the whipped cream. The bananas contribute essential nutrients like potassium.
While this banana pudding is delicious, it’s best enjoyed in moderation due to its sugar and fat content. Balance it with a healthy meal or snack earlier in the day. The satisfying combination of textures and flavors makes it worth indulging in as an occasional treat.
[recipe_ingredient_scaler]

Trained in classic French technique but raised on slow-cooked ribs and spicy rubs, she blends culinary skill with smoke and soul.
- Recipe for Boneless Pork Chops in Cast Iron Skillet: Sear and Baste to Juicy Perfection - October 3, 2026
- Recipe for Boneless Cross Rib Roast: Slow-Roasted Beef with Herb Crust - October 3, 2026
- Hamburgers in Sauce Recipe Crock Pot: Slow-Cooked Savory Delight - October 3, 2026