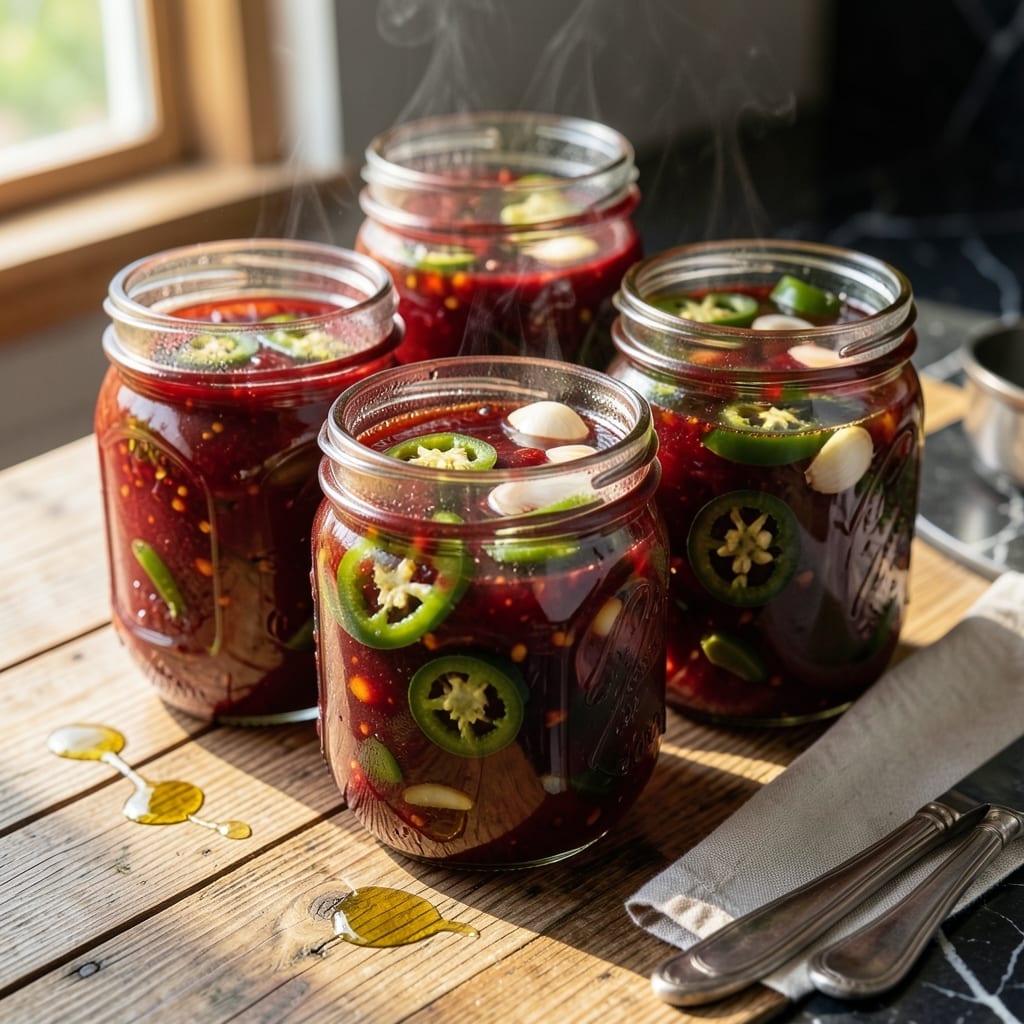
Preserving the bold, spicy flavor of fresh jalapeños in a shelf-stable hot sauce is easier than you think. This method locks in the heat and vibrant color for months of fiery enjoyment.
With a simple blend of peppers, vinegar, and salt, you’ll create a versatile sauce that elevates any dish. The canning process ensures safety and long-term storage.
Ingredients for Jalapeno Hot Sauce Recipe Canning
Eight simple ingredients capture that fresh jalapeño heat in a shelf-stable sauce you’ll want to drizzle on everything.
| Ingredient | Amount | Notes |
|---|---|---|
| Fresh Jalapeño Peppers 🌶️ | 2 lb | Stems removed, roughly chopped |
| White Vinegar 💧 | 3 cups | 5% acidity for preservation |
| Water 💧 | 1 cup | Filtered preferred for clarity |
| Canning Salt 🧂 | 2 tbsp | Non-iodized for canning |
| Garlic Cloves 🧄 | 6 cloves | Peeled and smashed |
| Yellow Onion 🧅 | 1 whole | Medium, roughly chopped |
| Lemon Juice 🍋 | ¼ cup | Bottled for consistent acidity |
| Honey 🍯 | ¼ cup | Omit for vegan version |
[recipe_ingredient_scaler]
The jalapeños are the soul here. Pick firm, vibrant green peppers—no soft spots or wrinkles. I grab mine from the farmers market when they’re in season, but Trader Joe’s or Whole Foods have solid options year-round. For consistent heat, wear gloves when handling (trust me on this one). If you want extra fire, leave the seeds in or toss in a habanero or two.
No canning salt? Kosher salt works at the same ratio, but avoid iodized table salt—it can cloud your sauce. Swapping vinegar types? Apple cider vinegar adds a fruity note, but stick to 5% acidity for safety. Skipping honey? Agave syrup or sugar balances the heat just as well. Want it smoky? A pinch of smoked paprika or a dash of liquid smoke does the trick.
Once canned, this keeps at room temperature for up to 12 months. Unopened jars stay fresh for months past that if stored in a cool, dark place. Once opened, refrigerate and use within 3 months for best flavor.
Why You’ll Love This Recipe
- 5-Minute Chop: I just toss jalapeños, garlic, vinegar, and salt in the blender—no fancy prep, no fuss.
- Garlic-Kissed Heat: The garlic and jalapeños steep in vinegar for a bright, tangy kick that’s bold without being brutal.
- Pantry MVP: Honestly, I drizzle it on eggs, tacos, even pizza—it’s my go-to for instant flavor.
- Jars for Days: One batch fills multiple jars, and they keep for months, so I always have homemade hot sauce ready.
Step-by-Step Instructions for Jalapeno Hot Sauce Canning
This method ensures your hot sauce stays fresh and fiery for months to come.
Step 1: Prepare the Peppers and Aromatics
Start by roughly chopping the 2 lb Fresh Jalapeño Peppers after removing their stems. I leave the seeds in for maximum heat, but you can remove some if you prefer a milder sauce. Wear gloves for this step—trust me, you don’t want jalapeño oils on your hands.
Next, peel and smash the 6 cloves Garlic Cloves, then roughly chop the 1 whole Yellow Onion. The smashing helps release the garlic’s oils, which will infuse the sauce with deep, aromatic flavor. Combine all these in a large pot—they’ll cook together into the base of your sauce.
Step 2: Simmer the Ingredients
Add the chopped jalapeños, garlic, and onion to a pot, then pour in the 3 cups White Vinegar, 1 cup Water, and 2 tbsp Canning Salt. Bring the mixture to a boil over medium-high heat, then reduce to a simmer.
Let it cook for 10-12 minutes until the peppers and onion are completely soft. You’ll notice the vinegar’s sharp smell mellowing as the flavors meld together. Stir occasionally to ensure nothing sticks to the bottom of the pot.
The salt is crucial here—not just for flavor, but for preservation. I always use canning salt because it doesn’t contain additives that could cloud the sauce.
Step 3: Blend and Sweeten
Carefully transfer the simmered mixture to a blender. I work in batches to avoid overflow. Blend until completely smooth—this usually takes 1-2 minutes, depending on your blender’s power. You want a uniform, vibrant green sauce with no chunks.
Return the blended sauce to the pot, then stir in the 0.25 cup Lemon Juice and 0.25 cup Honey. The lemon juice adds brightness and a bit of tang, while the honey balances the heat with a touch of sweetness. Simmer for another 5 minutes to let these flavors incorporate fully.
Step 4: Sterilize and Fill the Jars
While the sauce simmers, sterilize your canning jars and lids by boiling them for 10 minutes. This step is non-negotiable for safe canning. Use tongs to handle the hot jars, and keep them warm until you’re ready to fill them.
Ladle the hot sauce into the jars, leaving ½ inch of headspace at the top. This space allows for expansion during processing. Wipe the rims of the jars with a clean, damp cloth to ensure a proper seal, then place the lids on and screw the bands until fingertip tight.
Step 5: Process for Shelf Stability
Place the filled jars in a water bath canner, making sure they’re completely submerged in water. Bring to a rolling boil and process for 15 minutes. Start timing only after the water has reached a full, rolling boil.
After processing, carefully remove the jars and place them on a towel-lined countertop. Let them cool undisturbed for 12-24 hours. You’ll hear the satisfying ping of the lids sealing as they cool. Once sealed, store the jars in a cool, dark place—they’ll keep for up to 1 year.
If any jars don’t seal, refrigerate them and use the sauce within a month.
Pro Tips For Making Jalapeno Hot Sauce Recipe Canning
- Simmer Low and Slow: Keep the heat at a gentle simmer for 10-15 minutes—any higher and the vinegar can boil off too fast, leaving your sauce too thick or unevenly flavored.
- Wear Gloves Always: I learned this the hard way—jalapeños burn skin, and touching your face after chopping without gloves is a mistake you won’t repeat.
- Use Fresh Garlic: Skip the pre-minced stuff; fresh garlic cloves crushed just before cooking add a sharper, brighter kick that powder or jarred just can’t match.
- Sterilize Jars First: Sounds tedious, but boiling your jars and lids for 10 minutes guarantees no mold sneaks in and ruins the whole batch after canning.
Storing and Reheating This Recipe
🍳 Refrigerator Storage
Once your jalapeño hot sauce is canned and cooled, store unopened jars in a cool, dark pantry for up to 12 months. After opening, transfer the sauce to an airtight container and refrigerate. It will stay fresh for 3-4 days, though its bold flavor often means it won’t last that long! Always use a clean spoon to avoid contamination.
❄️ Freezer Storage
For longer storage, freezing is a great option. Pour the hot sauce into freezer-safe containers or ice cube trays, leaving ½-inch headspace for expansion. Sealed properly, it can last 2-3 months without losing its kick. For best results, portion it into smaller containers for easy thawing later.
🔥 Reheating Methods
If you’ve stored your sauce in the fridge or freezer, reheating can help restore its vibrant flavor. For a quick fix, microwave in 10-15 second bursts, stirring between intervals. For a smokier touch, warm it in a saucepan over low heat (160°F) for 3-5 minutes, stirring occasionally. Avoid boiling to preserve the fresh jalapeño taste.
💡 Quality Preservation
To maintain the sauce’s quality, minimize moisture exposure—always use dry utensils. When thawing frozen sauce, do so gradually in the fridge overnight. If the sauce separates, a quick stir or shake will bring it back to life. Store in glass jars for the best flavor retention, and keep an eye out for any signs of spoilage, like off smells or mold.
Nutrition Facts

Trained in classic French technique but raised on slow-cooked ribs and spicy rubs, she blends culinary skill with smoke and soul.
- Octopus Recipe Pan Fried: Crispy Edges With Tender Bites - October 3, 2026
- Recipe For Fried Pork Chops In An Iron Skillet: Crispy Crust With Juicy Centers - October 3, 2026
- Recipe for Fully Cooked Spiral Ham: Sweet Glaze and Effortless Elegance - October 3, 2026