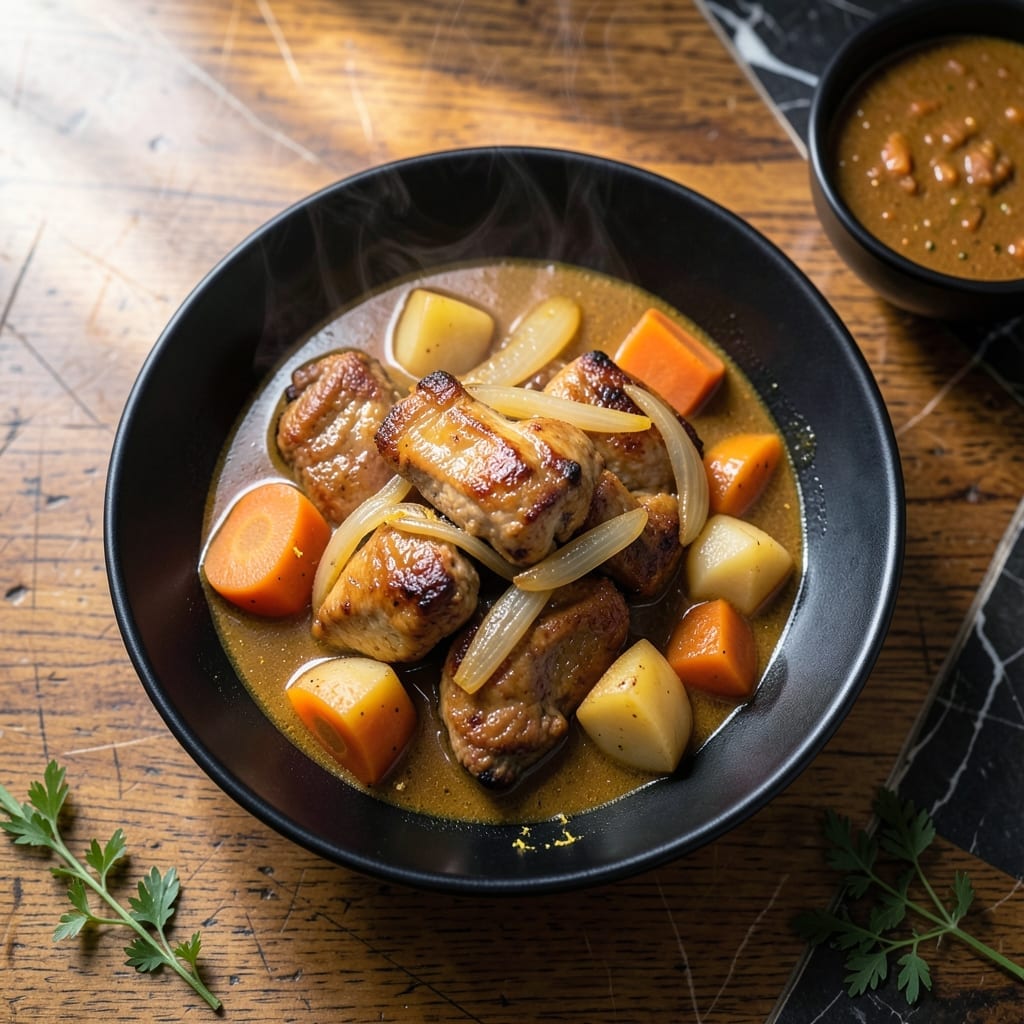
Making Japanese curry from scratch transforms your kitchen into a Tokyo street food stall. The homemade roux creates depth that store-bought versions simply can’t match.
This recipe stays true to tradition while adapting to home kitchens. I’ve simplified the process without sacrificing authenticity, using basic pantry staples and straightforward techniques anyone can master.
You’ll build layers of flavor through caramelized onions, toasted spices, and a slow-simmered roux. The result is a rich, velvety sauce that coats tender meat and vegetables in every bite.
The aroma alone will have everyone gathering at the table. This is comfort food elevated to an art form.
Ingredients for Japanese Curry Recipe from Scratch
Pantry staples and a few fresh ingredients create this deeply flavored dish from scratch.
| Ingredient | Amount | Notes |
|---|---|---|
| Chicken Thighs 🍗 | 1 ½ lb | Boneless, skinless, cut into bite-sized pieces |
| Yellow Onions 🧅 | 2 whole | Thinly sliced for caramelization |
| Carrots 🥕 | 2 whole | Peeled and sliced into chunks |
| Russet Potatoes 🥔 | 2 whole | Peeled and cubed into even pieces |
| Garlic Cloves 🧄 | 4 cloves | Minced for depth of flavor |
| Fresh Ginger 🌿 | 1 tbsp | Peeled and finely grated |
| Curry Powder 🌶️ | 3 tbsp | Japanese-style preferred for authenticity |
| Garam Masala 🌿 | 1 tsp | Adds complexity to roux |
| Turmeric 🌶️ | 1 tsp | Ground, for color and earthiness |
| All-Purpose Flour 🌾 | 3 tbsp | Thickens the roux base |
| Unsalted Butter 🧈 | 3 tbsp | For rich, smooth roux |
| Vegetable Oil 🫒 | 2 tbsp | Neutral flavor for sautéing |
| Chicken Stock 🍲 | 3 cups | Low-sodium preferred for control |
| Soy Sauce 🫙 | 2 tbsp | Adds umami depth to sauce |
| Honey 🍯 | 1 tbsp | Balances spices with sweetness |
[recipe_ingredient_scaler]
The chicken thighs are key here—bone-in works too but boneless cooks faster. Look for skin-on if you want extra richness (remove it after browning). Japanese curry powder is worth hunting down at an Asian market or Amazon, but any mild curry powder works in a pinch. The onions need time to caramelize properly—don’t rush this step. I always grab my spices from Penzeys for the freshest punch.
No chicken? Pork shoulder or beef chuck both hold up beautifully. Vegetarian? Swap in chickpeas or tofu—just adjust cooking time. Fresh ginger is non-negotiable (the jarred stuff lacks the bright punch), but dried at one-third the amount works if you’re desperate. The soy sauce can be tamari for gluten-free, and maple syrup replaces honey if needed.
The roux can be made 2 days ahead and refrigerated. Leftovers keep 5 days in the fridge or freeze for 3 months. Reheat gently with a splash of water to loosen the sauce. Always store in airtight containers (the aroma escapes otherwise).
Why You’ll Love This Recipe
- One Pot Wonder: I toss in chicken thighs, potatoes, and carrots, let it simmer, and the kitchen does the rest.
- Deep Umami Richness: The garlic and onions caramelize into this thick, savory gravy that coats every bite.
- Feeds a Crowd: I make a big batch on Sunday and we’re eating well through Wednesday.
- Budget Friendly: Chicken thighs and pantry staples stretch further than any takeout I’ve tried.
Step-by-Step Instructions for Japanese Curry From Scratch
Follow this method and you’ll build deep, complex flavor with a velvety homemade roux.
Step 1: Sauté Aromatics and Bloom the Spices
Heat the vegetable oil in a large pot over medium heat. Add the yellow onions and cook for 8-10 minutes until they soften and develop a light golden color, stirring occasionally to prevent burning.
Stir in the garlic cloves, fresh ginger, curry powder, garam masala, and turmeric, cooking for 1-2 minutes until fragrant. This step awakens the spices, creating the foundation of your curry’s deep flavor profile. Watch closely—spices can burn quickly at this stage.
Step 2: Build the Roux with Butter and Flour
Reduce heat to medium-low and add the unsalted butter, stirring until melted. Sprinkle in the all-purpose flour and cook for 3-4 minutes, stirring constantly, until the mixture forms a smooth paste and turns a light brown color.
This roux thickens the curry and mellows the raw flour taste. The color change indicates the flour is fully cooked. If it browns too quickly, lower the heat immediately—you want a blonde roux, not a dark one.
Step 3: Deglaze and Add Liquids Gradually
Slowly pour in 1 cup of the chicken stock while whisking constantly to prevent lumps. Add the remaining 2 cups chicken stock, soy sauce, and honey, stirring until smooth.
Bring to a gentle simmer, then reduce heat to low. The mixture should thicken enough to coat the back of a spoon. This step transforms your roux into a rich, velvety sauce base. Taste and adjust sweetness or saltiness if needed.
Step 4: Simmer Vegetables Until Tender
Add the carrots and russet potatoes to the pot, ensuring they’re submerged in the sauce. Cover and simmer for 15 minutes, stirring occasionally, until the vegetables begin to soften.
The potatoes should be tender but still hold their shape when pierced with a fork. If the sauce becomes too thick, add a splash of water. The vegetables absorb the complex flavors as they cook, making every bite packed with taste.
Step 5: Finish with Chicken and Final Simmer
Stir in the chicken thighs and simmer uncovered for 10-12 minutes until the chicken is cooked through and the potatoes are fork-tender. The chicken should reach an internal temperature of 165°F.
Let the curry rest for 5 minutes off heat before serving. This allows the flavors to meld together and the sauce to reach its perfect consistency. The chicken will be juicy, the vegetables tender, and the sauce rich with layers of spice and umami.
Pro Tips For Making Japanese Curry Recipe From Scratch
- Brown the Chicken Well: Sear the chicken thighs until deeply golden—about 4-5 minutes per side—before adding veggies. I learned this the hard way; pale chicken makes the whole curry taste flat.
- Cut Potatoes Evenly: Dice the russet potatoes into 1-inch cubes so they cook through at the same rate as the carrots. Sounds tedious, but it prevents that sad bite of raw potato at the end.
- Bloom the Roux: Cook the curry roux with the onions for 2-3 minutes until fragrant—this builds depth. Skip this, and your curry will taste raw and floury.
- Simmer Uncovered: Once everything’s in the pot, let it bubble away uncovered for 15-20 minutes. This thickens the sauce naturally without needing cornstarch.
Essential Equipment for This Dish
Heavy Pot Essentials
A 5-6 quart Dutch oven is my go-to for this curry. I love my Lodge enameled cast iron—it distributes heat evenly and holds temperature perfectly for the long simmer. The heavy base prevents hot spots that can scorch your roux. 💪
Hand Whisk Work
You’ll need a balloon whisk for the roux stage. I keep a 12-inch OXO Good Grips whisk in my kitchen for this exact purpose. The long handle lets you reach all corners of the pot while whisking constantly to prevent lumps.
Sharp Knife Matters
A good 8-inch chef’s knife makes quick work of the onions, carrots, and potatoes. I use a Victorinox Fibrox—affordable but razor-sharp. Uniform cuts ensure even cooking, so take your time with the prep.
Wooden Spoon Duty
Once the roux is built, switch to a wooden spoon for stirring. It won’t scratch your pot and handles the thick mixture better than a whisk. I’ve had my bamboo spoon for years—it’s my stirring workhorse.
Thermometer Check
An instant-read thermometer ensures your chicken reaches 165°F safely. I use a ThermoWorks ThermoPop for quick, accurate readings. It’s a small investment that prevents overcooking.
Don’t skip this step—undercooked chicken ruins the meal. 🌡️
Nutrition Facts
Frequently Asked Questions
Can I use store-bought curry powder?
Yes, but opt for a Japanese-style blend for authentic flavor. Regular curry powder works in a pinch, though the taste profile will differ slightly.
How do I prevent lumps in my roux?
Whisk constantly while adding stock, and ensure the flour-butter mixture is smooth before adding liquids. Medium-low heat helps avoid clumping.
Can I make this vegetarian?
Swap chicken for chickpeas or tofu and use vegetable stock. Adjust cooking time since plant-based proteins cook faster.
How long can I store leftovers?
Keep in an airtight container in the fridge for up to 5 days or freeze for 3 months. Reheat gently with a splash of water.

Trained in classic French technique but raised on slow-cooked ribs and spicy rubs, she blends culinary skill with smoke and soul.
- Energy Ball Recipe Peanut Butter: No-Bake Protein-Packed Bites - September 24, 2026
- Jerk Chicken Recipe Crock Pot: Slow-Cooked Caribbean Heat - September 24, 2026
- Japanese Curry Recipe Kenji: Chef-Tested Rich and Velvety Sauce - September 24, 2026