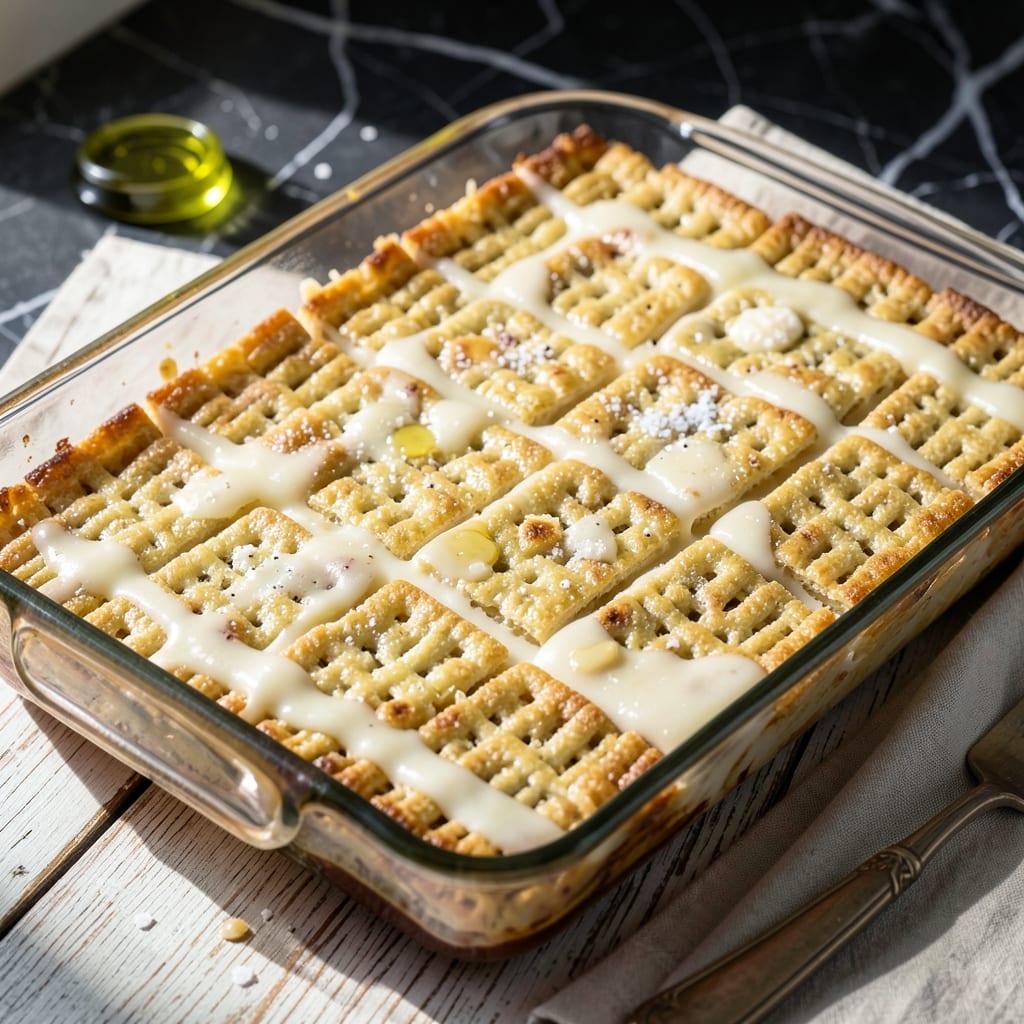
There’s nothing quite like the nostalgic crunch of Rice Krispie treats, but this version takes them to a new level with Jet-Puffed marshmallow creme. The creme blends seamlessly into the melted butter, creating an extra gooey base that binds the cereal perfectly.
What makes this recipe stand out is the balance—just enough marshmallow to hold everything together without overwhelming the crunch of the cereal. The process is simple, but timing is key to achieving that signature texture.
You’ll end up with squares that are soft yet sturdy, with a slight stickiness that makes them irresistible. They set quickly, so you won’t wait long to enjoy the first bite.
Perfect for gatherings, lunchboxes, or a sweet treat anytime. Here’s how to make them just right.
Ingredients for Jet Puffed Marshmallow Creme Rice Krispie Treat
Five simple ingredients transform into irresistibly gooey, crunchy squares everyone will love.
| Ingredient | Amount | Notes |
|---|---|---|
| Rice Krispies Cereal 🥣 | 6 cups | Fresh for best crunch |
| Jet-Puffed Marshmallow Creme 🍬 | 10 oz | One jar, stirred before measuring |
| Unsalted Butter 🧈 | ½ cup | Melted for binding |
| Vanilla Extract 🌿 | 1 tsp | Pure for best flavor |
| Salt 🧂 | ¼ tsp | Fine grain preferred |
[recipe_ingredient_scaler]
The cereal is non-negotiable here—Kellogg’s Rice Krispies have that signature snap that generic brands just can’t match (trust me, I’ve tested). Jet-Puffed marshmallow creme is key for that ultra-gooey texture; it’s thicker than regular marshmallows and melts differently. Grab it in the baking aisle near the fluff. The butter should be unsalted so you control the salt level yourself.
No marshmallow creme? 10 oz mini marshmallows work but give a slightly different texture (less smooth, more stretchy). Out of vanilla? Skip it—the butter and marshmallow carry enough flavor. Want extra richness? Swap in salted butter and reduce the added salt. The cereal amount is flexible—add up to 7 cups if you prefer a firmer treat.
These set in about 30 minutes at room temperature but speed up in the fridge. Store in an airtight container for up to 3 days (if they last that long). For best texture, keep them at room temp—cold treats lose that perfect chew.
Why You’ll Love This Recipe
- One Bowl Wonder: I melt the butter, stir in the Jet-Puffed creme, and fold in the cereal—no pots to scrub, just a spatula and a bowl.
- Crave-Worthy Texture: That snap of crispy cereal with the silky marshmallow creme? It’s the perfect chewy-crunch in every bite.
- Party-Ready in Minutes: I’ve whipped up a batch for school bake sales and last-minute potlucks—always disappears first.
- Stays Fresh for Days: Honestly, they taste just as good on day three, stored in an airtight container at room temp.
Step-by-Step Instructions for Jet Puffed Marshmallow Creme Rice Krispie Treats
Here’s the method. Straightforward, tested, works every time.
Step 1: Melt and Infuse the Butter Base
In a large saucepan, melt the 0.5 cup Unsalted Butter over low heat. I always use a light-colored pan for this—it helps you see when the butter is fully melted and prevents it from browning too quickly.
Once melted, stir in the 1 tsp Vanilla Extract and 0.25 tsp Salt. The vanilla will bloom in the warm butter, releasing its full aroma. Let this mixture simmer gently for 1 minute to allow the flavors to meld. You’ll smell the rich, warm vanilla—this is your signal that the base is ready.
Step 2: Incorporate the Marshmallow Creme
Remove the saucepan from heat and immediately add the 10 oz Jet-Puffed Marshmallow Creme. I stir it before measuring straight from the jar to ensure it’s evenly distributed and easy to scoop.
The residual heat from the butter will begin softening the creme right away. Using a silicone spatula, fold the marshmallow creme into the butter mixture until it’s completely smooth and free of streaks. This should take 2-3 minutes of steady stirring. The mixture will be glossy and thick, coating the back of your spatula.
Step 3: Fold in the Rice Krispies Cereal
Add all 6 cups Rice Krispies Cereal to the saucepan at once. I use fresh cereal for the best crunch—stale cereal just won’t give you that signature snap.
Gently fold the cereal into the marshmallow mixture using the spatula. Press down slightly to ensure every piece is evenly coated. You’ll notice the cereal starts to soften slightly as it absorbs the warm mixture, but it should still retain some crispness. This step takes 1-2 minutes—stop when no dry cereal remains visible.
Step 4: Press and Set the Treats
Transfer the mixture to a greased 9×13-inch baking dish or line the dish with parchment paper for easy removal. Using the spatula or buttered hands, press the mixture evenly into the pan. I apply light pressure to compact it without crushing the cereal—this preserves the airy texture.
Press down firmly in the corners and edges to create even squares. Let the treats cool at room temperature for 30 minutes until fully set. You’ll know they’re ready when the top is firm to the touch and the squares hold their shape when cut.
Step 5: Cut and Serve
Once set, use a sharp knife to cut into 16 even squares. I run the knife under hot water between cuts for clean edges. The treats should have a glossy top with visible cereal pieces peeking through.
Lift each square out of the pan and serve immediately. Each one should be gooey in the center with a slight crunch from the cereal, and the edges will have a firmer texture. Store any leftovers in an airtight container at room temperature for up to 3 days.
Pro Tips For Making Jet Puffed Marshmallow Creme Rice Krispie Treat
- Melt Butter First: Start by melting the unsalted butter completely in a large pot before adding the marshmallow creme—this prevents uneven melting and ensures a smooth, creamy base. I learned this the hard way after scraping burnt bits off the bottom of my pan.
- Use Fresh Cereal: Skip the stale Rice Krispies; fresh cereal stays crisp and gives that perfect snap in every bite. Sounds obvious, but I’ve ruined batches by grabbing the half-empty box from the back of the pantry.
- Low and Slow: Keep the heat on low when mixing the marshmallow creme with butter—too high and it’ll scorch, leaving a bitter taste. After burning two batches, I finally figured out patience is the thing that matters most here.
- Press Lightly: When pressing the mixture into the pan, use a buttered spatula and a gentle touch to avoid crushing the cereal. Does it look a little uneven? Yes. Does it taste better than a dense, rock-hard treat? Every single time.
Wine and Beer Pairings for This Dish
Sweet Wine Pairings
A Moscato d’Asti from Italy is my top pick—its light fizz and peach notes complement the gooey sweetness without overpowering. The bubbles cleanse your palate between bites. Look for Saracco or Vietti brands. 🍷
Dessert Wine Option
For something richer, try a late-harvest Riesling from Washington state. The honeyed sweetness mirrors the marshmallow while the acidity cuts through the richness. Chateau Ste. Michelle makes an excellent version.
Beer Pairings
A vanilla porter like Breckenridge Brewery’s Vanilla Porter enhances the treat’s caramel notes. The roasted malt and vanilla flavors create a perfect harmony. Serve slightly chilled for the best experience. 🍺
Cider Alternative
For non-beer drinkers, a hard apple cider like Angry Orchard Crisp Apple offers refreshing contrast. The crisp apple flavor and slight tartness balance the sweetness beautifully.
Coffee Pairing
If you prefer non-alcoholic options, a cold brew coffee with a splash of cream works surprisingly well. The bitterness offsets the sweetness, while the creaminess echoes the treats’ texture.
Milk Classic
Never underestimate a tall glass of cold whole milk. It’s the nostalgic choice that reminds me of childhood. The creaminess enhances the gooey texture of the treats. 💛
Nutrition Facts
Frequently Asked Questions
Can I use regular marshmallows instead?
Yes, but the texture will differ. Use 10 oz mini marshmallows for a stretchier result. The creme version gives a smoother, more uniform gooeyness.
How do I keep them from sticking?
Butter your spatula and hands before pressing the mixture. Line the pan with parchment paper for easy removal. This prevents messy cleanup too.
Can I add mix-ins like chocolate chips?
Fold in 1 cup of add-ins after mixing the cereal. Sprinkles, nuts, or dried fruit work well too. Let cool slightly first so they don’t melt.
Why did my treats turn out hard?
Overcooking the marshmallow mixture or pressing too firmly causes this. Use low heat and press gently for the perfect chewy texture.

Trained in classic French technique but raised on slow-cooked ribs and spicy rubs, she blends culinary skill with smoke and soul.
- Recipe for Boneless Pork Chops in Cast Iron Skillet: Sear and Baste to Juicy Perfection - October 3, 2026
- Recipe for Boneless Cross Rib Roast: Slow-Roasted Beef with Herb Crust - October 3, 2026
- Hamburgers in Sauce Recipe Crock Pot: Slow-Cooked Savory Delight - October 3, 2026