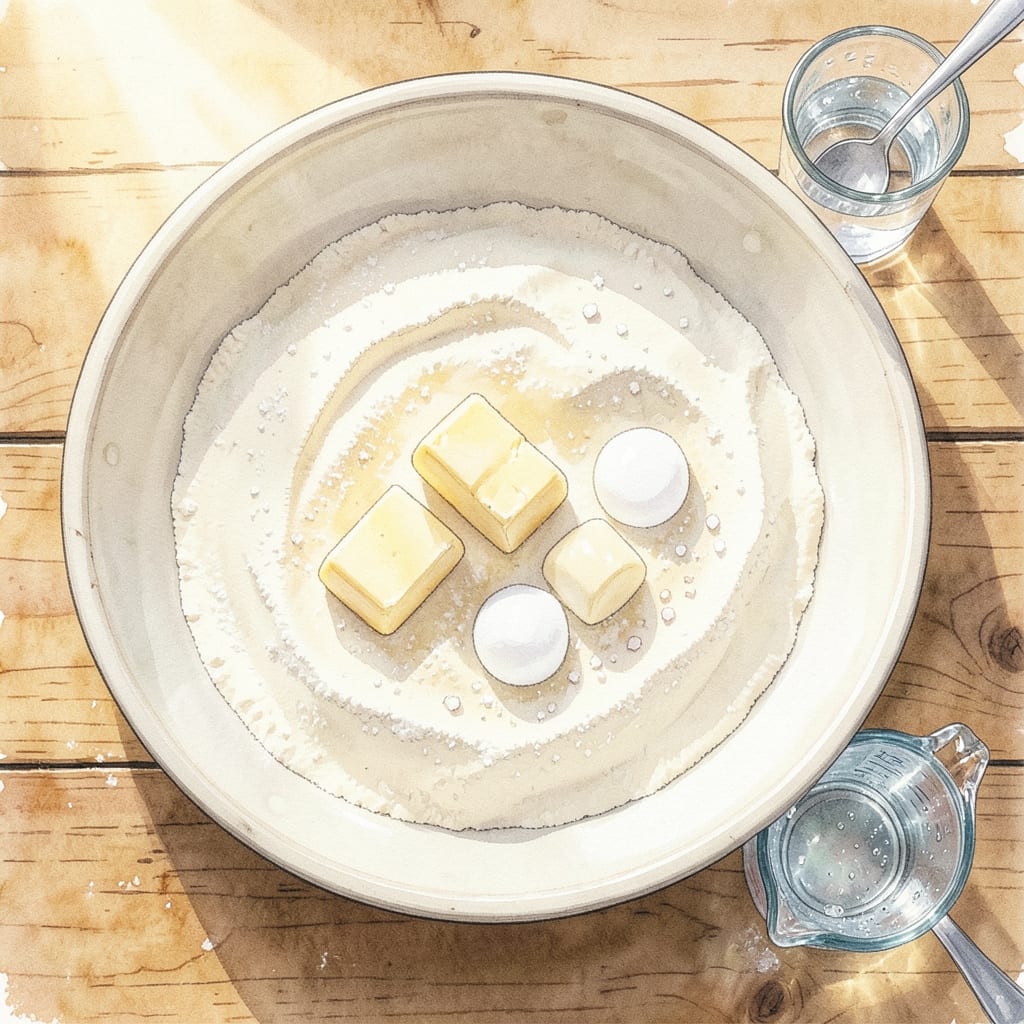
Perfect pie crust is the foundation of exceptional baking, and this recipe delivers flaky, golden layers every time. Developed through years of testing, the method balances butter for flavor with precise technique for texture. The result is a crust that holds its shape during baking yet shatters at the first bite.
What sets this apart is the attention to detail: cold ingredients, minimal handling, and proper resting time. These steps ensure a tender crumb without toughness. Whether you’re making fruit pies, quiches, or pot pies, this versatile crust elevates any filling. The technique works reliably for both sweet and savory applications.
Ingredients for Joy of Cooking Pie Crust
Eight essential ingredients create this foolproof, flaky pie crust that works for both sweet and savory applications.
| Ingredient | Amount | Notes |
|---|---|---|
| All-Purpose Flour 🌾 | 2 ½ cups | Spoon and level for accuracy |
| Unsalted Butter 🧈 | 1 cup | Cold, cut into 1/2-inch cubes |
| Vegetable Shortening 🧈 | ½ cup | Cold, for extra flakiness |
| Granulated Sugar 🍚 | 1 tsp | Balances saltiness |
| Fine Sea Salt 🧂 | 1 tsp | Diamond Crystal preferred |
| Ice Water 💧 | ½ cup | Plus 1-2 tbsp as needed |
| Apple Cider Vinegar 🍎 | 1 tbsp | Strengthens gluten structure |
| Large Egg 🥚 | 1 whole | For binding (optional) |
[recipe_ingredient_scaler]
The butter and shortening quality directly impacts flakiness. European-style butter (like Plugrá or Kerrygold) yields superior flavor due to higher fat content, while Crisco remains the gold standard for shortening. Measure flour by spooning into cups then leveling—never scoop directly from the bag (this compacts it). For professional results, King Arthur Flour provides consistent protein levels. The vinegar may seem unusual, but it tenderizes the gluten without affecting taste.
No shortening? Use all butter (1.5 cups total) for flavor, though texture may vary slightly. For vegan adaptation, replace butter with cold coconut oil and the egg with 1 tbsp flaxseed meal + 3 tbsp water. The vinegar can be substituted with lemon juice in equal measure. If making a single crust, halve all ingredients except water—you’ll need slightly less. Always use ice-cold water; tap water will warm the fat prematurely.
The dough keeps refrigerated for 3 days or frozen for 3 months. Wrap tightly in plastic, then foil to prevent freezer burn. For pre-baked shells, dock the crust (prick with fork) and blind bake with pie weights at 375°F for 15 minutes. Unbaked dough benefits from 30-minute resting in the fridge before rolling—this relaxes the gluten for easier handling and prevents shrinking during baking.
Step-by-Step Instructions for Homemade Pie Crust
Master the technique for consistently flaky, tender crust with these precise steps.
Step 1: Prepare the Dry Ingredients
In a large mixing bowl, whisk together the 2.5 cups all-purpose flour, 1 tsp granulated sugar, and 1 tsp fine sea salt until thoroughly combined. I recommend spooning the flour into your measuring cup and leveling it off for accuracy—this prevents compacted flour that could make your crust dense.
The sugar balances the salt and helps with browning, while the salt enhances flavor. Make sure your salt is finely ground (I prefer Diamond Crystal) so it distributes evenly throughout the dough.
Step 2: Cut in the Cold Fats
Add the 1 cup unsalted butter (cut into ½-inch cubes) and ½ cup vegetable shortening to the dry ingredients. Both fats should be ice cold—this is crucial for creating flaky layers. Use a pastry cutter or your fingertips to work the fats into the flour until the mixture resembles coarse crumbs with pea-sized pieces of fat remaining.
Don’t overwork the mixture at this stage. You should still see visible pieces of butter and shortening—they’ll create steam pockets during baking that result in those coveted flaky layers. The shortening adds extra tenderness while the butter provides flavor.
Step 3: Bind the Dough with Liquids
In a small bowl, whisk together the ½ cup ice water and 1 tbsp apple cider vinegar. The vinegar strengthens the gluten structure just enough to create a tender but sturdy crust. Create a well in the center of your flour mixture and pour in the liquid, along with the large egg if using.
Using a fork, gently toss the mixture until it just begins to come together. The dough should look shaggy with some dry bits remaining—this prevents overdevelopment of gluten. If needed, add 1-2 tbsp additional ice water, but err on the side of caution; you can always add more liquid but can’t remove it.
Step 4: Form and Chill the Dough
Turn the dough out onto a lightly floured surface and gently press it together into a cohesive mass. Divide it into two equal portions and shape each into a 1-inch thick disk. Wrap each disk tightly in plastic wrap and refrigerate for at least 1 hour, or preferably overnight.
This chilling period allows the gluten to relax and the fats to resolidify. When you roll out chilled dough, it holds its shape better and creates more distinct layers. The disks also become easier to handle and less likely to stick to your rolling pin or work surface.
Step 5: Roll and Fit the Crust
Remove one disk of dough from the refrigerator and let it sit at room temperature for 5-10 minutes to soften slightly. On a lightly floured surface, roll the dough from the center outward, turning it ¼ turn after each roll to maintain an even circle. Roll until the dough is about ⅛-inch thick and 12 inches in diameter.
Gently fold the dough in half and transfer it to your pie dish, then unfold and press it lightly into the bottom and up the sides. Trim the overhang to ½ inch and crimp the edges decoratively. For a pre-baked crust, freeze for 15 minutes before blind baking at 375°F with pie weights for 15 minutes, then without weights for 5-8 minutes until light golden brown.
Storing and Reheating joy of cooking pie crust
Refrigerator Storage
After rolling out your crust, you can store unbaked dough disks wrapped tightly in plastic wrap for up to 3 days. I like to double-wrap mine—first in plastic, then in a ziplock bag—to prevent any fridge odors from seeping in. The dough actually improves with a 24-hour rest, as the flour fully hydrates and flavors meld. ❄️
Freezer Storage
For longer storage, freeze your dough disks for up to 3 months. Wrap each disk in plastic wrap, then in heavy-duty aluminum foil to prevent freezer burn. When ready to use, thaw overnight in the fridge. I always label mine with the date—I once forgot about a disk for 6 months, and while it still worked, the texture wasn’t as perfect.
Pre-Baked Crust Storage
If you’ve blind-baked a crust, let it cool completely before storing. Wrap it tightly in plastic wrap and keep at room temperature for up to 2 days, or freeze for 1 month. To revive, warm in a 300°F oven for 5-10 minutes until crisp. This works great for prepping pie shells ahead of holiday baking.
Reheating Baked Pies
For whole pies, reheat in a 350°F oven for 15-20 minutes until warmed through. Cover the edges with aluminum foil if they brown too quickly. Individual slices microwave well on 50% power for 30-45 seconds, though the crust won’t stay as crisp. I always prefer the oven method for that just-baked texture.
Handling Leftover Dough
Got scraps? Don’t toss them! Gather the pieces, press into a disk, and reroll once for mini tarts or pie crust cookies. Brush with melted butter, sprinkle with cinnamon sugar, and bake at 375°F for 8-10 minutes. My kids call these “pie crisps” and fight over them. 💛
Reviving Dry Crust
If your stored dough feels dry, sprinkle 1-2 tsp ice water over the surface and knead gently before rolling. For baked crusts that have lost crispness, pop them back in a 325°F oven for 5 minutes. I’ve saved many a pie with this trick—just watch closely to avoid over-browning!
Nutrition Facts

Trained in classic French technique but raised on slow-cooked ribs and spicy rubs, she blends culinary skill with smoke and soul.
- Recipe for Boneless Pork Chops in Cast Iron Skillet: Sear and Baste to Juicy Perfection - October 3, 2026
- Recipe for Boneless Cross Rib Roast: Slow-Roasted Beef with Herb Crust - October 3, 2026
- Hamburgers in Sauce Recipe Crock Pot: Slow-Cooked Savory Delight - October 3, 2026