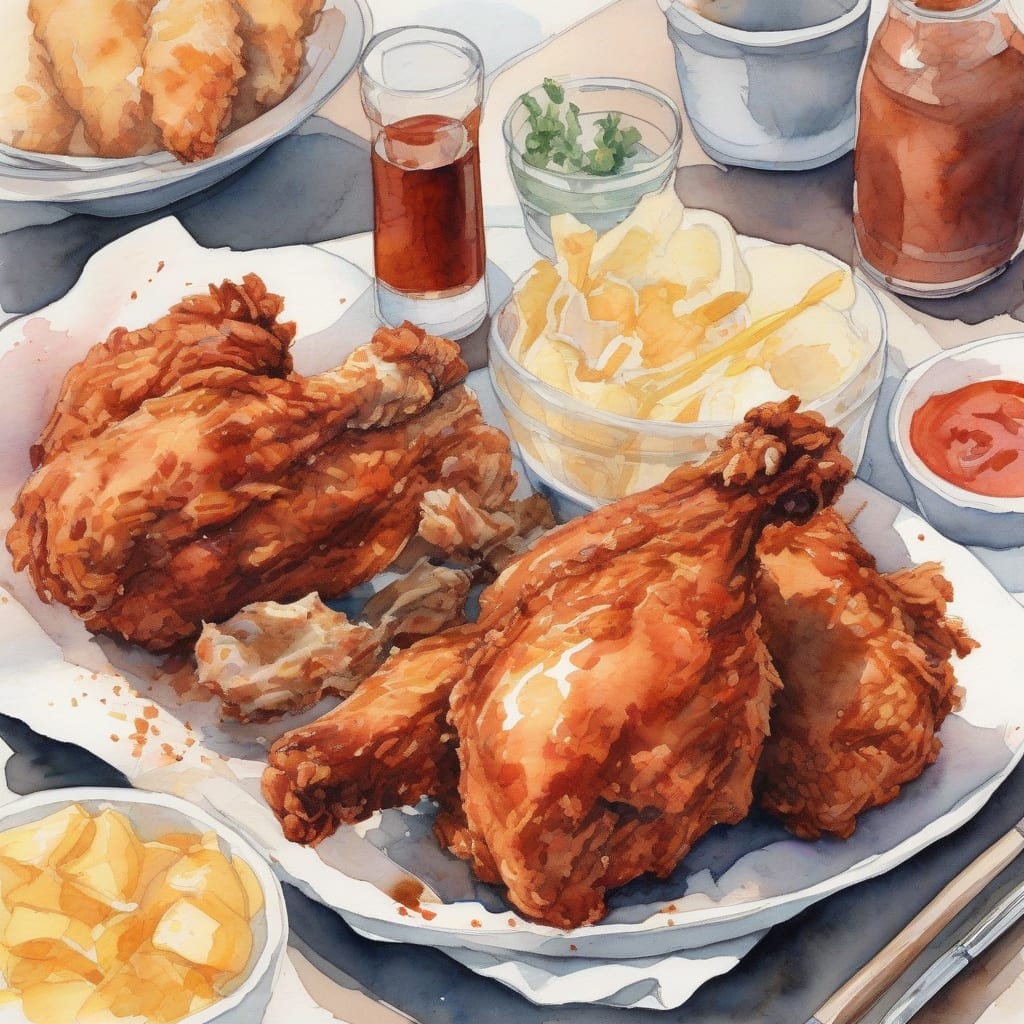
I’m sharing my secret Kennedy Fried Chicken recipe that’s been a family favorite for years. 🔥 This crispy, juicy fried chicken is perfect for any occasion, whether you’re feeding a crowd or just craving comfort food.
The key to this recipe is a special blend of spices in the marinade that gives the chicken incredible flavor. I marinate the chicken pieces in buttermilk before coating them in a seasoned flour mixture, ensuring they stay juicy and develop a crispy exterior.
By frying the chicken at the right temperature, you’ll achieve that perfect golden-brown crust. Serve with your favorite sides, like mashed potatoes or coleslaw, for a meal that’s sure to please everyone.
Let’s get started and make this delicious Kennedy Fried Chicken that’ll become a staple in your household!
Ingredients for kennedy fried chicken
Here’s everything you need to make crispy, juicy Kennedy Fried Chicken at home easily.
| Ingredient | Amount | Notes |
|---|---|---|
| Chicken Pieces 🍗 | 2 lb | Mix of legs, thighs, breasts, wings |
| Buttermilk 🥛 | 2 cups | For marinating chicken |
| All-Purpose Flour 🌾 | 2 cups | For coating chicken |
| Paprika 🌶️ | 2 tbsp | Smoked or sweet variety |
| Garlic Powder 🧄 | 1 tbsp | Not garlic salt |
| Onion Powder 🧅 | 1 tbsp | Fresh ground preferred |
| Salt 🧂 | 1 tbsp | Kosher or sea salt |
| Black Pepper 🌶️ | 1 tsp | Freshly ground preferred |
| Cayenne Pepper 🔥 | ½ tsp | Adjust for heat preference |
| Vegetable Oil 🫒 | 4 cups | For frying chicken |
| Fresh Parsley 🌿 | ¼ cup | Chopped, for garnish |
[recipe_ingredient_scaler]
You can find all these ingredients at your local grocery store. For the best quality chicken, choose organic or free-range from a trusted butcher. Penzeys or McCormick spices offer consistent flavor. Look for fresh parsley with vibrant color and firm leaves.
If you don't have buttermilk, make a substitute by mixing 1 cup of milk with 1 tbsp white vinegar or lemon juice. Let it sit for 5-10 minutes to thicken. For an extra crispy coating, add 1 tsp cornstarch to the flour mixture. Adjust the cayenne pepper based on your family's heat preference.
Store leftover fried chicken in an airtight container in the fridge for up to 3 days. Reheat in the oven at 375°F to maintain crispiness. Keep fresh parsley wrapped in damp paper towels in the crisper drawer for up to 5 days.
Step-by-Step Instructions for Kennedy Fried Chicken
Follow my detailed guide to achieve perfectly crispy Kennedy Fried Chicken every time, with juicy meat and flavorful coating.
👨🍳 Step 1: Marinate Chicken in Buttermilk
In a large bowl, combine the 2 lb Chicken Pieces and 2 cups Buttermilk. I like to use a mix of legs, thighs, breasts, and wings for variety in texture and flavor. Make sure the chicken is fully submerged in the buttermilk—if necessary, weigh it down with a plate or use a zip-top bag. Cover and refrigerate for at least 2 hours or overnight for maximum tenderness. The acidity in the buttermilk will break down the proteins, resulting in juicy, tender meat.
As the chicken marinates, the buttermilk will start to curdle and thicken slightly around the pieces. This is a good sign that the marinade is working effectively. Don’t skip this step—the buttermilk marinade is crucial for achieving that signature tender, juicy interior.
👨🍳 Step 2: Prepare the Spice-Infused Flour Coating
In a separate large bowl, mix together the 2 cups All-Purpose Flour, 2 tbsp Paprika, 1 tbsp Garlic Powder, 1 tbsp Onion Powder, 1 tbsp Salt, 1 tsp Black Pepper, and 0.5 tsp Cayenne Pepper. I prefer using smoked paprika for a deeper flavor profile, but sweet paprika works well too. Make sure to mix the dry ingredients thoroughly so that the spices are evenly distributed throughout the flour.
The spice blend creates a complex, aromatic coating that complements the chicken beautifully. You can adjust the amount of cayenne pepper based on your desired level of heat. For an extra crispy coating, you can chill the flour mixture in the refrigerator for 30 minutes before using.
🍳 Step 3: Dredge Chicken and Fry to Golden Perfection
Heat 4 cups Vegetable Oil in a large, heavy-bottomed pot or deep fryer to 350°F. While the oil is heating, remove the chicken pieces from the buttermilk marinade, letting any excess liquid drip off. Dredge the chicken pieces in the prepared flour mixture, pressing the coating onto the chicken to ensure it adheres well. I like to double-dip for an extra crunchy coating: after the first coating, dip the chicken back into the buttermilk and then into the flour mixture again.
Once the oil reaches 350°F, carefully add a few pieces of coated chicken to the hot oil—don’t overcrowd the pot. Fry for 8-10 minutes until the coating is golden brown and the internal temperature reaches 165°F. Repeat with the remaining chicken pieces, adjusting the heat as needed to maintain the oil temperature.
⏰ Step 4: Drain and Rest the Fried Chicken
Using a slotted spoon, transfer the fried chicken to a wire rack set over a baking sheet or tray. This allows excess oil to drip off while keeping the chicken crispy. Let the chicken rest for 5-10 minutes before serving. This resting period allows the juices to redistribute throughout the meat, ensuring maximum juiciness.
While the chicken is resting, sprinkle the chopped 0.0 cup Fresh Parsley over the top for a fresh, burst of flavor. Serve immediately while still warm and enjoy the crispy, juicy Kennedy Fried Chicken.
🍽️ Step 5: Serve and Enjoy
Transfer the fried chicken to a serving platter or individual plates. The chicken should be golden brown on the outside, with a crispy coating that gives way to juicy, tender meat inside. Serve with your favorite sides, such as mashed potatoes, coleslaw, or biscuits, and enjoy the delightful combination of flavors and textures.
For an extra touch, serve with additional buttermilk biscuits or a side of spicy dipping sauce to complement the fried chicken. The Kennedy Fried Chicken is best enjoyed fresh and hot, straight from the fryer.
Get ready to indulge in the crispiest, juiciest fried chicken you’ve ever tasted with the Kennedy Fried Chicken recipe! 😋 This mouth-watering dish is a perfect blend of flavors and textures that will leave you craving for more. The secret lies in the special blend of spices and herbs that coat the chicken, making it irresistible to anyone who takes a bite.
🔪 Preparing the Marinade
The first step in making Kennedy Fried Chicken is to prepare the marinade. In a large bowl, whisk together buttermilk, hot sauce, garlic powder, onion powder, salt, and black pepper. Add the chicken pieces to the marinade and mix well to coat. Cover the bowl with plastic wrap and refrigerate for at least 2 hours or overnight.
🍳 Dredging the Chicken
In a separate bowl, mix together all-purpose flour, cornstarch, paprika, garlic powder, onion powder, salt, and black pepper. Remove the chicken from the marinade, letting any excess liquid drip off. Dredge the chicken pieces in the flour mixture, shaking off any excess.
🔥 Frying the Chicken
Heat about 1/2-inch of vegetable oil in a large skillet over medium-high heat until it reaches 350°F. Carefully place the dredged chicken pieces in the hot oil and fry until golden brown and cooked through, about 5-7 minutes per batch. Repeat with the remaining chicken pieces.
To take your Kennedy Fried Chicken to the next level, here are some pro tips:
- Use a thermometer to ensure the oil reaches the correct temperature 💡
- Don’t overcrowd the skillet, fry in batches if necessary 🔥
- Drain the fried chicken on paper towels to remove excess oil 🌡️
Tips & Tricks for Perfect Kennedy Fried Chicken
These expert tips will help you achieve crispy, juicy Kennedy Fried Chicken that rivals your favorite restaurant.
Temperature Control: Maintaining the correct oil temperature is crucial. Use a thermometer to keep the oil at 350°F throughout frying. If you don’t have a thermometer, test the oil by dropping a small piece of flour mixture into the oil—it should sizzle gently. 🔥
Double-Dipping for Extra Crunch: For an exceptionally crispy coating, double-dip your chicken pieces as described in Step 3. The second coating adheres better when you dip back into the buttermilk before the final flour coating, creating that signature crunch.
Resting is Key: After frying, let the chicken rest on a wire rack for 5-10 minutes as mentioned in Step 4. This resting period allows excess oil to drip off and the juices to redistribute, keeping the chicken juicy and the coating crispy.
Proper Storage: If you have leftovers, store them in an airtight container in the refrigerator for up to 3 days. To reheat, place the chicken on a baking sheet and bake in a preheated oven at 375°F for 15-20 minutes, or until crispy and heated through. 🌡️
Nutrition Facts
540kcal
[recipe_ingredient_scaler]

Trained in classic French technique but raised on slow-cooked ribs and spicy rubs, she blends culinary skill with smoke and soul.
- Recipe for Boneless Pork Chops in Cast Iron Skillet: Sear and Baste to Juicy Perfection - October 3, 2026
- Recipe for Boneless Cross Rib Roast: Slow-Roasted Beef with Herb Crust - October 3, 2026
- Hamburgers in Sauce Recipe Crock Pot: Slow-Cooked Savory Delight - October 3, 2026