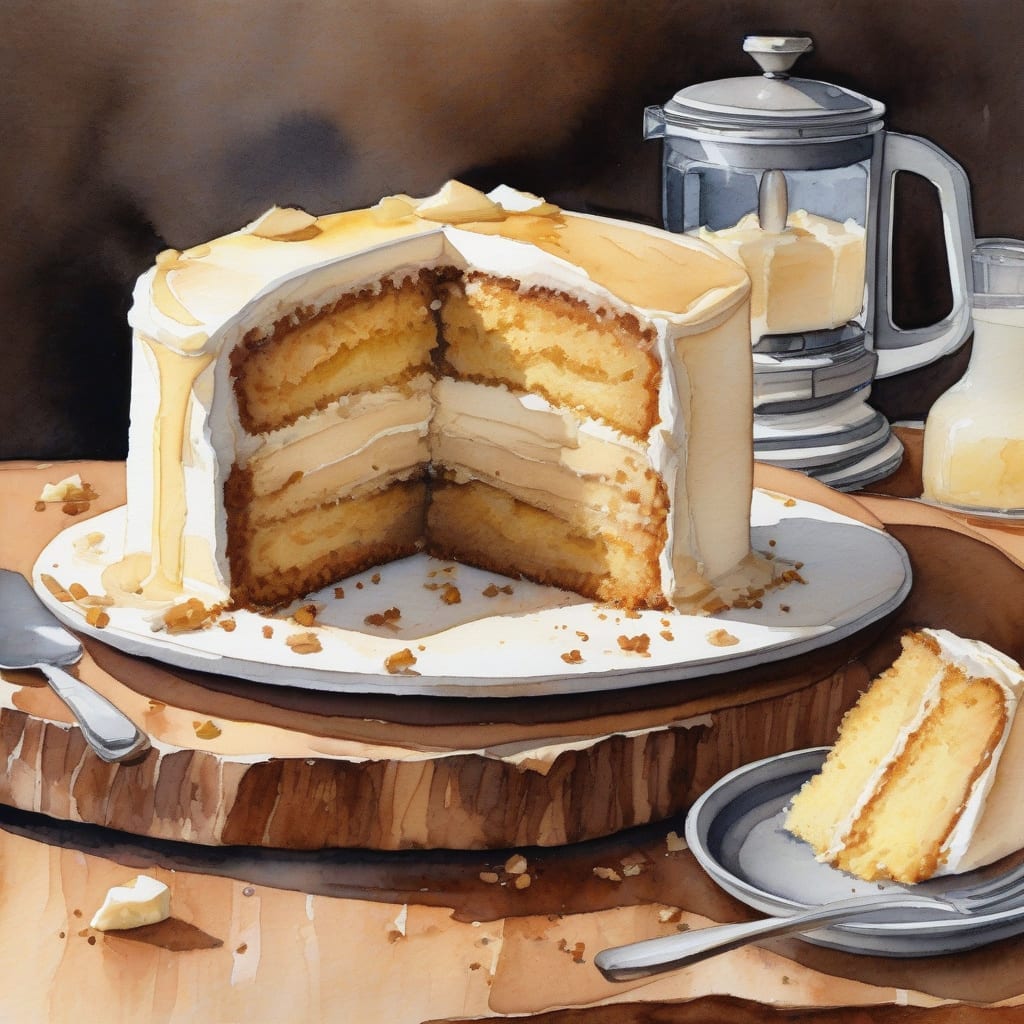
Baking a cake has never been easier, thanks to the KitchenAid mixer. This reliable kitchen companion takes the hassle out of mixing, ensuring a perfectly blended batter every time. With just a few simple steps, you’ll create a delightful cake that’s perfect for any occasion.
This recipe focuses on straightforward techniques and common ingredients, making it accessible for bakers of all levels. You’ll be amazed at how quickly you can whip up a moist, delicious cake without the fuss of traditional mixing methods.
Once baked, you’ll enjoy a cake that’s fluffy, tender, and ready to be decorated or served as is. Whether it’s for a birthday, a family gathering, or just because, this cake will surely impress. Let’s get started on this effortless baking adventure!
Ingredients for Kitchenaid mixer cake
Gather these fresh ingredients to create a delightful cake effortlessly with your mixer.
| Ingredient | Amount | Notes |
|---|---|---|
| All-Purpose Flour 🌾 | 2 cups | Sifted for lightness |
| Granulated Sugar 🍬 | 1 ½ cups | For sweetness and texture |
| Baking Powder 🧂 | 1 ½ tsp | Leavening agent for fluffiness |
| Salt 🧂 | ½ tsp | Enhances flavor balance |
| Unsalted Butter 🧈 | ½ cup | Softened for easy mixing |
| Large Eggs 🥚 | 3 whole | Room temperature for better incorporation |
| Vanilla Extract 🍦 | 2 tsp | Pure extract for flavor depth |
| Milk 🥛 | 1 cup | Whole milk for richness |
| Powdered Sugar 🍬 | 1 cup | For frosting or dusting |
| Cocoa Powder 🍫 | ½ cup | For chocolate flavor (optional) |
[recipe_ingredient_scaler]
You can find all these ingredients at any grocery store, with brands like King Arthur Flour for flour and Land O'Lakes for butter ensuring quality. Look for granulated sugar that is fine and white, and check the expiration dates on baking powder to guarantee effectiveness. Whole Foods and Trader Joe's are great sources for organic options if preferred.
If you don't have unsalted butter, you can use salted butter but reduce added salt slightly. For a dairy-free option, substitute with coconut oil or vegan butter. If you're out of eggs, a flax egg (1 tbsp ground flaxseed mixed with 3 tbsp water) works well as a binder. Whole milk can be replaced with almond milk or oat milk without much impact on texture.
Store leftover cake in an airtight container at room temperature for up to 3 days, or refrigerate for up to a week. For longer storage, wrap slices in plastic wrap and freeze for up to 3 months. Bring to room temperature before serving for the best flavor and texture.
Step-by-Step Instructions for KitchenAid Mixer Cake
Let me guide you through each step of this process to ensure perfect results every time.
👨🍳 Step 1: Prepare Your Ingredients
Start by gathering all your ingredients. Measure out 2 cups of all-purpose flour, 1.5 cups of granulated sugar, 1.5 teaspoons of baking powder, and 0.5 teaspoon of salt. I find it helpful to sift the flour, as this adds lightness to the cake. Set these dry ingredients aside for later use.
Next, bring out your 0.5 cup of softened unsalted butter and let it sit at room temperature if it’s not already soft. This will make mixing much easier. Also, crack open 3 large eggs and let them reach room temperature for better incorporation into the batter.
🍳 Step 2: Mix the Batter in Your KitchenAid Mixer
In your KitchenAid mixer bowl, combine the softened butter and granulated sugar. Beat them together on medium speed until the mixture becomes light and fluffy, about 3-5 minutes. You’ll notice it changing color and texture—this is a sign that air has been incorporated, which is essential for a fluffy cake.
Once fluffy, add the room temperature eggs one at a time, mixing well after each addition. Then pour in 2 teaspoons of vanilla extract for flavor. Continue mixing until everything is well combined and smooth.
🥘 Step 3: Combine Dry Ingredients and Milk
With the mixer on low speed, gradually add the sifted dry ingredients into the wet mixture. Alternate this with adding 1 cup of milk, starting and ending with the dry ingredients. This method helps prevent clumping and ensures a smooth batter. Mix just until combined; over-mixing can lead to a dense cake.
If you’re making a chocolate version, now’s the time to fold in 0.5 cup of cocoa powder. Be careful not to overwork the batter—stop mixing when you no longer see flour streaks for the best texture.
🔥 Step 4: Bake Your Cake
Preheat your oven to 350°F. While it’s heating, prepare your cake pans by greasing them with butter or non-stick spray. Pour the batter evenly into the pans, filling them about two-thirds full to allow for rising.
Bake in the preheated oven for about 25-30 minutes. You’ll know the cake is done when it’s golden brown and a toothpick inserted in the center comes out clean. Keep an eye on it; every oven is different!
⏰ Step 5: Cool and Frost Your Cake
Once baked, remove the cakes from the oven and let them cool in the pans for about 10 minutes. Then transfer them to a wire rack to cool completely before frosting. This cooling period is crucial; frosting on warm cake can lead to melting and sliding.
If you want a simple frosting, whisk together 1 cup of powdered sugar with a little milk until you reach your desired consistency. Once the cakes are cool, frost generously between layers and on top. Enjoy your delicious creation!
Baking Essentials: Tools for Your KitchenAid Cake Adventure
To make the most of your KitchenAid mixer cake, having the right tools on hand is essential. I always reach for my Kitchenaid 5-Quart Stand Mixer, which has the perfect power for blending even the thickest batters smoothly. The flat beater attachment is my go-to for cake mixing, ensuring all ingredients are well combined without any lumps. 🎂
For measuring ingredients accurately, a set of dry measuring cups and measuring spoons is crucial. I recommend using Pyrex glass measuring cups for liquids to ensure precision. Additionally, a digital kitchen scale can be a game-changer for weighing ingredients like flour and sugar, which can vary in volume based on how they’re packed. ⚖️
When it comes to baking pans, I swear by Wilton non-stick round cake pans. Their even heat distribution helps prevent burnt edges while ensuring a perfectly baked cake. Don’t forget parchment paper to line the bottom of the pans—this makes removing the cakes a breeze! 🥳
Lastly, consider investing in a wire cooling rack to let your cakes cool evenly. This prevents sogginess on the bottom and allows for faster cooling, so you can frost sooner. With these tools, you’ll be well-equipped for an effortless baking experience! 🔥
Nutrition Facts
360kcal

Trained in classic French technique but raised on slow-cooked ribs and spicy rubs, she blends culinary skill with smoke and soul.
- Recipe for Boneless Pork Chops in Cast Iron Skillet: Sear and Baste to Juicy Perfection - October 3, 2026
- Recipe for Boneless Cross Rib Roast: Slow-Roasted Beef with Herb Crust - October 3, 2026
- Hamburgers in Sauce Recipe Crock Pot: Slow-Cooked Savory Delight - October 3, 2026