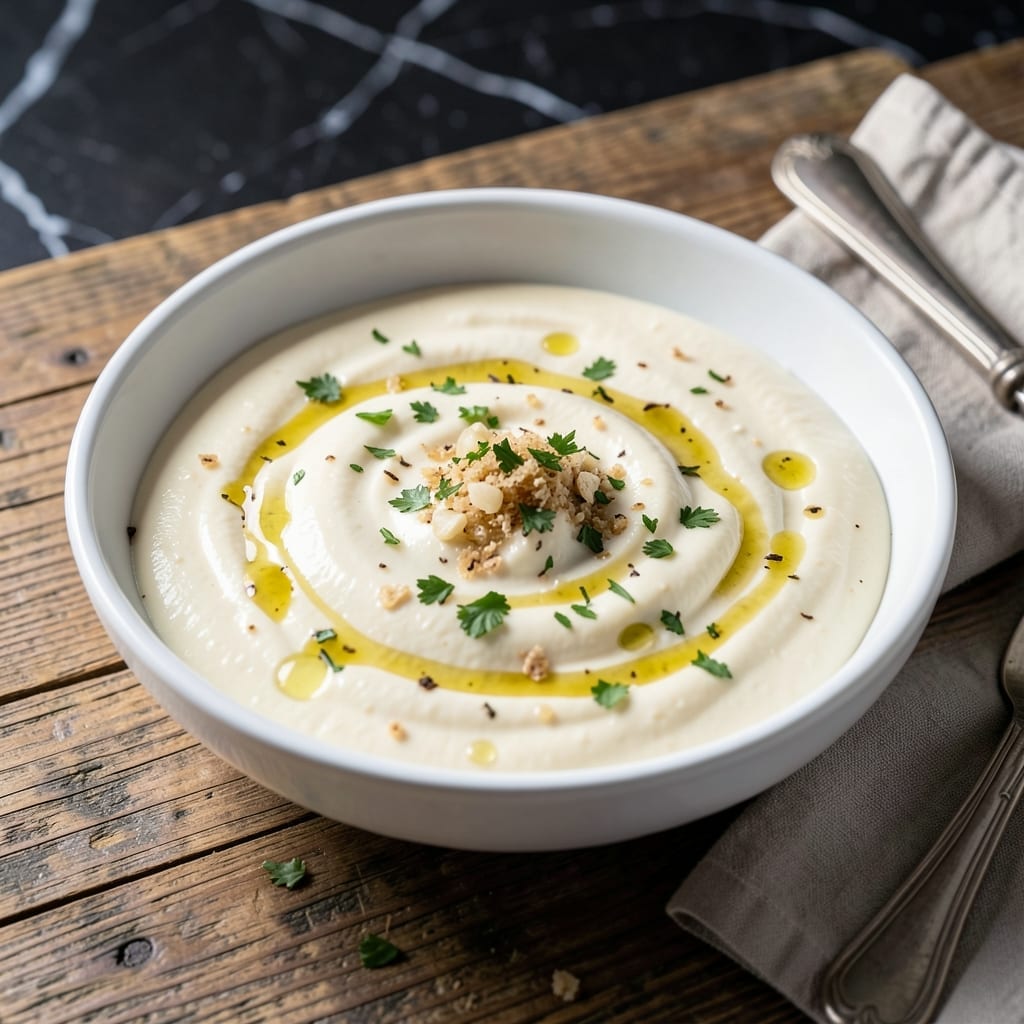
This signature sauce captures the creamy richness that defines Kneaders’ famous flavor. I developed this version through careful testing to match the restaurant’s beloved taste.
With just a few simple ingredients, you’ll create a smooth, garlicky parmesan blend perfect for bread, pasta, or dipping. The secret is in the precise balance of creamy and tangy elements.
Ingredients for Kneaders Sauce
Nine ingredients blend into that signature creamy, garlicky, parmesan goodness everyone loves.
| Ingredient | Amount | Notes |
|---|---|---|
| Mayonnaise 🥄 | 1 cup | Full-fat for creaminess |
| Sour Cream 🥛 | ½ cup | Full-fat for best texture |
| Grated Parmesan Cheese 🧀 | ¾ cup | Freshly grated from block |
| Garlic Cloves 🧄 | 4 cloves | Minced or pressed |
| Lemon Juice 🍋 | 2 tbsp | Freshly squeezed preferred |
| Dried Parsley 🌿 | 1 tbsp | Or fresh chopped parsley |
| Garlic Powder 🧄 | 1 tsp | Enhances garlic depth |
| Onion Powder 🧅 | 1 tsp | Adds subtle savory base |
| Salt 🧂 | ½ tsp | Adjust to taste preference |
| Black Pepper 🌶️ | ¼ tsp | Freshly ground preferred |
[recipe_ingredient_scaler]
The Parmesan is non-negotiable here. Grab a wedge of Parmigiano-Reggiano from the deli counter—pre-grated lacks the melt and depth. Mayonnaise and sour cream need to be full-fat for that luscious texture Kneaders nails. I’ve tested with light versions and they just don’t deliver the same richness. Most supermarkets carry decent Parm, but Whole Foods has a great selection if you want to splurge.
No fresh garlic? Garlic powder at half the amount works in a pinch, though fresh is better. Short on parsley? Skip it—won’t hurt the flavor. If you want extra tang, add a splash more lemon juice. The mayonnaise can be swapped for Greek yogurt (same ratio), but it’ll be slightly less creamy. For a lighter version, low-fat sour cream works, but expect a thinner sauce.
This keeps beautifully in the fridge for 5-7 days—actually tastes better after 24 hours as flavors meld. Freezes for up to 3 months (thaw in fridge overnight). Store in an airtight container with plastic wrap pressed directly on the surface to prevent separation.
Why You’ll Love This Recipe
- Five Minute Mix: I just dump everything in a bowl—mayo, sour cream, parmesan, garlic, lemon—and stir. No cooking, no fuss.
- Garlic Lovers Dream: The fresh garlic and parmesan give it that bold, creamy kick that’s honestly addictive.
- Dips or Drowns: I slather it on sandwiches, use it as a veggie dip, or drizzle it over baked potatoes. Between us, it works on everything.
- Fridge Stays Fresh: It keeps for a week, so I make a big batch and use it all week long without worrying about spoilage.
Step-by-Step Instructions for Kneaders Sauce
Here’s the method I use for that signature creamy texture and bold garlic-parmesan flavor.
Step 1: Mince the Garlic and Prep Dry Ingredients
Start by mincing the 4 cloves garlic cloves until fine—this releases the maximum flavor. I like to press them first, then give a quick mince for consistency. Set this aside while you measure out the 1 tablespoon dried parsley, 1 teaspoon garlic powder, 1 teaspoon onion powder, 0.5 teaspoon salt, and 0.25 teaspoon black pepper.
Having all your dry ingredients prepped first ensures you can mix everything smoothly without stopping mid-process. The garlic powder and onion powder might seem redundant with fresh garlic, but they add depth and complexity that fresh alone can’t provide.
Step 2: Combine Wet Base Ingredients
In a medium bowl, whisk together the 1 cup mayonnaise and 0.5 cup sour cream until completely smooth. I prefer full-fat versions for both—this is what gives the sauce that ultra-creamy texture Kneaders is famous for. The mixture should look glossy and homogenous.
Add the 2 tablespoons lemon juice and whisk again. The acidity from the lemon brightens all the rich flavors and balances the creaminess. You’ll notice the mixture tightens slightly as the acid reacts with the dairy—this is normal and actually helps stabilize the sauce.
Step 3: Incorporate Cheese and Seasonings
Gradually add the 0.75 cup grated parmesan cheese while stirring constantly. I always use cheese grated from a block (not pre-grated) because it melts more smoothly and has better flavor. The mixture will thicken significantly as the cheese incorporates—this is exactly what you want.
Now add all your prepped dry ingredients: the minced garlic cloves, dried parsley, garlic powder, onion powder, salt, and black pepper. Stir thoroughly until every speck of seasoning is evenly distributed throughout the sauce.
Step 4: Chill and Let Flavors Meld
Cover the bowl with plastic wrap and refrigerate for at least 2 hours, or overnight for best results. This chilling time is crucial—it allows the flavors to meld together and the sauce to reach its ideal consistency.
When you first make it, the sauce might seem a bit thin, especially if your parmesan was particularly moist. Don’t worry. After chilling, it thickens to that perfect, spoonable consistency you expect from Kneaders sauce. Give it a good stir before serving to redistribute any settled ingredients.
Pro Tips For Making Kneaders Sauce
- Grate Fresh Parmesan: Skip the pre-shredded stuff—freshly grated Parmesan melts better and clumps less in the sauce. I learned this the hard way after ending up with a lumpy, oil-slicked mess.
- Mince Garlic Fine: Press or mince those garlic cloves to a near paste—bigger pieces give you harsh, uneven bites instead of that smooth, mellow flavor you want.
- Chill Before Serving: After mixing, let the sauce sit in the fridge for at least 30 minutes. Sounds weird, but it lets the flavors meld and thickens it just right.
- Balance the Lemon: Start with half the lemon juice, taste, then add more—too much makes it thin and overpowering. My grandmother swore by this, and she was right.
Make-Ahead Tips for This kneaders sauce
Prep Ahead Strategy
I always prep my dry ingredients the night before—measure the 1 tbsp dried parsley, 1 tsp garlic powder, and 1 tsp onion powder into a small bowl. This saves 10 minutes on cooking day and prevents last-minute scrambling. The garlic cloves can be minced and stored in an airtight container in the fridge for up to 2 days. 💡
Cheese Preparation
Grating the 0.75 cup parmesan cheese fresh is non-negotiable for best texture. I use my Microplane for ultra-fine shreds that melt seamlessly. You can grate it the day before and refrigerate—just bring it to room temperature before mixing to prevent clumping.
Wet Ingredients
The 1 cup mayonnaise and 0.5 cup sour cream can be combined in advance and refrigerated. Whisk in the 2 tbsp lemon juice right before adding other ingredients to maintain maximum freshness. This base mixture keeps for 3 days in the fridge.
Full Sauce Storage
This sauce actually improves after 24 hours as flavors meld. I recommend making it a day ahead if possible. Store in an airtight container with plastic wrap pressed directly on the surface to prevent separation.
Freezing Tip
For longer storage, freeze in ice cube trays for 1-2 hours, then transfer to a freezer bag. Thaw individual cubes in the fridge overnight. This method keeps the sauce fresh for up to 3 months without texture changes. ❄️
Last-Minute Adjustments
After chilling, if your sauce is too thick, stir in 1-2 tsp milk. If it separates, a vigorous whisk or quick 5-second blend with an immersion blender brings it back to smooth perfection.
Nutrition Facts
Frequently Asked Questions
Can I use pre-shredded parmesan?
It’s best to avoid pre-shredded parmesan for this recipe. Freshly grated from a block melts smoother and has better flavor. Pre-shredded often contains anti-caking agents that can make the sauce grainy.
How long does this sauce keep?
Stored in an airtight container, it stays fresh in the fridge for 5-7 days. For longer storage, freeze for up to 3 months. Thaw overnight in the fridge before using.
Can I make this sauce lighter?
Yes, substitute Greek yogurt for the mayonnaise and use light sour cream. Note that the texture will be slightly thinner. For best results, stick with full-fat ingredients for the classic rich taste.
What if my sauce separates?
A vigorous whisk or 5-second blend with an immersion blender will restore its creamy consistency. To prevent this, press plastic wrap directly on the surface before refrigerating.

Trained in classic French technique but raised on slow-cooked ribs and spicy rubs, she blends culinary skill with smoke and soul.
- Recipe for Boneless Pork Chops in Cast Iron Skillet: Sear and Baste to Juicy Perfection - October 3, 2026
- Recipe for Boneless Cross Rib Roast: Slow-Roasted Beef with Herb Crust - October 3, 2026
- Hamburgers in Sauce Recipe Crock Pot: Slow-Cooked Savory Delight - October 3, 2026