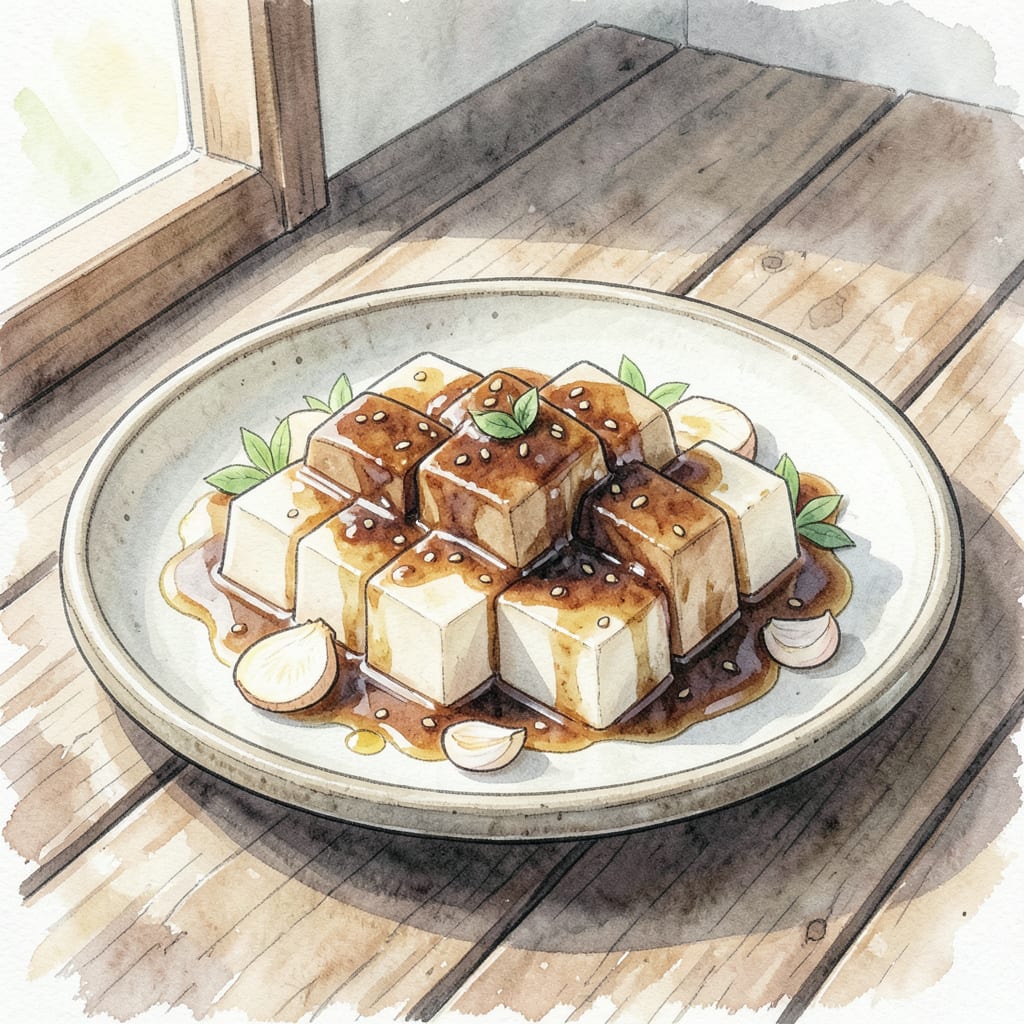
As a pitmaster with a passion for global flavors, I’m excited to share this traditional Japanese konnyaku recipe that brings the authentic taste of shirataki noodles to your table. 🔥 Konnyaku, made from konjac yam, offers a unique texture that’s both versatile and nutritious.
This Japanese-style shirataki noodle dish showcases konnyaku’s ability to absorb flavors while maintaining its signature chewiness. By following traditional preparation methods, you’ll create a delicious and authentic meal that’s perfect for any occasion, whether you’re looking to explore new flavors or simply enjoy a hearty, satisfying dish.
Ingredients for Konnyaku
Gather these authentic ingredients to create traditional Japanese konnyaku with shirataki noodles.
| Ingredient | Amount | Notes |
|---|---|---|
| Konnyaku 🌾 | 1 package | Rinse before using |
| Soy Sauce 🧂 | ¼ cup | Use low-sodium variety |
| Rice Vinegar 🍚 | 2 tbsp | Unseasoned rice vinegar preferred |
| Sesame Oil 🫒 | 1 tbsp | Toasted sesame oil for nuttiness |
| Ginger 🧄 | 2 tbsp | Freshly grated |
| Garlic Cloves 🧄 | 3 cloves | Minced |
| Green Onions 🌿 | ¼ cup | Thinly sliced for garnish |
| Sesame Seeds 🥜 | 1 tbsp | Toasted for best flavor |
| Mirin 🍶 | 1 tbsp | Sweet Japanese cooking sake |
| Sugar 🍮 | ½ tsp | White granulated sugar |
| Black Pepper 🌶️ | ¼ tsp | Freshly ground |
[recipe_ingredient_scaler]
For the best konnyaku, look for Asian markets or well-stocked supermarkets. Some brands come pre-rinsed, but a quick rinse under cold water never hurts. I prefer the firm texture that comes from rinsing. If you’re new to konnyaku, start with a trusted brand like House Foods or Yamada Noodle.
No mirin? Mix equal parts sake and sugar as a substitute. For a different flavor profile, try adding shiitake mushrooms or thinly sliced carrots. If you can’t find pre-minced ginger, grate a knob of fresh ginger using a microplane. The sesame oil adds depth, but you can omit it if you’re not a fan.
This dish keeps well in the fridge for up to 3 days. Reheat gently in a sauce pan with a splash of water or broth to prevent sticking. You can also freeze cooked konnyaku for up to 1 month—just thaw and reheat.
Step-by-Step Instructions for Konnyaku Recipe
Let’s bring this Japanese-inspired shirataki noodle dish to life with simple, effective steps.
👨🍳 Step 1: Prepare the Konnyaku
Start by rinsing the 1 package Konnyaku under cold water to remove any packaging residue. I like to give it a good rinse to ensure it’s clean and ready for cooking. After rinsing, drain well and cut into your desired noodle length. Some people prefer shorter lengths for easier eating, while others like to keep them longer for a more authentic texture.
Once cut, give the konnyaku a quick blanch in boiling water for 2-3 minutes to remove any earthy flavor. This step makes a big difference in the overall taste. Drain immediately and set aside to cool.
🍳 Step 2: Create the Flavorful Sauce
In a small saucepan, combine 0.25 cup Soy Sauce, 2 tbsp Rice Vinegar, 1 tbsp Mirin, and 0.5 tsp Sugar. I use low-sodium soy sauce to control the saltiness. Bring the mixture to a simmer over medium heat, whisking constantly until the sugar dissolves completely.
Reduce the heat to low and let it simmer gently for 5 minutes until the sauce thickens slightly and develops a rich, glossy appearance. You’ll know it’s ready when it coats the back of a spoon. Remove from heat and set aside to cool slightly.
🔥 Step 3: Sauté Aromatics and Konnyaku
Heat 1 tbsp Sesame Oil in a large skillet over medium-high heat. Once hot, add 2 tbsp Ginger and 3 cloves Garlic Cloves, sautéing for 1-2 minutes until fragrant. Be careful not to burn the garlic—stir constantly to prevent browning.
Add the prepared konnyaku to the skillet, stirring to coat with the aromatic oil mixture. Cook for 3-4 minutes, stirring frequently, until the konnyaku is heated through and starts to brown slightly. The sesame oil will infuse the dish with a wonderful nutty flavor.
🥘 Step 4: Combine and Finish
Pour the prepared sauce over the konnyaku mixture in the skillet. Toss everything together to coat the noodles evenly. Let it simmer together for 1-2 minutes over low heat, allowing the flavors to meld.
Remove from heat and garnish with 0.25 cup Green Onions and 1 tbsp Sesame Seeds. The fresh green onions add a nice crunch, while the toasted sesame seeds provide a satisfying nutty flavor. Season with 0.25 tsp Black Pepper to taste. Serve immediately while warm and enjoy!
Make-Ahead Tips for This Recipe
Advance Preparation Tips
Preparing konnyaku in advance can save you time on busy days. I like to rinse and blanch the konnyaku the night before, then store it in an airtight container in the refrigerator. This step helps remove any earthy flavor and makes the final cooking process quicker. Simply give it a quick rinse before using.
Sauce Storage Strategies
The flavorful sauce can be made ahead and stored in the refrigerator for up to 5 days. I recommend making a double batch and storing it in a glass jar with a tight-fitting lid. When you’re ready to use it, give the sauce a quick whisk and reheat it gently in a saucepan over low heat. This sauce is versatile and can be used for other dishes too.
Meal Prep Benefits
Konnyaku is perfect for meal prep as it keeps well in the refrigerator for up to 3 days. After cooking, let it cool completely before transferring it to an airtight container. You can portion it into individual servings for quick lunches or dinners throughout the week. Simply reheat with a splash of water or broth to prevent sticking.
Freezing Konnyaku
If you want to extend the storage time, you can freeze cooked konnyaku for up to 1 month. I recommend portioning it into freezer-safe bags or containers, making sure to remove as much air as possible before sealing. When you’re ready to eat it, thaw overnight in the refrigerator and reheat gently. Keep in mind that freezing may slightly affect the texture, but it remains delicious.
Reheating Techniques
To maintain the best texture when reheating, use a saucepan with a small amount of water or broth over medium-low heat. Stir frequently to prevent sticking, and add more liquid as needed. You can also reheat in the microwave, but be sure to cover the container to retain moisture and heat it in short intervals, checking until it’s warmed through.
Customizing Your Make-Ahead Plan
Nutrition Facts

Trained in classic French technique but raised on slow-cooked ribs and spicy rubs, she blends culinary skill with smoke and soul.
- Recipe for Boneless Pork Chops in Cast Iron Skillet: Sear and Baste to Juicy Perfection - October 3, 2026
- Recipe for Boneless Cross Rib Roast: Slow-Roasted Beef with Herb Crust - October 3, 2026
- Hamburgers in Sauce Recipe Crock Pot: Slow-Cooked Savory Delight - October 3, 2026