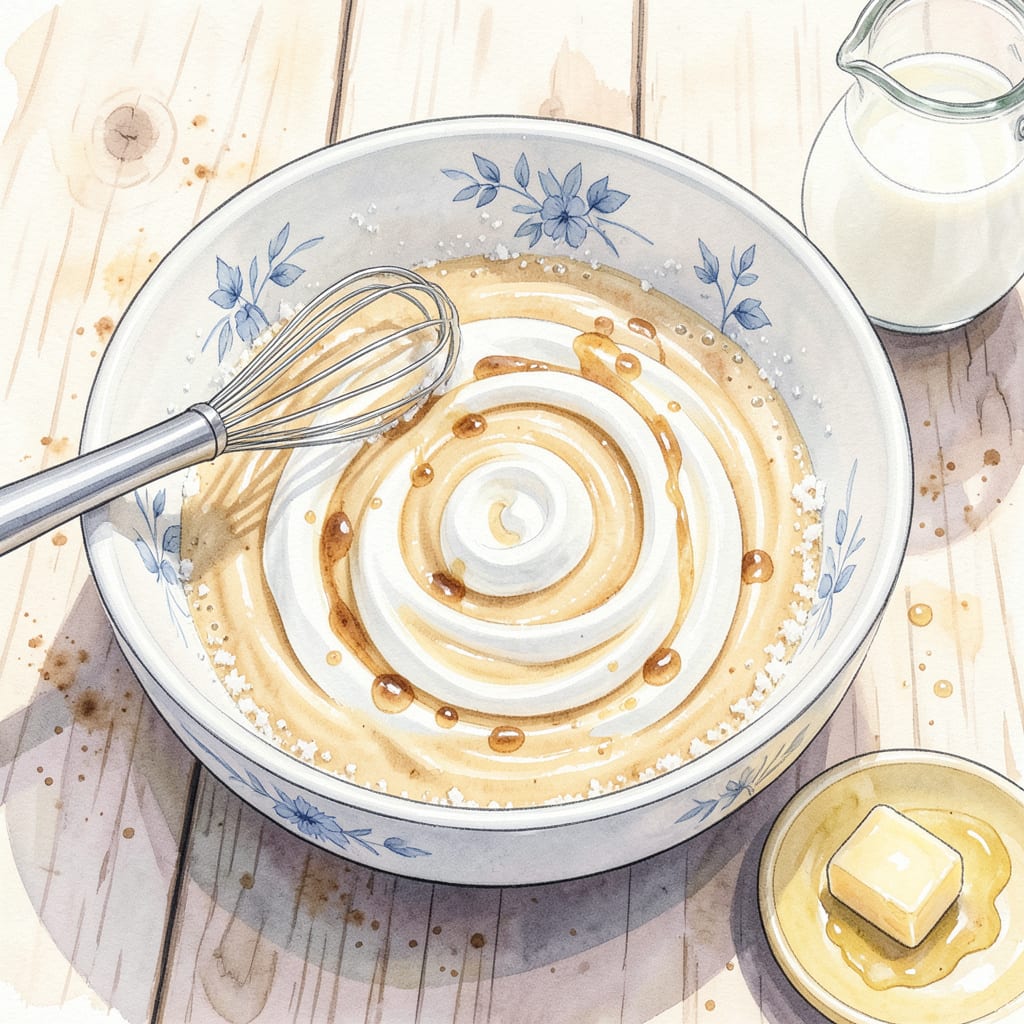
I’ll be real with you—nothing beats that first bite of a filled donut where the center just oozes out. This recipe nails that signature creamy Krispy Kreme-style filling that’s smooth enough to pipe but rich enough to stand alone. No fancy equipment needed, just simple ingredients and a little patience.
What makes this special is the balance: sweet but not cloying, thick but still silky. I’ve tested this with vanilla custard, raspberry jam, and even cream cheese versions—all work perfectly in glazed donuts or as a pastry filling. Store it right, and you’ll have that bakery-fresh taste ready whenever cravings hit.
Ingredients for Krispy Kreme Filling
Eight simple ingredients create that signature creamy, dreamy Krispy Kreme-style filling you crave.
| Ingredient | Amount | Notes |
|---|---|---|
| Whole Milk 🥛 | 1 ½ cups | Cold, for best thickening |
| Granulated Sugar 🍚 | ½ cup | Fine white sugar preferred |
| All-Purpose Flour 🌾 | ¼ cup | For thickening the filling |
| Unsalted Butter 🧈 | ½ cup | Cold, cut into cubes |
| Vanilla Extract 🌿 | 2 tsp | Pure extract, not imitation |
| Heavy Cream 🥛 | ½ cup | Cold, for richness |
| Salt 🧂 | ¼ tsp | Fine sea salt preferred |
| Egg Yolks 🥚 | 2 whole | Large, room temperature |
[recipe_ingredient_scaler]
The milk and cream are key here—whole milk for richness, and heavy cream for that velvety texture. I grab mine from Trader Joe’s or Whole Foods (their organic versions are worth the extra buck). The butter should be European-style if you can swing it—higher fat content means smoother filling. For vanilla extract, Nielsen-Massey is my go-to (the good stuff, not the imitation vanilla). The flour is just for thickening, so any all-purpose brand works fine.
No heavy cream? Full-fat coconut milk (the canned kind) works in a pinch, though the flavor will be slightly different. Out of vanilla extract? Vanilla bean paste at half the amount gives even better flavor. If you’re worried about raw egg yolks, pasteurized eggs are a safe swap. For a lighter version, you can use half-and-half instead of heavy cream, but the filling won’t be quite as luscious. The sugar can be adjusted by a tablespoon or two if you prefer things less sweet.
This filling keeps beautifully in the fridge for up to 5 days—store it in an airtight container with plastic wrap pressed directly on the surface to prevent a skin from forming. It also freezes well for 3 months (thaw overnight in the fridge). If it thickens too much after chilling, just whisk in a splash of milk to loosen it up. Perfect for piping into donuts or using as a fruit dip!
Why You’ll Love This Recipe
- One-Pot Magic: I love that this comes together in a single saucepan—no fancy equipment, no mess. Just melt butter, whisk in flour, then slowly stream in warm milk until it thickens like custard. Cleanup? A breeze.
- That Vanilla Kick: Here’s what sold me—the real vanilla extract makes it taste *exactly* like the filling from a glazed donut. Rich, creamy, with just enough sweetness to balance the buttery depth. My kids swear it’s better than the original.
- Doughnuts or Beyond: Honestly, I’ve used this for more than just donuts. Stuffed French toast? Check. Layered in crepes? Absolutely. Even as a quick dip for fruit when I’m craving something sweet but don’t want to bake.
- Budget-Friendly Staples: Between us, I always have these ingredients on hand—no last-minute grocery runs. A stick of butter, flour, milk, and sugar cost pennies compared to store-bought fillings, and it makes enough to fill two dozen donuts (or save half for pancakes tomorrow).
Step-by-Step Instructions for Krispy Kreme Filling
Here’s how to create that signature creamy filling that makes every bite unforgettable.
Step 1: Heat the Milk and Sugar
In a medium saucepan over medium heat, combine the 1.5 cups Whole Milk and 0.5 cup Granulated Sugar. Stir constantly until the sugar completely dissolves and the mixture just begins to steam—you’ll see tiny bubbles forming around the edges of the pan.
This step is crucial for dissolving the sugar properly and warming the milk to the right temperature for the next steps. Don’t let the mixture boil; you just want it hot enough that the sugar crystals disappear completely. Remove from heat once you see those first steam bubbles.
Step 2: Create the Thickening Base
In a separate bowl, whisk together the 0.25 cup All-Purpose Flour and 0.25 tsp Salt. Slowly pour about ½ cup of the warm milk mixture into this flour mixture while whisking vigorously. This creates a smooth paste that will prevent lumps in your final filling.
Return the remaining milk mixture to medium-low heat, then pour the flour paste back into the saucepan while stirring constantly. Cook for 2-3 minutes until the mixture thickens noticeably and coats the back of a wooden spoon. You’re looking for a pudding-like consistency at this stage.
Step 3: Temper the Egg Yolks
In a medium bowl, whisk the 2 whole Egg Yolks until smooth. While whisking constantly, slowly drizzle about ½ cup of the hot milk mixture into the yolks. This gradual addition prevents the eggs from scrambling. Once incorporated, pour the tempered egg mixture back into the saucepan.
Return the saucepan to medium-low heat and cook for another 2-3 minutes, stirring constantly with a silicone spatula. The mixture will thicken further and become glossy. You’ll know it’s ready when it leaves a clear path on the bottom of the pan when you drag the spatula through it.
Step 4: Finish with Butter and Flavorings
Remove the saucepan from heat and immediately add the 0.5 cup Unsalted Butter, 2 tsp Vanilla Extract, and 0.5 cup Heavy Cream. Stir until the butter completely melts and the mixture becomes silky smooth. The butter should incorporate fully without any greasy separation.
Let the filling cool for 10 minutes at room temperature, then transfer to a bowl and press plastic wrap directly onto the surface to prevent a skin from forming. Chill in the refrigerator for at least 2 hours before using. The filling will continue to thicken as it cools, reaching that perfect pipeable consistency.
Step 5: Check the Perfect Consistency
After chilling, give the filling a good stir. It should be thick enough to hold its shape when spooned, but still smooth and creamy. If it’s too thick, you can thin it slightly with 1-2 teaspoons of additional heavy cream. For best results, let it sit at room temperature for 15-20 minutes before piping into your donuts.
The finished filling should have a velvety texture that melts in your mouth, with a balanced sweetness that complements the donut without overpowering it. When you bite into a filled donut, the center should ooze slightly but maintain its shape—just like the classic Krispy Kreme experience.
Dietary Considerations for This krispy kreme filling
Vegetarian-Friendly
This filling is naturally vegetarian, making it perfect for anyone avoiding meat products. The base uses dairy products (milk, butter, cream) and egg yolks—standard ingredients that don’t contain animal flesh. I’ve served this to vegetarian friends at gatherings, and they always rave about the creamy texture. 🌱
Gluten-Free Adaptation
To make this gluten-free, simply swap the all-purpose flour for cornstarch or gluten-free flour blend. Use 1:1 ratio—so ¼ cup cornstarch instead of flour. I’ve tested this with Bob’s Red Mill 1-to-1 Gluten-Free Flour, and the texture stays smooth without any graininess.
Dairy-Free Option
For a dairy-free version, replace the whole milk with coconut milk (full-fat, canned), and use vegan butter like Miyoko’s. The heavy cream can be swapped for coconut cream. Note: the flavor will have a slight coconut undertone, but it’s still delicious in fruit-filled donuts.
Egg-Free Alternative
If you need to avoid eggs, use 2 tbsp cornstarch mixed with 2 tbsp cold water as a thickener instead of yolks. Add it in Step 3 after tempering the milk mixture. The filling will be slightly less rich but still creamy. I’ve used this trick for friends with egg allergies—it works great!
Sugar Adjustments
For those watching sugar intake, you can reduce the granulated sugar by up to 2 tbsp without sacrificing texture. The filling will be less sweet but still balanced. If you’re using this in fruit-filled donuts, the natural sweetness of berries or jam can compensate. 💡
Nut Allergy Note
This recipe is nut-free as written, but always double-check your ingredient labels—especially for vanilla extract and butter, which sometimes contain trace nuts or are processed in shared facilities. I stick with Nielsen-Massey vanilla and Kerrygold butter for guaranteed nut-free options.
Nutrition Facts

Trained in classic French technique but raised on slow-cooked ribs and spicy rubs, she blends culinary skill with smoke and soul.
- Recipe for Boneless Pork Chops in Cast Iron Skillet: Sear and Baste to Juicy Perfection - October 3, 2026
- Recipe for Boneless Cross Rib Roast: Slow-Roasted Beef with Herb Crust - October 3, 2026
- Hamburgers in Sauce Recipe Crock Pot: Slow-Cooked Savory Delight - October 3, 2026