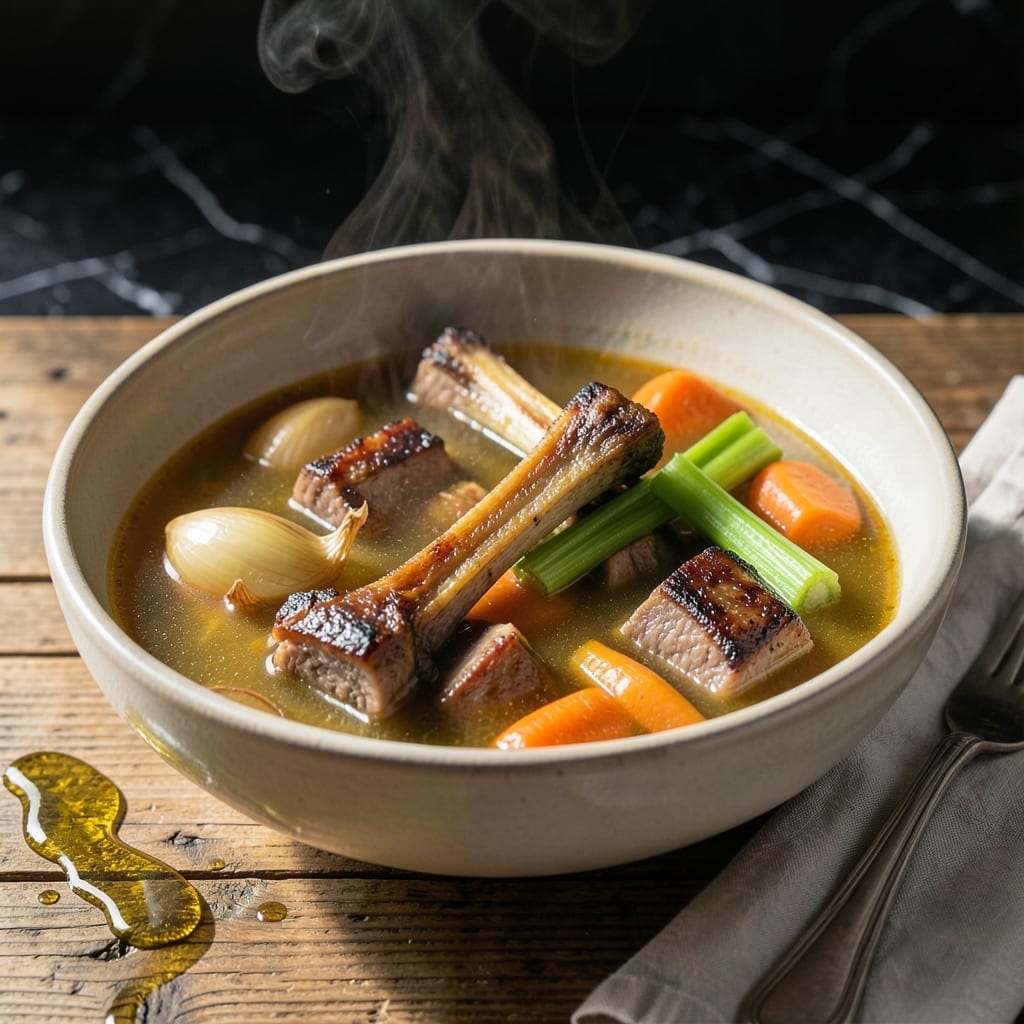
There’s something deeply satisfying about creating a nourishing broth that simmers for hours, filling your kitchen with rich aromas. I’ve perfected this method through countless batches, learning how to extract maximum flavor from lamb bones.
The key is a long, slow simmer—at least 12 hours—which transforms tough bones and connective tissue into a deeply flavorful liquid gold. I use a mix of marrow and knuckle bones for the best balance of richness and gelatin.
What you’re left with is a broth that’s rich in collagen and minerals, with a depth of flavor that store-bought versions simply can’t match. The surface will glisten with a layer of fat that you can skim off or leave for extra richness.
Use it as a base for soups, stews, or simply sip it warm for a comforting boost. Here’s how to make it properly at home.
Ingredients for Lamb Bone Broth
A handful of bones and vegetables transform into liquid gold with time and patience.
| Ingredient | Amount | Notes |
|---|---|---|
| Lamb Marrow Bones 🦴 | 2 lb | Split for maximum exposure |
| Lamb Knuckle Bones 🦴 | 2 lb | Joints cracked for gelatin release |
| Yellow Onions 🧅 | 2 whole | Quartered, skin on for color |
| Carrots 🥕 | 3 whole | Cut into large chunks |
| Celery Stalks 🌿 | 3 whole | Leaves included for flavor |
| Garlic Cloves 🧄 | 6 cloves | Smashed, unpeeled |
| Bay Leaves 🍃 | 2 pieces | Dried, whole leaves |
| Black Peppercorns 🌶️ | 1 tbsp | Whole, not pre-ground |
| Apple Cider Vinegar 🍎 | 2 tbsp | For acidity and mineral extraction |
| Cold Water 💧 | 4 cups | To cover bones completely |
| Sea Salt 🧂 | 1 tsp | Adjust to taste at end |
| Fresh Thyme Sprigs 🌿 | 4 pieces | Optional but recommended |
| Fresh Rosemary Sprigs 🌿 | 2 pieces | Optional but recommended |
[recipe_ingredient_scaler]
The bones are everything here. Ask your butcher for marrow and knuckle bones—they’re the gold standard for gelatin-rich broth. I’ve had luck at Whole Foods or local halal markets, where they often split them for you. Look for bones with visible cartilage and connective tissue. Avoid pre-cut stew meat; you need the actual bones with their joints intact for that silky, collagen-packed finish.
No lamb bones? Beef bones work at a 1:1 swap, but the flavor profile will be different. Short on time? An Instant Pot on high pressure for 2 hours gets you close (but not quite the same). Skip the vinegar if you must, but it helps pull minerals from the bones. The vegetables can be swapped—leeks for onions, parsnips for carrots—but keep the total weight similar for balance.
Broth keeps in the fridge for 5 days or frozen for 6 months. Skim the fat after chilling (or leave it for extra richness). I freeze mine in mason jars (leave headspace!) or silicone molds for easy portioning. The fat cap on top? Save it for cooking—it’s basically lamb tallow.
Why You’ll Love This Recipe
- Set and Forget: It’s just bones, onions, carrots, and celery in a pot—then the slow cooker does all the work for 12 hours while I sleep or run errands.
- Deep, Rich Flavor: The marrow and knuckle bones give this broth a velvety richness that chicken or beef just can’t match.
- Meal Prep Magic: I portion it into jars and use it all week for soups, risottos, or even a simple cup of warming broth when I need a pick-me-up.
- Budget Stretcher: Honestly, I get gallons of flavor from bones that cost pennies per pound at the butcher—way cheaper than store-bought stock.
Step-by-Step Instructions for Lamb Bone Broth
This method extracts maximum flavor and gelatin for a deeply nourishing result every time.
Step 1: Roast the Lamb Bones for Depth of Flavor
Preheat your oven to 400°F and arrange the 2 lb Lamb Marrow Bones and 2 lb Lamb Knuckle Bones on a sheet pan. Roast for 20-25 minutes until they develop a deep golden brown color and release their fragrant aroma.
Roasting caramelizes the natural sugars and fats, creating a rich, complex base for your broth. I always rotate the pan halfway through for even browning. When done, the bones should glisten with rendered fat and smell incredibly savory.
Real talk: don’t skip this step—it’s what separates good broth from exceptional.
Step 2: Prepare the Vegetables and Aromatics
While the bones roast, roughly chop the 2 whole Yellow Onions (skin on), 3 whole Carrots, and 3 whole Celery Stalks. I cut them into large chunks since they’ll simmer for hours and break down naturally.
In a large stockpot, combine the 6 cloves Garlic Cloves (smashed, unpeeled), 2 pieces Bay Leaves, 1 tbsp Black Peppercorns, 4 pieces Fresh Thyme Sprigs, and 2 pieces Fresh Rosemary Sprigs. The peppercorns should be whole—not pre-ground—to avoid bitterness.
This is where the magic starts. The vegetables and herbs will infuse the broth with layers of flavor as they simmer.
Step 3: Deglaze and Begin the Simmer
Transfer the roasted bones to the stockpot with the vegetables and aromatics. Pour the 2 tbsp Apple Cider Vinegar into the hot sheet pan and scrape up all those flavorful browned bits—they’re pure gold for your broth.
Add the vinegar and any collected fat to the pot, then pour in the 4 cups Cold Water. The cold water ensures a gentle start to the simmer, which is crucial for extracting gelatin from the bones. Bring the mixture to a boil over medium-high heat.
Here’s the thing—once it boils, immediately reduce the heat to low to maintain a gentle simmer. You want tiny bubbles, not a rolling boil, which would make the broth cloudy.
Step 4: Simmer Low and Slow
Partially cover the pot and let it simmer for 12-24 hours. I know it seems like a long time, but this is how you extract all the collagen, minerals, and flavor from the bones. The longer you simmer, the richer and more gelatinous your broth will be.
Occasionally skim off any foam or fat that rises to the surface, especially in the first few hours. You’ll notice the lamb marrow bones and lamb knuckle bones releasing their goodness into the liquid, turning it a deep amber color.
Add the 1 tsp Sea Salt about halfway through, adjusting to taste at the end if needed. The flavor should be rich and savory, with a subtle sweetness from the vegetables.
Step 5: Strain and Store
After simmering, strain the broth through a fine-mesh sieve into a clean pot or large bowl. Discard all the solids—they’ve given up all their flavor. Let the broth cool slightly, then refrigerate it overnight.
In the morning, you’ll see a layer of fat solidified on top. Skim this off for a clean, clear broth. The finished broth should have a rich, golden color and a jelly-like consistency when chilled, thanks to all that extracted gelatin.
Store in airtight containers in the refrigerator for up to 5 days or freeze for 3 months. This nourishing liquid is ready to use in soups, stews, or simply sipped as is.
Pro Tips For Making Lamb Bone Broth
- Roast the Bones: Toss the lamb marrow and knuckle bones in the oven at 400°F for 20-30 minutes until deeply browned—this adds a rich, caramelized depth you just can’t get from raw bones.
- Skim Early, Skim Often: I learned this the hard way: the first 30 minutes of simmering bring up the most foam and impurities, so skim aggressively then to keep your broth crystal clear.
- Skip the Vinegar: Sounds weird, but it works: lamb bones are porous enough that you don’t need vinegar to extract minerals, and leaving it out prevents that slight sour tang.
- Use Cold Water: Start with cold water and bring it up slowly—this guarantees even extraction of gelatin and flavor from the bones, unlike hot water which can shock them into tightening up.
Perfect Pairings for This lamb bone broth
Sipping Broth
This creation shines when enjoyed as a warm, comforting drink. I love adding a squeeze of lemon juice and a pinch of sea salt to brighten the rich flavor. A dash of hot sauce adds a nice kick for those who enjoy heat.
Soup Base
Use it as the foundation for hearty soups. It pairs beautifully with lentils, barley, or chopped vegetables. I often add 1 cup of broth to my minestrone for an extra layer of depth. 🥗
Grain Cooking
Cook grains like quinoa, farro, or rice in this broth instead of water. The grains absorb the rich, savory flavors, making them taste incredible. I use a 2:1 ratio of broth to grains for perfect results.
Sauce Enhancer
Reduce it down to create a rich, flavorful sauce base. Simmer 2 cups of broth until it reduces by half, then use it to deglaze pans or as a base for gravies. This trick elevates any dish with minimal effort.
Braising Liquid
It’s perfect for braising meats like lamb shanks or short ribs. I combine 3 cups of broth with 1 cup of red wine and aromatics for a tender, fall-off-the-bone result. The meat soaks up all that rich flavor. 💪
Risotto Base
Swap out plain stock for this broth in risotto recipes. The deep, savory notes enhance the creamy texture and flavor of the dish. I use it warm and add it gradually, about ½ cup at a time, for the best results.
Nutrition Facts
Frequently Asked Questions
Do I need to blanch the bones first?
Blanching removes impurities for a clearer broth, but it’s optional. For maximum depth, skip it and just skim foam during the first 2 hours of simmering.
Can I use a slow cooker instead of a stovetop?
Yes! Use the low setting for 18-24 hours. The gentle, consistent heat works perfectly for extracting gelatin and flavor.
Why is my broth not gelatinous?
Lack of gelatin usually means insufficient simmer time or not enough knuckle bones. Use more joints next time and simmer at least 12 hours.
How do I fix a cloudy broth?
Strain through cheesecloth and avoid boiling vigorously. For future batches, start with cold water and maintain a gentle simmer.

Trained in classic French technique but raised on slow-cooked ribs and spicy rubs, she blends culinary skill with smoke and soul.
- Recipe for Fully Cooked Spiral Ham: Sweet Glaze and Effortless Elegance - October 3, 2026
- Recipe for Cream of Rice: Silky Smooth Breakfast Comfort - October 3, 2026
- Old Fashioned Beef and Noodles Recipe Crock Pot: Set-It-and-Forget-It Hearty Meal - October 3, 2026