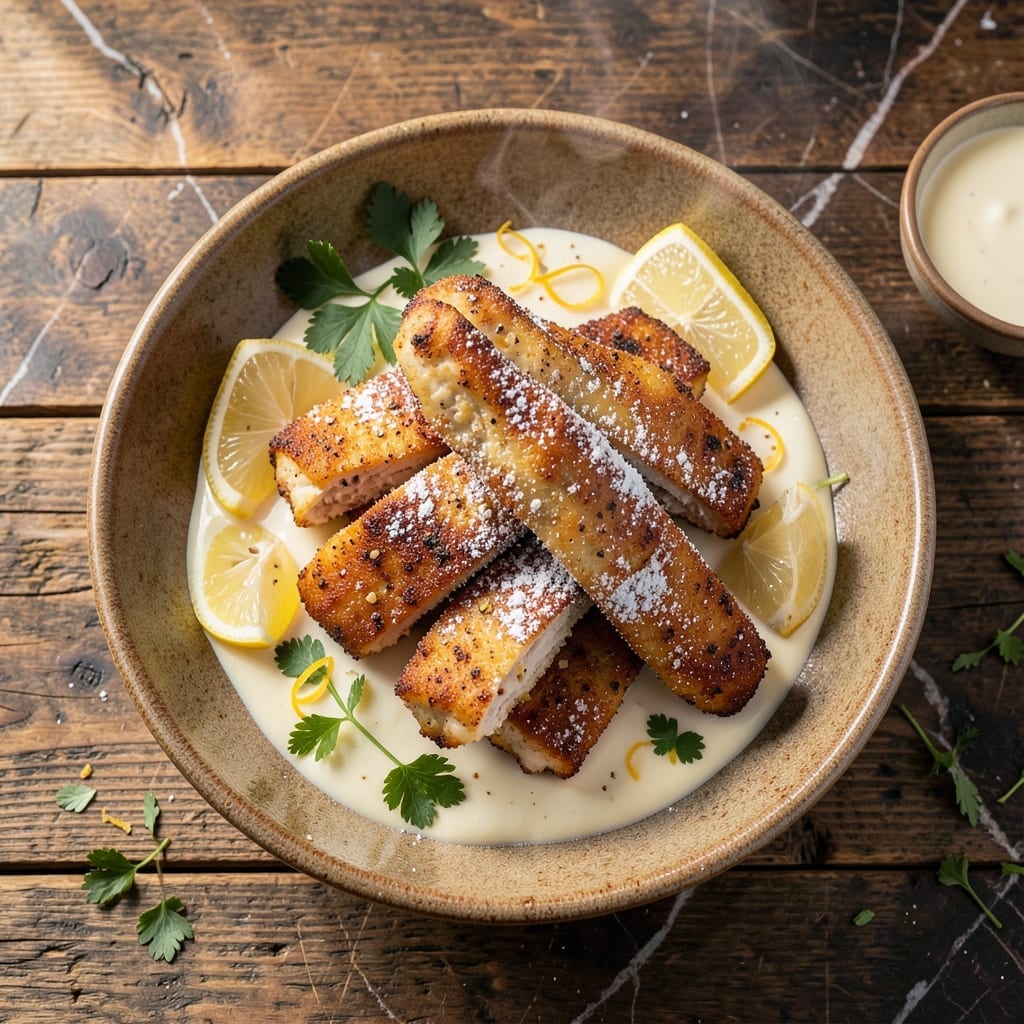
This copycat recipe brings the restaurant’s famous crispy chicken tenders to your kitchen with professional results. The secret lies in a double-dipping technique that creates an ultra-crispy coating while keeping the meat tender inside.
I developed this method after years of perfecting fried chicken, ensuring each bite delivers that signature Longhorn crunch. The buttermilk marinade adds juiciness, while the seasoned flour coating guarantees maximum flavor in every mouthful.
The accompanying sauce completes the experience, balancing sweet and tangy notes to complement the crispy exterior. This isn’t just a copycat—it’s a copycat that might just surpass the original.
Serve immediately for best texture, with extra sauce for dipping.
Ingredients for Longhorn Chicken Tenders
Professional-grade ingredients deliver that signature restaurant crispiness and tenderness at home.
| Ingredient | Amount | Notes |
|---|---|---|
| Chicken Breast Tenders 🍗 | 1 ½ lb | Boneless, skinless, uniform size |
| Buttermilk 🥛 | 2 cups | Full-fat for maximum tenderness |
| All-Purpose Flour 🌾 | 2 cups | Divided for dredging stations |
| Cornstarch 🌾 | ½ cup | For extra crispiness |
| Garlic Powder 🧄 | 1 tbsp | Freshly opened for potency |
| Onion Powder 🧅 | 1 tbsp | Balances savory notes |
| Paprika 🌶️ | 1 tbsp | Sweet or smoked variety |
| Salt 🧂 | 1 tbsp | Diamond Crystal preferred |
| Black Pepper 🌶️ | 1 tsp | Freshly ground for best flavor |
| Large Eggs 🥚 | 2 whole | For egg wash binding |
| Vegetable Oil 🫒 | 4 cups | For deep frying, high smoke point |
| Mayonnaise 🥛 | ½ cup | Full-fat for creaminess |
| Ketchup 🍅 | ¼ cup | Quality brand recommended |
| Honey 🍯 | 2 tbsp | For sauce sweetness |
| Dijon Mustard 🟡 | 1 tbsp | Adds tangy depth |
[recipe_ingredient_scaler]
The chicken quality is non-negotiable. Air-chilled chicken tenders from Whole Foods or Costco yield the best texture—avoid pre-brined products as they can interfere with the marinade absorption. Buttermilk should be full-fat (trust me on the full-fat version) for maximum tenderness. For the flour, King Arthur all-purpose is the gold standard for consistent dredging performance.
No buttermilk? Whole milk plus 1 tbsp vinegar per cup works in a pinch. Swap cornstarch with arrowroot powder at equal ratio if needed. The paprika can be omitted if you prefer milder seasoning, but it contributes to that iconic Longhorn color. For the sauce, Duke’s mayonnaise and Heinz ketchup are professional kitchen staples that deliver authentic flavor.
Marinate chicken no longer than 12 hours—buttermilk’s acidity can start breaking down the meat. Fried tenders hold their crispiness for 20-30 minutes if kept warm in a 200°F oven. Sauce keeps in the fridge for up to 5 days.
Why You’ll Love This Recipe
- Dunk and Fry: I just toss the tenders in buttermilk, then the flour mix—no fancy steps, and they’re in the oil faster than the kids can argue over who gets first dibs.
- Garlic Crisp: That cornstarch in the coating gives a shatter-crisp shell, and the garlic powder laces every bite with savory warmth I crave.
- Weeknight Hero: I’ve served these for quick dinners, game-day snacks, and even packed cold in lunchboxes—still solid the next day.
Step-by-Step Instructions for Crispy Chicken Tenders With Signature Sauce
Master the technique for restaurant-quality tenders with a perfect crunch and creamy dipping sauce.
Step 1: Marinate Chicken in Buttermilk
Begin by placing the 1.5 lb Chicken Breast Tenders in a large bowl and covering them completely with 2 cups Buttermilk. The full-fat buttermilk is essential here—it tenderizes the meat while adding subtle richness to the final product.
Ensure every piece is fully submerged for even marination. Cover and refrigerate for at least 4 hours, though overnight yields the most tender results. The acidity in the buttermilk breaks down proteins, guaranteeing juicy meat even after frying.
Step 2: Prepare the Dredging Stations
In a shallow dish, whisk together 2 cups All-Purpose Flour, 0.5 cup Cornstarch, 1 tbsp Garlic Powder, 1 tbsp Onion Powder, 1 tbsp Paprika, 1 tbsp Salt, and 1 tsp Black Pepper. The cornstarch is the secret to achieving that ultra-crispy coating Longhorn is known for.
In a separate bowl, beat 2 whole Large Eggs until uniform in color. This creates the perfect adhesive layer for the flour mixture to cling to the chicken. Set both dishes near your frying station for easy access.
Step 3: Double-Dredge and Fry to Golden Perfection
Remove the chicken from the buttermilk, allowing excess to drip off. Dredge each piece first in the flour mixture, pressing firmly to ensure full coverage. Then dip in the beaten eggs, letting any excess drip back into the bowl. Finally, dredge in the flour mixture again for an extra-thick, crunchy coating.
Heat 4 cups Vegetable Oil in a deep, heavy pot to 350°F. Working in batches to avoid crowding, carefully place the tenders in the hot oil. Fry for 6-8 minutes, turning occasionally, until they reach a deep golden brown and the internal temperature hits 165°F. Drain on a wire rack to maintain crispiness.
Step 4: Make the Signature Dipping Sauce
While the chicken fries, combine 0.5 cup Mayonnaise, 0.25 cup Ketchup, 2 tbsp Honey, and 1 tbsp Dijon Mustard in a small bowl. The Dijon mustard adds a subtle tang that balances the sweetness perfectly.
Whisk until completely smooth and uniform in color. Taste and adjust seasoning if needed, though the sauce should be creamy with a perfect sweet-tangy balance. Serve chilled or at room temperature alongside the hot, crispy tenders.
Pro Tips For Making Longhorn Chicken Tenders
- Soak Overnight: Let the chicken tenders marinate in buttermilk for at least 4 hours, or better yet, overnight. I learned this the hard way—skipping it leaves the meat dry and the coating struggles to stick.
- Double Dredge: Dip the tenders in flour mixture, then buttermilk, then flour again. Sounds tedious, but it’s what gives that extra-crispy crust Longhorn’s known for.
- Hot Oil Only: Don’t start frying until the oil hits 350°F. After burning a batch at lower temps, I finally realized the coating won’t crisp right if the heat’s not ready.
- Cornstarch Boost: Swap 2 tablespoons of the flour for cornstarch in your dredge. My grandmother swore by this trick—it makes the crust lighter and crunchier without changing the flavor.
Serving Suggestions for longhorn chicken tenders
Plating for Impact
Arrange tenders on a wooden serving board for rustic appeal, stacking 4-5 pieces in a pyramid shape. The natural wood grain complements the golden crust beautifully. I like to garnish with a sprinkle of chopped parsley for freshness. 🌟
Dipping Sauce Presentation
Serve the signature sauce in a small ramekin or squeeze bottle for easy access. Place it at the center of the board so guests can dip without reaching. A light drizzle over the top tenders adds visual appeal.
Side Pairings
Crinkle-cut fries are classic with tenders—toss them with 1 tsp paprika and ½ tsp garlic powder before baking. For freshness, serve with iceberg wedges and a creamy blue cheese dressing.
Family-Style Serving
For gatherings, pile tenders on a large platter with sauce on the side. Add lemon wedges for a bright citrus note. I learned this from local BBQ competitions—it always impresses.
Temperature Tip
Keep tenders warm in a 200°F oven on a wire rack if serving in batches. This prevents sogginess while maintaining that perfect crunch. Never cover them—steam is the enemy of crispiness.
Kid-Friendly Touch
Cut tenders into bite-sized nuggets for little ones. Serve with extra sauce in small cups for dipping fun. Honestly, adults love this too—it’s all about the dipping experience.
Nutrition Facts
Frequently Asked Questions
Can I bake these instead of frying?
Yes! Bake at 400°F for 15-20 minutes, flipping halfway. For extra crispiness, spray with oil before baking. The texture won’t be identical to frying but still delicious.
How do I keep them crispy for leftovers?
Reheat on a wire rack in a 375°F oven for 5-10 minutes. Avoid the microwave—it makes them soggy. Store in an airtight container for up to 3 days.
Can I use chicken thighs instead of tenders?
Cut boneless thighs into strips and follow the same method. They’ll be juicier but slightly richer in flavor. Adjust cooking time to 8-10 minutes for thighs.
What if my sauce is too thick?
Thin it with 1-2 teaspoons of water or lemon juice. Stir well and adjust to your preferred consistency. The flavor remains just as bold.

Trained in classic French technique but raised on slow-cooked ribs and spicy rubs, she blends culinary skill with smoke and soul.
- Recipe for Boneless Pork Chops in Cast Iron Skillet: Sear and Baste to Juicy Perfection - October 3, 2026
- Recipe for Boneless Cross Rib Roast: Slow-Roasted Beef with Herb Crust - October 3, 2026
- Hamburgers in Sauce Recipe Crock Pot: Slow-Cooked Savory Delight - October 3, 2026