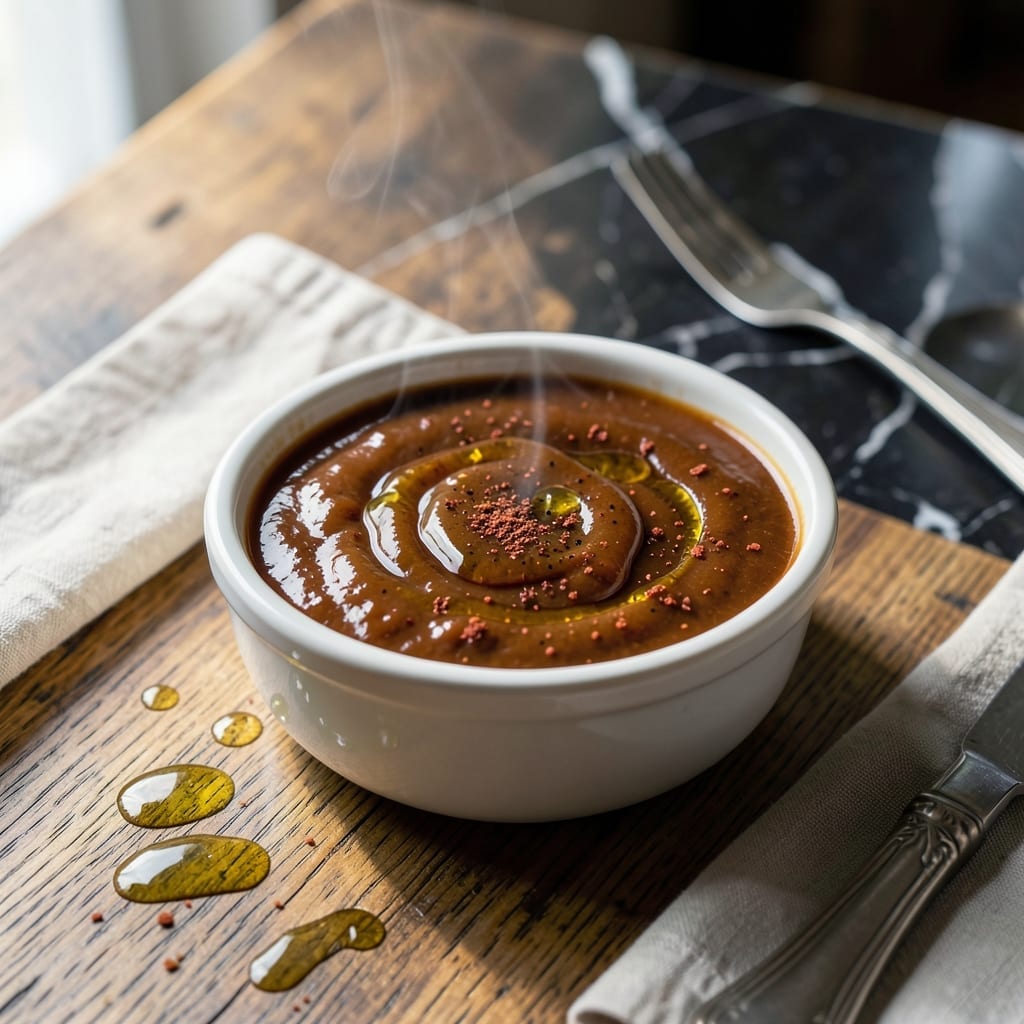
I developed this barbecue sauce to bring bold, smoky flavor to low FODMAP diets without compromise. The balance of tangy vinegar, natural sweeteners, and spices delivers the classic profile you expect from a great sauce.
This version keeps all the depth and complexity of traditional barbecue sauce while being gentle on sensitive digestive systems. It stores well in the fridge for up to 2 weeks, ready to elevate grilled meats and more.
Ingredients for Low Fodmap Barbecue Sauce
Ten simple ingredients create that classic barbecue flavor without the FODMAPs. Bold and balanced.
| Ingredient | Amount | Notes |
|---|---|---|
| White Vinegar 💧 | ½ cup | Distilled for clean tang |
| Maple Syrup 🍁 | ½ cup | Pure, no sugar alcohols |
| Tomato Paste 🍅 | ½ cup | Low-acid variety preferred |
| Water 💧 | ¼ cup | To thin sauce as needed |
| Smoked Paprika 🌶️ | 1 tbsp | For authentic smokiness |
| Garlic-Infused Olive Oil 🫒 | 2 tbsp | FODMAP-friendly garlic flavor |
| Dry Mustard 🌿 | 1 tsp | Ground for even distribution |
| Ground Cumin 🌿 | ½ tsp | Warm earthy base note |
| Sea Salt 🧂 | 1 tsp | Fine grain for dissolution |
| Black Pepper 🌶️ | ½ tsp | Freshly ground preferred |
[recipe_ingredient_scaler]
The garlic-infused olive oil is non-negotiable here—FODY Foods makes a great one if you don’t have homemade. Maple syrup replaces traditional high-FODMAP sweeteners without sacrificing depth. Look for pure, dark grade for the best flavor. Tomato paste can be tricky—check labels for added garlic or onion powders, which sneak in FODMAPs.
No smoked paprika? Regular paprika plus a pinch of liquid smoke (check it’s corn-based) gets you close. Swap maple syrup for rice malt syrup if needed, though it’s slightly less rich. The vinegar can be apple cider in a pinch, but white vinegar keeps the flavor cleanest. Need more sweetness? A touch of stevia works, but use sparingly.
This keeps 2 weeks in the fridge—perfect for meal prep. Freeze in ice cube trays for single-serving portions. The flavors meld and deepen over time, so making it a day ahead is ideal (worth the extra minute).
Why You’ll Love This Recipe
- Five Ingredients: I count them on one hand—vinegar, maple, paste, water, paprika—and it’s done.
- Smoky Sweet Balance: The smoked paprika and maple syrup hit that perfect tangy-sweet spot without any gut grief.
- Batch and Store: I make a double batch Sunday afternoon and it keeps for weeks in the fridge.
- Pantry Staples: Everything’s already in my cupboard, so I’m never caught without sauce for a quick dinner.
Step-by-Step Instructions for Low Fodmap Barbecue Sauce
Simple, savory and perfectly balanced—this method delivers consistent, restaurant-quality results every time.
Step 1: Sauté Spices in Garlic-Infused Olive Oil
Heat the 2 tbsp Garlic-Infused Olive Oil in a medium saucepan over medium heat. You’ll know it’s ready when the oil shimmers slightly but isn’t smoking. This gentle heat preserves the delicate garlic flavor infused in the oil.
Add the 1 tbsp Smoked Paprika, 1 tsp Dry Mustard, and 0.5 tsp Ground Cumin. Stir constantly for 30-45 seconds until the spices become fragrant. This blooming step deepens their flavors and prevents a raw taste in the finished sauce. Watch closely—the spices can burn quickly if left unattended.
Step 2: Build the Sauce Base with Wet Ingredients
Pour in the 0.5 cup White Vinegar, 0.5 cup Maple Syrup, and 0.5 cup Tomato Paste. Stir well to combine, scraping up any browned bits from the bottom of the pan. The mixture will look thick at first, but it will loosen as it heats.
Add the 0.25 cup Water, 1 tsp Sea Salt, and 0.5 tsp Black Pepper. Stir again until smooth. The water helps thin the sauce to the right consistency, while the salt and pepper balance the sweetness and tang. Bring the mixture to a gentle simmer—you’ll see small bubbles breaking the surface occasionally.
Step 3: Simmer to Perfection
Reduce the heat to medium-low and let the sauce simmer uncovered for 15-20 minutes. Stir occasionally to prevent sticking, especially as the sauce thickens. You’re aiming for a glossy, coat-the-back-of-a-spoon consistency.
As it cooks, the flavors will meld into a rich, harmonious blend. The vinegar’s sharpness will mellow, while the maple syrup’s sweetness rounds out the smoky, spiced notes. If the sauce thickens too much before 15 minutes have passed, add a splash of water to loosen it. Taste and adjust seasoning if needed, though the initial measurements are carefully balanced.
Step 4: Cool and Thicken
Remove the saucepan from heat and let the barbecue sauce cool to room temperature. As it cools, it will thicken further, reaching the ideal texture for brushing or dipping. This resting period allows the flavors to fully develop.
Once cooled, transfer the sauce to an airtight jar or container. It will keep in the refrigerator for up to 2 weeks, and the flavors will continue to deepen over time. For the best results, let it sit for at least 1 hour before using to allow the spices to fully infuse.
Pro Tips For Making Low Fodmap Barbecue Sauce
- Simmer Low and Slow: Keep the heat at a gentle simmer for at least 15-20 minutes—this lets the tomato paste mellow and the flavors meld without burning the vinegar or maple syrup.
- Bloom the Paprika: Toast the smoked paprika in the pot for 30 seconds before adding liquids to wake up its smoky depth, but don’t let it smoke or it’ll turn bitter.
- Skip the Garlic: I learned this the hard way—even a clove of garlic ruins the low FODMAP goal, so stick to the approved spices and let the smoked paprika carry the flavor.
- Thin with Warm Water: If the sauce thickens too much, whisk in warm water a tablespoon at a time instead of cold—it blends in smoothly and prevents a watery finish.
Essential Equipment for Perfect Results
Essential Saucepan
I always reach for my 3-quart stainless steel saucepan—it distributes heat evenly and won’t react with the vinegar or tomato paste. A heavy bottom prevents hot spots that could scorch your sauce. All-Clad makes my favorite, but any quality stainless will work. 🔥
Wooden Spoon
A wooden spoon is ideal for stirring this sauce. It won’t scratch your pan and handles the thick mixture beautifully. I keep mine from a coastal foraging trip—it’s seen hundreds of sauces come to life.
Measuring Tools
Precise measurements matter here. I use OXO Good Grips measuring cups and spoons—the magnetic set stays organized in my drawer. For the 0.5 cup vinegar and syrup, a liquid measuring cup works best.
Fine Mesh Strainer
If you want ultra-smooth sauce, press it through a fine mesh strainer after cooking. This removes any undissolved spices while keeping all the flavor. I skip this most times—love the rustic texture from the spices.
Storage Jars
For fridge storage, 16-ounce mason jars are perfect. They’re airtight, easy to clean, and let you see the beautiful color. I label mine with masking tape and a marker—my system since culinary school.
Pro tip: Wide-mouth jars make scooping sauce much easier when you’re ready to use it. 💡
Nutrition Facts
Frequently Asked Questions
Can I use honey instead of maple syrup?
No, honey is high FODMAP due to excess fructose. Stick with maple syrup or try rice malt syrup as a gut-friendly alternative.
Why use garlic-infused oil instead of fresh garlic?
Regular garlic contains fructans, which are high FODMAP. The infused oil captures the flavor without the problematic compounds, making it safe for sensitive digestive systems.
How can I make this sauce thicker?
Simmer uncovered for an extra 5-10 minutes to reduce the liquid. For immediate thickening, mix in 1 tsp cornstarch with water before adding.
Can I freeze this sauce?
Yes! Portion into ice cube trays and freeze for up to 3 months. Thaw overnight in the fridge before using.

Trained in classic French technique but raised on slow-cooked ribs and spicy rubs, she blends culinary skill with smoke and soul.
- Recipe for Boneless Pork Chops in Cast Iron Skillet: Sear and Baste to Juicy Perfection - October 3, 2026
- Recipe for Boneless Cross Rib Roast: Slow-Roasted Beef with Herb Crust - October 3, 2026
- Hamburgers in Sauce Recipe Crock Pot: Slow-Cooked Savory Delight - October 3, 2026