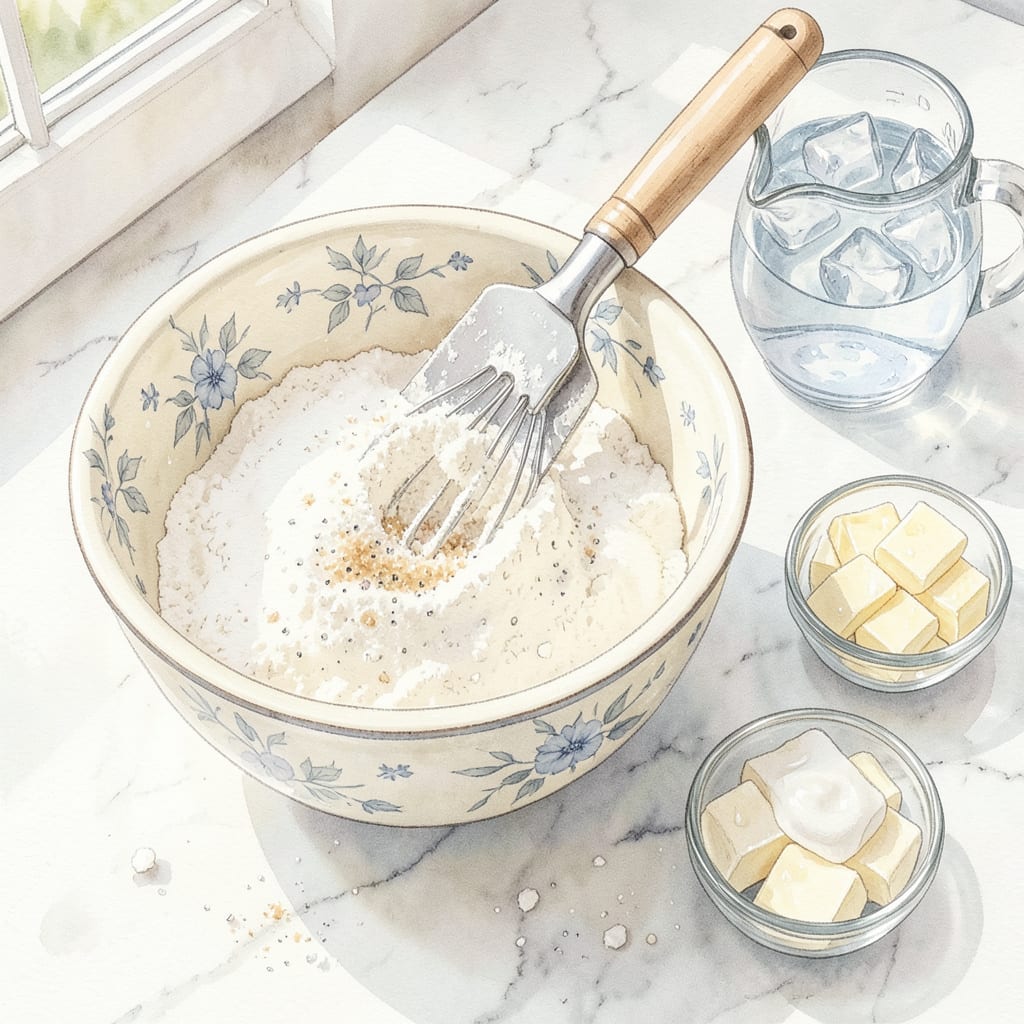
Creating the perfect pie crust is an art that balances precision with simplicity. This recipe delivers flaky, golden layers every time, using just a handful of pantry staples and a few essential techniques. The key lies in keeping ingredients cold and handling the dough with care—no advanced skills required.
What sets this crust apart is its reliability. Whether you’re baking a classic apple pie or a savory quiche, the result is consistently crisp and tender. The method ensures minimal shrinkage and maximum flakiness, making it ideal for both sweet and savory fillings. Let’s begin with the foundation of every great pie.
Ingredients for Magnolia Pie Crust
Six essential ingredients transform into the flaky, golden foundation for any pie—cold fats and precise technique are key.
| Ingredient | Amount | Notes |
|---|---|---|
| All-Purpose Flour 🌾 | 2 ½ cups | Spoon and level for accuracy |
| Salt 🧂 | 1 tsp | Fine sea salt preferred |
| Granulated Sugar 🍚 | 1 tbsp | Balances flavor, optional |
| Unsalted Butter 🧈 | 1 cup | Cold, cut into ½-inch cubes |
| Vegetable Shortening 🧈 | ½ cup | Cold, cut into pieces |
| Ice Water 💧 | ½ cup | Plus 1-2 tbsp as needed |
[recipe_ingredient_scaler]
The butter and shortening quality directly impacts flakiness. Land O’Lakes unsalted butter and Crisco all-vegetable shortening are professional standards for consistency. Butter should be European-style if possible (higher fat content), but standard grocery store brands work well. Keep all fats ice-cold—this is non-negotiable for layer separation. The flour matters too: King Arthur or Gold Medal all-purpose deliver reliable results without protein variability that can toughen crusts.
No shortening? All-butter crust works but loses some tenderness—add 2 extra tbsp butter and chill dough longer. For a vegan option, coconut oil (solid, not melted) replaces shortening 1:1, though flavor changes slightly. Ice water must be truly ice-cold—fill a glass with ice cubes and water, then measure what you need. The sugar can be omitted for savory pies, but it helps browning for fruit fillings. Always measure flour by spooning into cups—never scoop directly from the bag.
Prepared dough keeps refrigerated for 3 days or frozen for 3 months. Wrap tightly in plastic, then foil to prevent freezer burn. For pre-baked shells, prick thoroughly with a fork and blind-bake at 375°F with pie weights. Unbaked dough benefits from 30-minute chilling before rolling—this relaxes gluten for easier handling. Room-temperature dough becomes sticky and difficult to transfer; work quickly and return to fridge if needed.
Step-by-Step Instructions for Magnolia Pie Crust
This method delivers the flakiest, most reliable pie crust with perfect layers every time.
Step 1: Prepare the Fat and Dry Ingredients
Begin by combining the 2.5 cups All-Purpose Flour, 1 tsp Salt, and 1 tbsp Granulated Sugar in a large mixing bowl. Whisk thoroughly for 30 seconds to ensure even distribution. The sugar adds subtle sweetness while the salt enhances flavor balance.
Add the 1 cup Unsalted Butter (cut into ½-inch cubes) and 0.5 cup Vegetable Shortening (cut into pieces) to the flour mixture. Both fats must be ice-cold—this is critical for creating flaky layers. I recommend keeping the butter and shortening in the refrigerator until the moment you’re ready to use them.
Step 2: Cut in the Fat for Optimal Texture
Using a pastry cutter or your fingertips, work the fat into the flour until the mixture resembles coarse crumbs with pea-sized pieces of butter and shortening remaining. This process should take 2-3 minutes—don’t overwork it. You should see visible pieces of fat throughout the mixture.
The key to flaky layers is maintaining distinct pieces of fat that will melt during baking, creating steam pockets. If the mixture starts feeling warm or the fat becomes greasy, pause and refrigerate the bowl for 10 minutes before continuing. The ideal texture should feel like damp sand with visible fat chunks.
Step 3: Incorporate Ice Water Gradually
Create a well in the center of your flour-fat mixture. Add 0.5 cup Ice Water 1 tablespoon at a time, gently tossing with a fork after each addition. You’ll need between 6-8 tablespoons total—the dough should just begin to clump together when pressed.
Test the dough by squeezing a small portion—it should hold together without crumbling but not feel wet or sticky. If it’s too dry, add the remaining water 1 teaspoon at a time. Be patient; over-hydrated dough becomes tough. The perfect consistency will feel cool to the touch and slightly shaggy in appearance.
Step 4: Chill and Rest the Dough
Divide the dough into two equal portions (about 12 ounces each) and shape each into a 1-inch thick disk. Wrap tightly in plastic wrap, pressing the wrap directly against the dough to prevent air pockets. Refrigerate for at least 1 hour, or preferably overnight.
This resting period allows the gluten to relax and the fat to firm up, which prevents shrinkage during baking and ensures maximum flakiness. When ready to use, the dough should feel firm but pliable—if it cracks when rolled, let it warm at room temperature for 5-10 minutes before proceeding.
Step 5: Roll and Shape for Perfect Results
On a lightly floured surface, roll one disk of dough from the center outward, turning it quarter-turn after each roll to maintain an even ⅛-inch thickness. Use minimal flour to prevent toughening—just enough to prevent sticking.
For a standard 9-inch pie plate, roll the dough to a 12-inch circle. Gently fold the dough in half, then in half again to create a triangle for easy transfer. Unfold it into your pie plate, pressing gently into the bottom and up the sides without stretching. Trim the edges to leave a ½-inch overhang, then fold under and crimp as desired. Chill the shaped crust for 30 minutes before filling to maintain its structure during baking.
Common Mistakes When Making This Recipe
Overworking the Dough
The moment you start mixing, remember: less is more. Overworking develops gluten, which makes crusts tough instead of tender. I stop mixing as soon as the dough just holds together—usually after 6-8 tablespoons of ice water. If it feels crumbly, resist the urge to keep kneading; it’ll come together during chilling. 💪
Warm Ingredients
Cold fat equals flaky layers—this is non-negotiable. I keep my butter and shortening refrigerated until the last second, and even chill my mixing bowl for 10 minutes beforehand. If your kitchen is warm, work quickly or pause to refrigerate the dough between steps. The ideal fat temperature feels like cold playdough.
Skipping the Rest
Rushing the chilling step is the fastest way to a shrunken, dense crust. I always refrigerate my dough for at least 1 hour (overnight is even better). This relaxes the gluten and firms up the fat. If you’re in a hurry, freeze the wrapped dough for 20 minutes—it’s better than skipping entirely.
Incorrect Rolling
Rolling too thin or unevenly leads to cracks and burnt edges. I aim for ⅛-inch thickness, turning the dough quarter-turn after each roll. Use minimal flour—just enough to prevent sticking. If the dough resists, let it warm slightly at room temperature for 5 minutes before continuing.
Stretching the Dough
Forcing dough into the pie plate causes shrinkage during baking. Instead, gently lift and press it into place without pulling. If it tears, patch with extra dough—no one will notice! I always leave a ½-inch overhang for crimping, which prevents the edges from sliding down.
Blind-Baking Blunders
For pre-baked shells, skipping weights or pricking the dough leads to puffy, uneven crusts. I use dried beans or pie weights, pressing them firmly into the dough. Bake at 375°F for 15 minutes with weights, then 5-8 minutes without for perfect golden-brown results. ✨
Nutrition Facts

Trained in classic French technique but raised on slow-cooked ribs and spicy rubs, she blends culinary skill with smoke and soul.
- Recipe for Boneless Pork Chops in Cast Iron Skillet: Sear and Baste to Juicy Perfection - October 3, 2026
- Recipe for Boneless Cross Rib Roast: Slow-Roasted Beef with Herb Crust - October 3, 2026
- Hamburgers in Sauce Recipe Crock Pot: Slow-Cooked Savory Delight - October 3, 2026