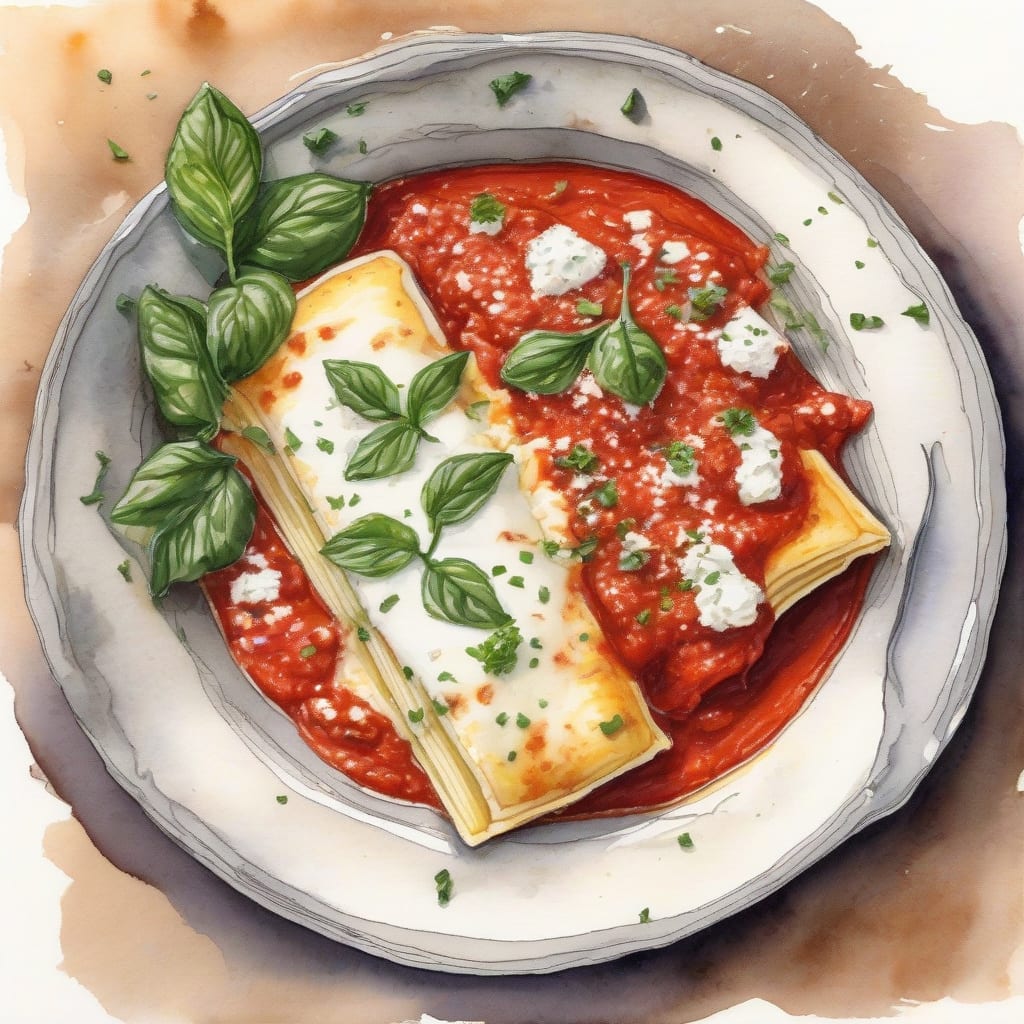
Imagine a dish that brings the warmth of home-cooked comfort right to your table in just 30 minutes. This recipe combines the classic flavors of manicotti with a simplified, one-pan approach that makes weeknight dinners a breeze. You’ll love how easy it is to prepare!
This creation is perfect for those busy evenings when you crave something hearty but don’t want to spend hours in the kitchen. With minimal prep and straightforward steps, this dish promises satisfying layers of cheese and sauce that meld together beautifully.
By the time you serve this up, you’ll have a bubbling, cheesy masterpiece that fills the room with inviting aromas. It’s the kind of meal that brings family together, making even a regular night feel special. Let’s dive into how to make this delightful dish!
Ingredients for Manicotti dump
Gather these ingredients to create a comforting one-pan dish in no time at all.
| Ingredient | Amount | Notes |
|---|---|---|
| Manicotti Pasta 🍝 | 12 pieces | No need to pre-cook |
| Ricotta Cheese 🧀 | 15 oz | Full-fat for creaminess |
| Shredded Mozzarella Cheese 🧀 | 2 cups | Reserve some for topping |
| Parmesan Cheese 🧀 | ½ cup | Freshly grated preferred |
| Marinara Sauce 🍅 | 4 cups | Homemade or jarred works |
| Eggs 🥚 | 1 whole | Beaten for binding |
| Garlic Cloves 🧄 | 3 cloves | Minced for flavor |
| Dried Italian Seasoning 🌿 | 1 tbsp | For herby flavor profile |
| Salt 🧂 | 1 tsp | Kosher or sea salt |
| Black Pepper 🌶️ | ½ tsp | Freshly ground preferred |
[recipe_ingredient_scaler]
You can find these ingredients at your local grocery store. Look for manicotti pasta in the pasta aisle and consider brands like Barilla or De Cecco for quality. Fresh ricotta cheese is best found at specialty stores or the deli section, while shredded mozzarella and marinara sauce are widely available. Always check for freshness when buying dairy products.
If you don't have ricotta, cottage cheese can be a great substitute; just blend it for a smoother texture. For a vegan option, use cashew cheese or tofu blended with nutritional yeast. Adjust the seasoning according to your taste; fresh herbs can enhance flavor if you have them on hand. If you prefer less cheese, reduce the amounts without compromising the dish's integrity.
Store any leftover ingredients in airtight containers in the refrigerator. The pasta should be kept dry and cool, while cheeses need refrigeration to maintain freshness. Cooked manicotti can be refrigerated for up to 3 days and reheats well in the oven, making it perfect for meal prep.
Step-by-Step Instructions for Manicotti
Let me guide you through this simple yet satisfying dish that combines flavors and textures effortlessly.
👨🍳 Step 1: Prepare the Cheese Mixture
Start by gathering all your ingredients. In a large mixing bowl, combine the 15 oz of ricotta cheese, 1 whole egg, 0.5 cup of Parmesan cheese, 3 minced garlic cloves, 1 tablespoon of dried Italian seasoning, 1 teaspoon of salt, and 0.5 teaspoon of black pepper. I like to mix everything until it’s well combined and creamy, which ensures every bite is flavorful.
This mixture will serve as the rich filling for your manicotti. Make sure to taste it before you fill the pasta, adjusting seasoning if necessary. The fresh garlic and herbs will give it a delightful aroma that fills your kitchen!
🥘 Step 2: Layer the Ingredients in Your Baking Dish
Now it’s time to assemble everything. In a large baking dish, spread 1 cup of marinara sauce evenly across the bottom. This not only adds flavor but also prevents the pasta from sticking. Then, take each of the 12 pieces of manicotti pasta and carefully fill them with the cheese mixture using a spoon or piping bag. I usually fill them generously—don’t worry if some spills out; it’ll be delicious when baked!
After filling, place each manicotti in the baking dish over the marinara layer. Once all are in place, pour the remaining 3 cups of marinara sauce over the top. Sprinkle with the reserved shredded mozzarella cheese to create a beautifully melty topping.
🔥 Step 3: Bake Until Bubbly and Golden
Preheat your oven to 375°F. Cover the baking dish with aluminum foil to keep moisture in during baking, ensuring the pasta cooks through without drying out. Bake for 25 minutes, then remove the foil and continue baking for an additional 10-15 minutes. You’ll know it’s ready when the cheese is bubbly and slightly golden on top.
The aroma that fills your kitchen will have everyone eagerly waiting for dinner! Keep an eye on it during the last few minutes to avoid over-browning.
⏰ Step 4: Let It Rest Before Serving
Once out of the oven, allow the manicotti to rest for about 5-10 minutes. This resting period helps the layers settle and makes serving easier without everything falling apart. I promise this wait is worth it; it allows the flavors to meld perfectly.
After resting, serve your delicious creation hot, garnished with a sprinkle of fresh herbs if desired. Each bite will deliver comforting flavors and creamy textures that are simply irresistible!
Creative Twists on Classic Manicotti
Looking to switch things up with your manicotti? One delightful variation is to add spinach and artichoke to your cheese mixture. Just mix in 1 cup of thawed and drained spinach and ½ cup of chopped marinated artichokes for a creamy, flavorful filling that everyone will love! 🥬
If you’re feeling adventurous, try a Mexican-inspired twist. Substitute marinara sauce with enchilada sauce, and incorporate 1 cup of black beans and 1 cup of corn into the cheese mixture. Top with shredded Monterey Jack cheese for a cheesy finish that’s packed with flavor. 🌮
For those who want a lighter option, consider a zucchini and mushroom filling. Sauté 1 cup of chopped zucchini and 1 cup of mushrooms with some olive oil until tender, then mix them with the ricotta. This veggie-packed version is delicious and keeps the dish fresh and healthy! 🍄
Lastly, don’t forget about the power of herbs! Adding fresh herbs like basil or parsley to the cheese mixture not only enhances flavor but also adds a pop of color. Experimenting with different flavor profiles can elevate your meal and impress your family and friends. Happy cooking! 🌿
Nutrition Facts
480kcal

Trained in classic French technique but raised on slow-cooked ribs and spicy rubs, she blends culinary skill with smoke and soul.
- Recipe for Boneless Pork Chops in Cast Iron Skillet: Sear and Baste to Juicy Perfection - October 3, 2026
- Recipe for Boneless Cross Rib Roast: Slow-Roasted Beef with Herb Crust - October 3, 2026
- Hamburgers in Sauce Recipe Crock Pot: Slow-Cooked Savory Delight - October 3, 2026