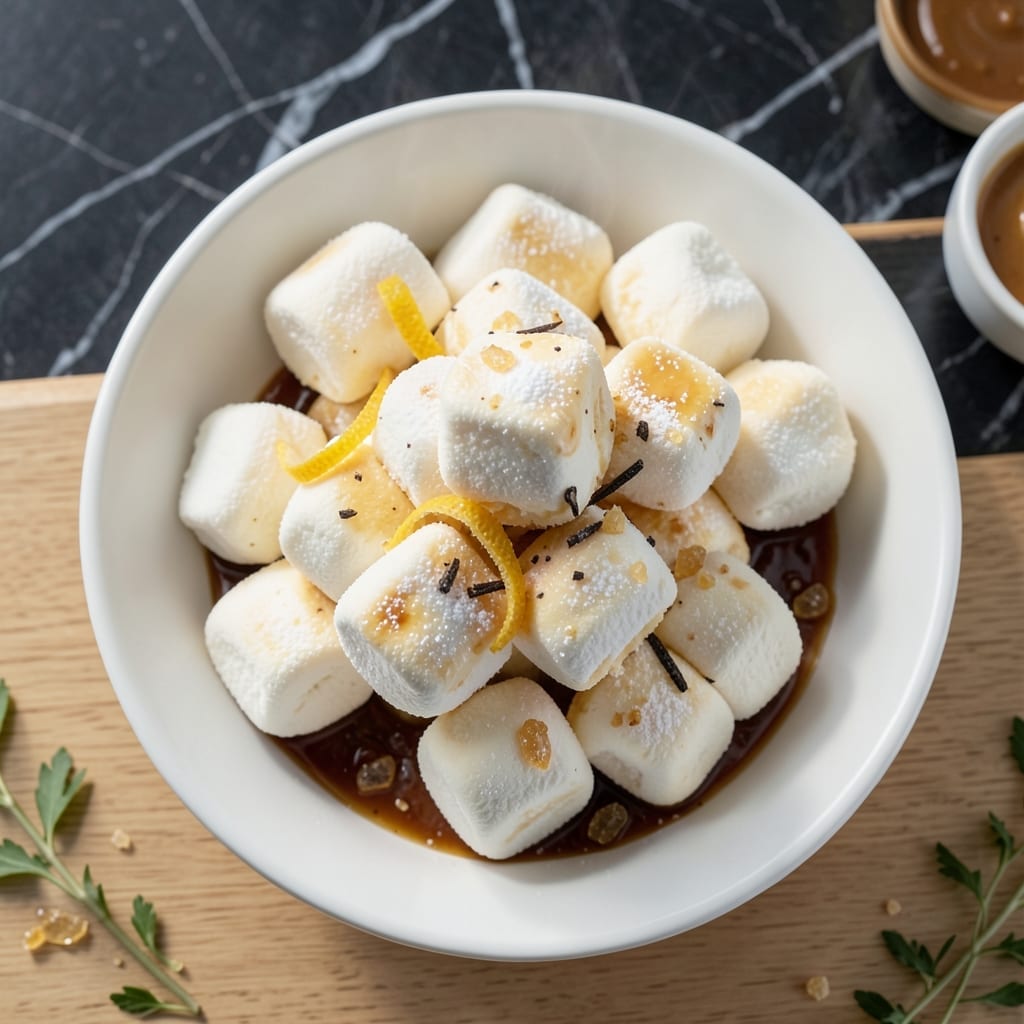
Making marshmallows without corn syrup is simpler than you think. This method uses honey as a natural sweetener, creating that classic pillowy softness we all love.
With just a few ingredients and proper technique, you’ll achieve professional results. The key is precise temperature control and patient whipping for that perfect texture.
Ingredients for Marshmallow Recipe Without Corn Syrup
Honey replaces corn syrup here, with gelatin and sugar for that perfect fluffy texture.
| Ingredient | Amount | Notes |
|---|---|---|
| Honey 🍯 | ¾ cup | Raw, unfiltered preferred |
| Granulated Sugar 🍚 | 1 cup | Fine white sugar |
| Water 💧 | ¼ cup | Divided, for syrup and gelatin |
| Unflavored Gelatin 🍬 | 3 tbsp | Knox or Great Lakes brand |
| Vanilla Extract 🌿 | 1 tsp | Pure, not imitation |
| Salt 🧂 | ¼ tsp | Fine sea salt |
| Powdered Sugar 🍚 | ½ cup | For dusting |
| Cornstarch 🌾 | 2 tbsp | Mixed with powdered sugar |
| Vegetable Oil 🫒 | 1 tsp | For greasing pans |
| Lemon Juice 🍋 | ½ tsp | Freshly squeezed |
[recipe_ingredient_scaler]
The honey is doing double duty as sweetener and syrup base, so raw, unfiltered varieties give the best flavor. Local honey (from farmers markets) works great and supports small producers. Gelatin quality matters—Knox or Great Lakes dissolve cleanly without clumps. Use fine white sugar, not coarse or raw, for smooth melting. The vanilla should be pure extract, not the imitation stuff (worth the extra dollar).
No honey? Maple syrup or agave at a 1:1 ratio works, though flavor differs slightly. Vegetarian but not vegan? Stick with gelatin. For vegan marshmallows, swap gelatin for agar-agar (but texture changes). Coconut sugar can replace white sugar but may darken the final color. The cornstarch in the dusting mix prevents sticking—don’t skip it (or sub arrowroot in a pinch).
Marshmallows keep in an airtight container for 2-3 weeks at room temp. Dust them well so they don’t fuse together. For longer storage, freeze for up to 3 months—thaw at room temp before using. Best made on a dry day (humidity = sticky disaster).
Why You’ll Love This Recipe
- No Fuss Mixing: I just bloom the gelatin in water, heat the honey and sugar, then whip it all together—no candy thermometer needed.
- Pure Honey Sweetness: The honey gives these marshmallows a floral depth that’s way richer than the usual corn syrup version.
- Endless Uses: I’ve dropped them in hot cocoa, layered them in s’mores, and even piped them onto cookie bars.
- Budget Stretcher: A batch costs pennies compared to store-bought gourmet marshmallows, and they keep for weeks in an airtight container.
Step-by-Step Instructions for Homemade Marshmallows Without Corn Syrup
This method delivers cloud-like texture using honey instead of corn syrup.
Step 1: Bloom the Gelatin Properly
In a small bowl, sprinkle the 3 tbsp unflavored gelatin evenly over ¼ cup water. I use cold water straight from the tap—it needs to be cold enough to activate the gelatin molecules. Let it sit undisturbed for 10 minutes to bloom completely.
The mixture will transform from a cloudy liquid to a thick, jelly-like consistency. Don’t stir it during this time, as that can create lumps. The surface should look wrinkled and opaque when ready. This step ensures your marshmallows will have that perfect, bouncy texture.
Step 2: Create the Honey-Sugar Syrup
In a medium saucepan, combine the 0.75 cup honey, 1 cup granulated sugar, and remaining ¼ cup water. Clip on a candy thermometer and cook over medium-high heat without stirring. Swirling the pan gently is fine, but stirring can cause sugar crystals to form on the sides.
Cook until the mixture reaches 240°F (soft-ball stage). You’ll notice the bubbles become smaller and the syrup takes on a slightly golden hue. At this temperature, the sugar concentration is perfect for marshmallow structure. If you don’t have a thermometer, test by dropping a bit into ice water—it should form a soft, pliable ball.
Step 3: Whip the Gelatin and Syrup Together
With a stand mixer fitted with the whisk attachment, beat the bloomed gelatin on low speed for 30 seconds to break it up. Then, with the mixer running on low, carefully pour the hot syrup down the side of the bowl in a thin, steady stream. Avoid pouring directly onto the whisk to prevent splattering.
Once all the syrup is incorporated, increase the speed to high and whip for 10-12 minutes. The mixture will transform from a thin liquid to a thick, glossy, white meringue-like consistency. You’ll know it’s ready when the bowl feels cool to the touch and the mixture holds stiff peaks that fold over slightly at the tips.
Step 4: Add Flavorings and Finish the Mixture
With the mixer still running on medium, add the 1 tsp vanilla extract, 0.25 tsp salt, and 0.5 tsp lemon juice. The lemon juice adds a subtle brightness that balances the sweetness. Beat for another 30 seconds to fully incorporate the flavorings.
The mixture should now be thick, shiny, and slightly sticky. Stop the mixer and give it a quick visual check—it should pull away from the sides of the bowl in thick ribbons. If it seems too thin, whip for another 1-2 minutes to achieve the proper consistency.
Step 5: Pipe, Dust, and Set the Marshmallows
Lightly grease a 9×13-inch baking dish with the 1 tsp vegetable oil, then line it with parchment paper, leaving an overhang on the sides for easy removal. In a small bowl, whisk together the 0.5 cup powdered sugar and 2 tbsp cornstarch. Dust the prepared pan generously with about half of this mixture.
Transfer the marshmallow mixture to a piping bag fitted with a large star tip (or simply snip off the end of the bag for a rustic look). Pipe the mixture into the pan in even rows or dollops. Dust the tops with the remaining powdered sugar mixture. Let them set at room temperature for 4-6 hours or overnight. They’re ready when they’re firm to the touch and pull away cleanly from your finger.
Once set, use the parchment overhang to lift the marshmallows from the pan. Cut into squares with a sharp knife dusted with more powdered sugar mixture to prevent sticking. Store in an airtight container for up to 2 weeks.
Pro Tips For Making Marshmallow Recipe Without Corn Syrup
- Bloom the Gelatin: Sprinkle gelatin over cold water and let it sit for 10 minutes—I learned this the hard way after my first batch came out lumpy. It softens evenly and prevents grainy marshmallows.
- Use a Candy Thermometer: Heat the honey-sugar syrup to exactly 240°F. After burning two batches, I finally bought one, and now my marshmallows set perfectly every time.
- Beat on High: Once the syrup hits temp, beat the mixture on high for 8-10 minutes—it’ll look too thin at first, but it thickens up. Skip this and you’ll end up with flat, sad marshmallows.
- Dust with Cornstarch: Toss the finished marshmallows in cornstarch to prevent sticking, especially if you’re cutting them into shapes. I was skeptical until I tried it, and now I never skip this step.
Flavor Customization for marshmallow recipe without corn syrup
Citrus Twist
For a bright, zesty flavor, add 1 tbsp orange zest or 1 tsp lime zest along with the vanilla. The citrus oils add a fresh dimension that pairs beautifully with the honey base. I often add a few drops of orange blossom water for extra floral complexity. 🌿
Spiced Variations
Warm spices transform this recipe. Add ½ tsp cinnamon or ¼ tsp cardamom with the vanilla. For a chai-inspired version, mix in ⅛ tsp each of ginger, cloves, and nutmeg. These spices complement the honey’s natural depth.
Chocolate Lovers
Stir in 2 tbsp cocoa powder with the flavorings for a subtle chocolate note. For more intensity, fold in ½ cup mini chocolate chips after whipping. I use Ghirardelli for consistent quality. The chocolate pairs wonderfully with the pillowy texture.
Fruity Infusions
Add 2 tbsp freeze-dried fruit powder (raspberry or strawberry work best) with the vanilla. This adds vibrant color and natural fruit flavor without altering the texture. I source my powders from farmers markets for the freshest options.
Coffee Buzz
Dissolve 1 tsp instant espresso powder in the ¼ cup water for the gelatin. This adds a subtle coffee note that enhances the vanilla. For stronger flavor, add ½ tsp more. The coffee deepens the overall flavor profile. 🔥
Herbal Notes
Infuse the honey with fresh herbs like rosemary or lavender before making the syrup. Gently heat ½ cup honey with 1 sprig rosemary for 5 minutes, then strain. This adds a sophisticated herbal note to your marshmallows.
Nutrition Facts
Frequently Asked Questions
Can I use maple syrup instead of honey?
Yes, maple syrup works as a 1:1 substitute for honey in this recipe. It will give your marshmallows a slightly different flavor profile, with the warm, earthy notes of maple. Just ensure it’s pure maple syrup for the best results.
Why do I need to bloom the gelatin first?
Blooming activates the gelatin, allowing it to absorb water and create that signature marshmallow texture. Skipping this step can result in lumpy or weak marshmallows that don’t hold their shape. It only takes 10 minutes and makes all the difference!
What happens if my syrup exceeds 240°F?
Going past 240°F can make your marshmallows too firm or even brittle, as the sugar becomes more concentrated. If this happens, the mixture may set too quickly and be difficult to whip properly. Always monitor the temperature closely.
How do I prevent marshmallows from sticking together?
Dust them generously with the powdered sugar and cornstarch mixture before storing. This creates a barrier that keeps them separate. Store in an airtight container at room temperature for up to 2 weeks.

Trained in classic French technique but raised on slow-cooked ribs and spicy rubs, she blends culinary skill with smoke and soul.
- Recipe for Boneless Pork Chops in Cast Iron Skillet: Sear and Baste to Juicy Perfection - October 3, 2026
- Recipe for Boneless Cross Rib Roast: Slow-Roasted Beef with Herb Crust - October 3, 2026
- Hamburgers in Sauce Recipe Crock Pot: Slow-Cooked Savory Delight - October 3, 2026