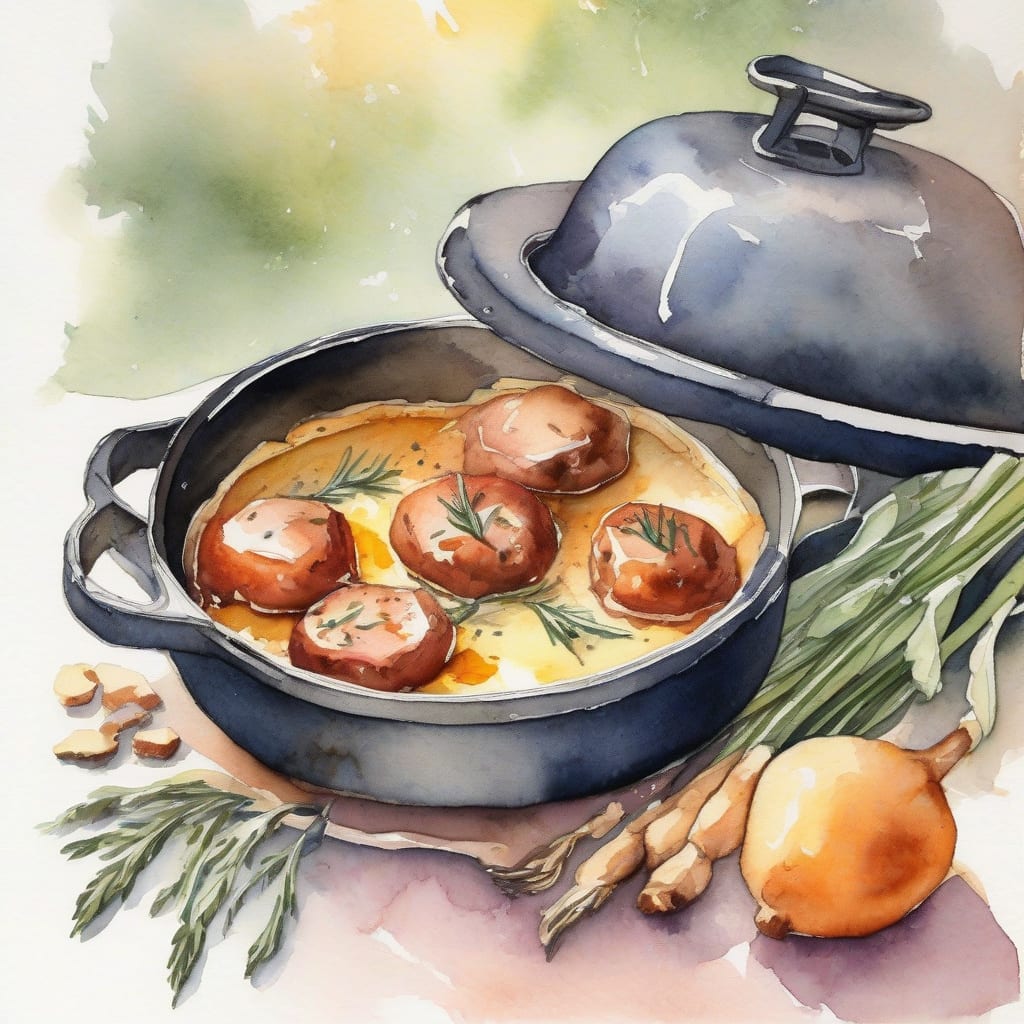
There’s something magical about cooking in a mini Dutch oven—it transforms simple ingredients into restaurant-quality comfort food with minimal effort. ✨ I’ve been experimenting with these adorable cast-iron pots for months, and I’m sharing my favorite recipe that delivers maximum flavor in the cutest presentation possible.
What makes mini Dutch ovens special is their ability to retain heat evenly, creating perfectly caramelized edges and tender interiors. Whether you’re cooking for one, hosting a dinner party with individual servings, or simply want portion control without sacrificing indulgence, these little workhorses deliver every time.
You’ll end up with a bubbling, golden-topped dish that’s as Instagram-worthy as it is delicious. The best part? Everything cooks in one pot, from browning to baking, which means minimal cleanup and maximum flavor development. Let’s get started!
Ingredients for mini dutch oven
Here’s everything you need to create these adorable mini Dutch oven comfort food delights.
| Ingredient | Amount | Notes |
|---|---|---|
| Boneless Chicken Thighs 🍗 | 1 lb | Cut into bite-sized pieces |
| Baby Potatoes 🥔 | 12 oz | Halved, for golden edges |
| Carrots 🥕 | 2 whole | Peeled and sliced thick |
| Yellow Onion 🧅 | 1 whole | Diced for caramelization |
| Garlic Cloves 🧄 | 4 cloves | Minced for aromatic base |
| Chicken Broth 🍲 | 1 ½ cups | Low-sodium preferred |
| Heavy Cream 🥛 | ½ cup | For rich, golden sauce |
| Fresh Thyme 🌿 | 4 sprigs | Whole sprigs for flavor |
| Olive Oil 🫒 | 2 tbsp | For browning chicken |
| Butter 🧈 | 2 tbsp | Unsalted, for richness |
| All-Purpose Flour 🌾 | 2 tbsp | For thickening sauce |
| Parmesan Cheese 🧀 | ½ cup | Freshly grated for topping |
| Salt 🧂 | 1 tsp | Kosher salt preferred |
| Black Pepper 🌶️ | ½ tsp | Freshly ground preferred |
[recipe_ingredient_scaler]
You can find mini Dutch ovens at Sur La Table, Williams Sonoma, or online at Amazon—Lodge and Staub make excellent options. For chicken thighs, look for organic from your local butcher for superior flavor and texture. Baby potatoes work best from farmers markets where they're fresher. Grab fresh thyme from the produce section, and invest in good Parmesan from the deli counter at Whole Foods or Trader Joe's.
Don't have chicken thighs? Boneless breasts work but cook faster, so reduce time by 5 minutes. If baby potatoes aren't available, dice regular Yukon golds into 1-inch pieces. Substitute dried thyme at one-third the amount if fresh isn't available. For a lighter version, use half-and-half instead of heavy cream, though the sauce won't be as rich and golden.
Store leftover portions in airtight containers for up to 3 days refrigerated. The dish reheats beautifully in the oven at 350°F. Fresh thyme keeps wrapped in damp paper towels for up to 1 week in the crisper drawer.
Step-by-Step Instructions for Mini Dutch Oven Delights
Let me walk you through this cozy one-pot method that delivers restaurant-quality results in adorable portions.
🔥 Step 1: Brown the Chicken for Maximum Flavor
Heat the olive oil in your mini Dutch oven over medium-high heat for 2 minutes until shimmering but not smoking. Pat the boneless chicken thighs dry with paper towels—this is crucial for achieving that beautiful golden crust. Season the bite-sized pieces generously with half the salt and black pepper.
Add the chicken in a single layer, making sure not to overcrowd the pot. Cook undisturbed for 3-4 minutes until the bottom develops a deep golden-brown crust. Flip each piece and brown the other side for another 3 minutes. You’re not cooking the chicken through yet—just building that flavorful foundation.
Transfer the browned chicken to a plate and set aside. Don’t wipe out the pot—those caramelized bits stuck to the bottom are pure gold for your sauce. They’ll add incredible depth when we deglaze later.
🍳 Step 2: Build Your Aromatic Vegetable Base
Reduce the heat to medium and add the butter to the same pot. Once it melts and starts to foam, add the diced yellow onion and halved baby potatoes. Cook for 5-6 minutes, stirring occasionally, until the onion becomes translucent and fragrant and the potatoes start to develop golden edges.
Add the thick-sliced carrots and minced garlic cloves, stirring constantly for 1 minute until the garlic becomes aromatic but not browned. If the garlic burns, it’ll turn bitter, so watch it carefully. Sprinkle the all-purpose flour over the vegetables and stir vigorously for 1-2 minutes to cook out the raw flour taste. This creates a roux that will thicken your sauce beautifully.
🥘 Step 3: Create the Rich, Creamy Sauce
Slowly pour in the chicken broth while stirring constantly to prevent lumps from forming. Scrape the bottom of the pot with a wooden spoon to release all those flavorful browned bits—this deglazing step is where the magic happens. The liquid should start to thicken slightly within 2 minutes as the flour activates.
Stir in the heavy cream and add the fresh thyme sprigs whole (you’ll remove them later). Return the browned chicken pieces to the pot along with any accumulated juices from the plate. Season with the remaining salt and black pepper, then give everything a good stir to combine. The sauce should coat the back of your spoon with a silky, golden consistency.
⏰ Step 4: Simmer Until Fork-Tender Perfection
Bring the mixture to a gentle simmer, then reduce the heat to low. Cover the mini Dutch oven with its lid and let everything cook together for 25-30 minutes, stirring once halfway through. You’ll know it’s ready when the baby potatoes are fork-tender, the carrots yield easily to a knife, and the chicken reaches an internal temperature of 165°F.
Remove the thyme sprigs and discard them—they’ve done their job infusing the sauce with herbaceous flavor. Taste the sauce and adjust seasoning if needed. If it’s too thick, whisk in a splash of chicken broth; if too thin, simmer uncovered for 3-5 minutes to reduce.
🧀 Step 5: Finish with Parmesan and Serve
Remove the pot from heat and sprinkle the freshly grated Parmesan cheese over the top. Let it sit for 2 minutes to melt into the hot sauce, creating a luxurious, cheesy finish. Give it one final gentle stir to incorporate the Parmesan throughout.
Serve directly from the mini Dutch oven for that rustic, homey presentation everyone loves. Each portion should have tender chicken, creamy vegetables, and plenty of that rich sauce. This dish pairs perfectly with crusty bread for soaking up every last drop or over buttered egg noodles for extra comfort.
Mini Dutch ovens are perfect for cooking up individual portions of your favorite comfort foods. Here, we’ll explore some delicious mini Dutch oven recipes that are sure to become new favorites. Whether you’re looking for a hearty beef stew or a flavorful chicken dish, these recipes are sure to hit the spot 🍖🥘.
🔥 Mini Dutch Oven Beef Stew
This classic comfort food is easy to make in a mini Dutch oven. Simply brown some beef in the pot, add your favorite vegetables and broth, and let it simmer until the meat is tender.
- 1 lb beef stew meat
- 1 onion, chopped
- 2 cloves garlic, minced
- 1 cup beef broth
- 1 tsp dried thyme
🥘 Mini Dutch Oven Chicken and Rice
This one-pot wonder is a staple for a reason. It’s easy to make and always a crowd-pleaser. Simply sauté some chicken and onions, add rice and chicken broth, and let it cook until the liquid is absorbed.
- 1 lb boneless, skinless chicken breast
- 1 cup uncooked white rice
- 2 cups chicken broth
- 1 tsp dried parsley
💡 Pro tip: To add some extra flavor to your mini Dutch oven recipes, try using different types of wood chips or chunks in your cooking. This will infuse your dishes with a rich, smoky flavor that’s sure to impress.
| Recipe | Cooking Time | Servings |
|---|---|---|
| Mini Dutch Oven Beef Stew | 1 hour 15 minutes | 1-2 people |
| Mini Dutch Oven Chicken and Rice | 30-40 minutes | 1-2 people |
Tips & Tricks for Perfect Mini Dutch Oven Delights
These tried-and-tested tips will help you nail this cozy one-pot meal every single time.
Equipment Selection: When making these mini Dutch oven delights, choose pots that are truly mini—1-2 quart capacity works perfectly. If your pot is too large, the sauce will evaporate too quickly, leaving you with dry ingredients instead of that luscious, creamy finish we want.
Make-Ahead Strategy: You can prep everything up to Step 4 the night before. Just stop before the final simmer, let it cool completely, and refrigerate. When ready to serve, heat gently for 10 minutes on the stovetop before proceeding with Step 4. The flavors actually deepen overnight! 💡
Storage Tips: Leftovers keep beautifully for 3-4 days in an airtight container in the fridge. The sauce will thicken when cold, but gently reheat on the stovetop with a splash of chicken broth to restore that silky consistency. You can freeze portions for up to 2 months—just know the cream sauce might separate slightly upon thawing.
Nutrition Facts
485kcal
[recipe_ingredient_scaler]

Trained in classic French technique but raised on slow-cooked ribs and spicy rubs, she blends culinary skill with smoke and soul.
- Recipe for Boneless Pork Chops in Cast Iron Skillet: Sear and Baste to Juicy Perfection - October 3, 2026
- Recipe for Boneless Cross Rib Roast: Slow-Roasted Beef with Herb Crust - October 3, 2026
- Hamburgers in Sauce Recipe Crock Pot: Slow-Cooked Savory Delight - October 3, 2026