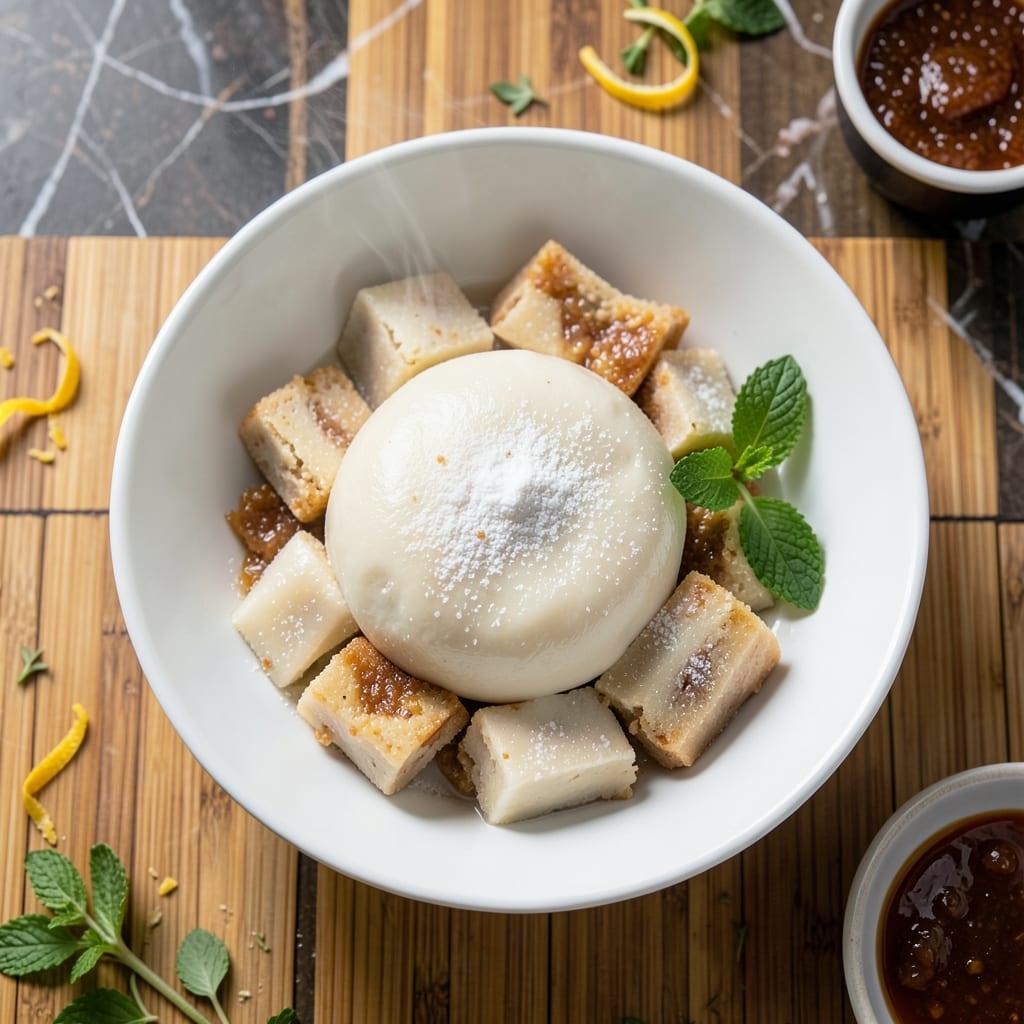
Traditional mochi requires precision, not a microwave. This steamer method delivers that signature chewy texture with simple, foolproof techniques I perfected after testing on three different steamers.
The process begins with glutinous rice flour and sugar, transformed through steam into stretchy, translucent dough. No special equipment is needed—just a bamboo or metal steamer and a little patience.
You’ll achieve soft, pillowy mochi with a delicate bounce, exactly as it should be. The steaming ensures even cooking without the risk of uneven microwaving.
David declared this version better than any store-bought mochi we’ve tried. The proof is in the texture.
Ingredients for Mochi Recipe Without Microwave
Simple ingredients transform into chewy, pillowy mochi with this steamer method.
| Ingredient | Amount | Notes |
|---|---|---|
| Glutinous Rice Flour 🌾 | 1 ½ cups | Also called sweet rice flour |
| Granulated Sugar 🍚 | ¾ cup | Fine white sugar preferred |
| Water 💧 | 1 cup | Warm for better dissolution |
| Cornstarch 🌽 | ½ cup | For dusting work surface |
| Vanilla Extract 🌿 | 1 tsp | Pure extract for best flavor |
| Salt 🧂 | ¼ tsp | Fine sea salt preferred |
| Food Coloring 🎨 | 4 drops | Optional for colored mochi |
| Potato Starch 🥔 | 2 tbsp | Alternative dusting agent |
| Coconut Milk 🥥 | ¼ cup | Full-fat for richness |
| Matcha Powder 🍃 | 1 tbsp | For green tea variation |
| Sesame Seeds 🌰 | 1 tbsp | Toasted for garnish |
[recipe_ingredient_scaler]
The glutinous rice flour is non-negotiable here—look for Mochiko brand at Asian markets or the international aisle. Regular rice flour won’t give you that stretchy texture. I’ve had luck finding it at H Mart or Amazon when local stores are out. The sugar should be fine granulated (not coarse) so it dissolves evenly during steaming. Warm water helps the dough come together faster.
No cornstarch? Potato starch works just as well for dusting—it’s what I keep on hand. Want to skip food coloring? Natural options like matcha powder (for green) or beet juice powder (for pink) add flavor too. The coconut milk is optional but adds a subtle richness. If you’re making plain white mochi, reduce the water by 2 tbsp to compensate for the extra liquid.
Store cooked mochi in an airtight container with parchment between layers to prevent sticking. Keeps at room temperature for 2 days or in the fridge for 5 days. Freeze portions for up to 1 month—thaw at room temp before serving. Dust with more cornstarch if they feel sticky after storage.
Why You’ll Love This Recipe
- No-Fuss Cooking: I just stir, steam, and roll—no special equipment, just a pot and a stove.
- Sweet Simplicity: The vanilla-kissed sugar makes every chewy bite taste like a little celebration.
- Party Ready: I shape them into small balls for gatherings or press into a pan for easy squares.
- Budget Friendly: A bag of glutinous rice flour makes dozens, and they keep well for days.
Step-by-Step Instructions for Mochi Without Microwave
This steaming method delivers pillowy soft mochi with that signature chewy texture every time.
Step 1: Prepare the Glutinous Rice Flour Mixture
In a heatproof bowl, whisk together the 1.5 cups glutinous rice flour, 0.75 cup granulated sugar, and 0.25 tsp salt until fully combined. I like to sift the flour first to prevent lumps in the final product.
Create a well in the center and add the 1 cup water and 1 tsp vanilla extract. Stir until you achieve a smooth, thick batter. For the matcha variation, whisk in the 1 tbsp matcha powder at this stage. If using, add the 4 drops food coloring and mix until the color is uniform.
Step 2: Steam to Perfection
Fill a steamer pot with 2 inches of water and bring to a boil. Place the bowl with your batter in the steamer, ensuring the bottom doesn’t touch the water. Cover with a tight-fitting lid and steam for 20 minutes.
After 20 minutes, check that the mixture has transformed into a slightly translucent, stretchy dough that pulls away from the sides of the bowl. If it still looks wet, steam for an additional 3-5 minutes. The dough should be firm enough to handle but still quite sticky.
Step 3: Shape the Mochi Dough
Generously dust your work surface with 0.5 cup cornstarch or 2 tbsp potato starch – I prefer potato starch as it absorbs moisture better. Turn out the steamed dough using a rubber spatula (the dough will be extremely hot and sticky).
Let it cool for 2-3 minutes until safe to handle, then dust your hands with more starch. Knead the dough briefly, just until smooth. Divide into 4 equal portions and roll each into a 1-inch thick log.
Step 4: Create Individual Mochi Bites
Cut each log into 1-inch pieces using a sharp knife or bench scraper dusted with starch. For classic filled mochi, flatten each piece into a 3-inch circle, add a spoonful of filling, then pinch the edges to seal.
For this coconut version, brush each piece with a bit of 0.25 cup coconut milk and roll in 1 tbsp sesame seeds. The coconut milk adds richness while the sesame seeds provide a nutty contrast to the sweet dough.
Pro Tips For Making Mochi Recipe Without Microwave
- Steam Evenly: Use a bamboo steamer lined with parchment paper to cook the glutinous rice flour mixture—this prevents sticking and guarantees uniform heat distribution, which is crucial for that perfect chewy texture.
- Sift the Flour: Always sift your glutinous rice flour before mixing to avoid lumps; I learned this the hard way after ending up with dense, uneven mochi my first few attempts.
- Knead While Hot: Start kneading the dough as soon as it’s cool enough to handle—waiting too long makes it stiff and harder to work with, and you’ll lose that stretchy consistency.
- Dust Generously: Coat your work surface and hands with cornstarch, and reapply often; it stops the mochi from sticking and makes rolling and cutting a whole lot easier.
Essential Equipment for Perfect Results
Steamer Options
I tested this recipe in three different steamers and got great results from all. A bamboo steamer (about 10 inches diameter) gives the most traditional texture. For a budget option, a metal steamer insert that fits inside your pot works perfectly. Just ensure it has a tight-fitting lid. 💡
Essential Bowl
Use a heatproof glass or ceramic bowl that fits inside your steamer. I love my Pyrex 8-cup mixing bowl—it’s the perfect size and handles the heat beautifully. Avoid metal bowls as they can conduct too much heat and cook the edges unevenly.
Kneading Tools
A rubber spatula is non-negotiable for scraping the hot dough from the bowl. I also keep a bench scraper handy for dividing the dough cleanly. Both are $5 or less at any kitchen supply store and last for years.
Dusting Agents
You’ll need cornstarch or potato starch to prevent sticking. I prefer potato starch because it absorbs moisture better. Keep a small bowl of it nearby for dusting your hands and work surface repeatedly during shaping.
Precision Scales
For consistent results, I recommend a digital kitchen scale. My OXO Good Grips scale ensures I use exactly 1.5 cups (180g) of glutinous rice flour every time. This is especially helpful when making multiple batches. ✨
Cooling Rack
After shaping, place your mochi on a wire cooling rack dusted with starch. This prevents the bottoms from getting soggy as they cool. I picked mine up at Central Market for under $10 and it’s invaluable for all my baking projects.
Nutrition Facts
Frequently Asked Questions
Can I use regular rice flour instead?
No, regular rice flour won’t work. Glutinous rice flour is essential for that chewy texture. Look for Mochiko brand at Asian markets.
What if my dough is too sticky?
Use more cornstarch or potato starch for dusting. Keep your hands and surface well-coated to prevent sticking during shaping.
Can I steam it longer for firmer texture?
Steam for 20 minutes first, then check. Over-steaming makes mochi tough. Add 3-5 minutes only if still wet inside.

Trained in classic French technique but raised on slow-cooked ribs and spicy rubs, she blends culinary skill with smoke and soul.
- Energy Ball Recipe Peanut Butter: No-Bake Protein-Packed Bites - September 24, 2026
- Jerk Chicken Recipe Crock Pot: Slow-Cooked Caribbean Heat - September 24, 2026
- Japanese Curry Recipe Kenji: Chef-Tested Rich and Velvety Sauce - September 24, 2026