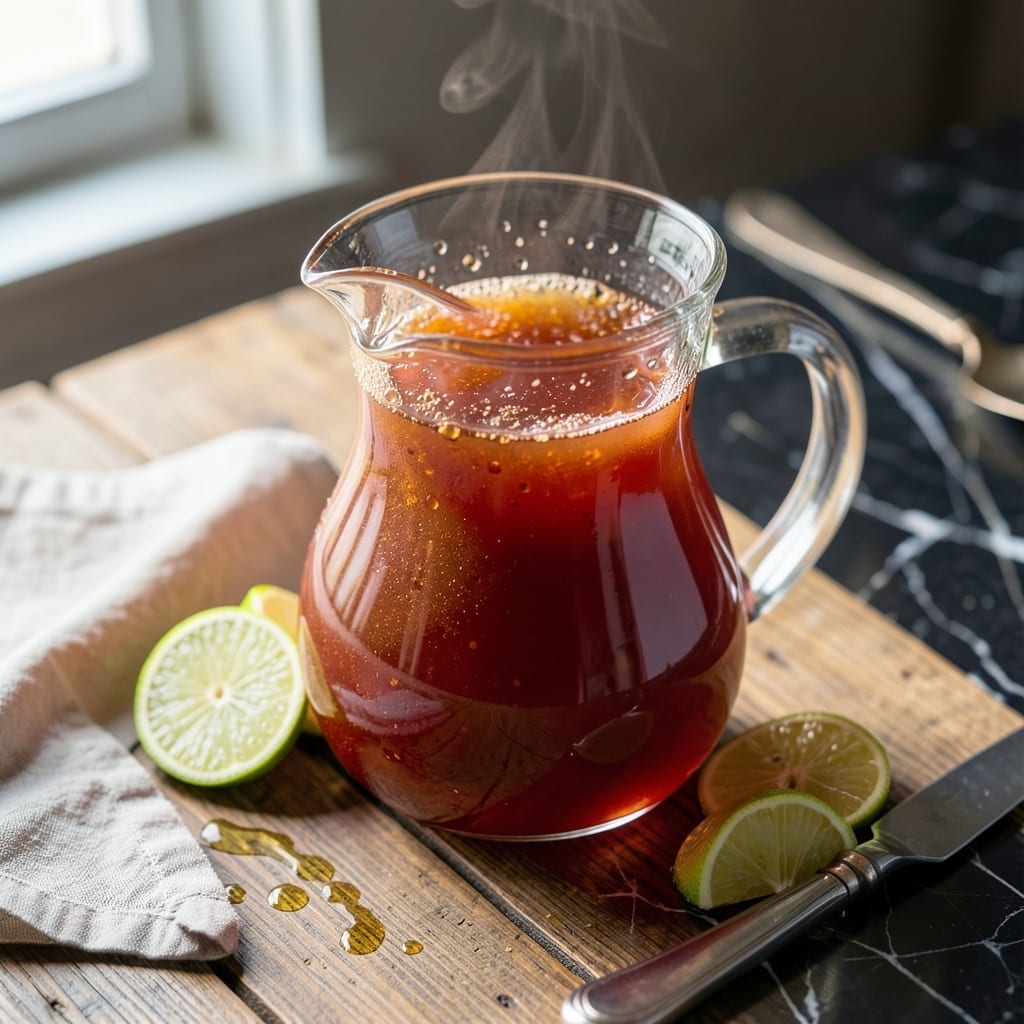
Summer memories come alive with this homemade syrup that delivers vibrant, all-natural flavors. I developed this recipe after noticing store-bought versions were full of artificial dyes and preservatives.
This simple blend of fruit juice, natural sweeteners, and a touch of citrus creates a restaurant-quality topping. It pours perfectly over shaved ice and keeps beautifully in the fridge for weeks.
Ingredients for Natural Snow Cone Syrup
Eight natural ingredients create this vibrant, restaurant-quality snow cone syrup with zero artificial additives.
| Ingredient | Amount | Notes |
|---|---|---|
| Fruit Juice 🍹 | 2 cups | 100% juice, no added sugar |
| Granulated Cane Sugar 🍚 | 1 cup | Organic preferred for purity |
| Raw Honey 🍯 | ½ cup | Or substitute agave for vegan |
| Fresh Lemon Juice 🍋 | 2 tbsp | Freshly squeezed for brightness |
| Fresh Lime Juice 🍈 | 2 tbsp | Freshly squeezed for balance |
| Vanilla Extract 🌿 | 1 tsp | Pure extract, not imitation |
| Citric Acid 🍋 | ¼ tsp | Preserves color and tartness |
| Water 💧 | ¼ cup | Filtered for cleanest taste |
[recipe_ingredient_scaler]
The fruit juice is the base, so choose 100% juice concentrates—no added sugars or preservatives. Welch’s or Kern’s are reliable brands, but farmers market fresh-pressed is ideal if available. Citric acid might seem obscure, but it’s in the baking aisle at Whole Foods or King Arthur’s online store. It keeps the colors bright and prevents spoilage without artificial junk.
Need a honey substitute? Agave nectar or maple syrup works at a 1:1 ratio. The vanilla extract can be swapped with vanilla bean paste for visible specks, but stick to pure extract—imitation tastes flat. For a citrus boost, add orange or grapefruit juice (2 tbsp max) alongside the lemon and lime. If using frozen juice concentrate, thaw and measure as liquid.
This keeps 3-4 weeks in the fridge in a sealed glass bottle. For longer storage, freeze in ice cube trays—thaw single cubes as needed. The flavor deepens slightly over time, but the color stays vibrant thanks to the citric acid (don’t skip it).
Why You’ll Love This Recipe
- Five-Minute Mix: I stir the sugar and honey into warm juice while the kids set up the snow cone stand.
- Bright Citrus Burst: The fresh lemon and lime juice cut the sweetness with a zing that store-bought syrups can’t touch.
- Party in a Pitcher: I make a double batch on Saturday and it keeps the backyard crowd happy all afternoon.
- Pantry Stretch: A single bottle of juice plus shelf staples turns into gallons of syrup for pennies.
Step-by-Step Instructions for Natural Snow Cone Syrup
This straightforward method ensures a smooth, vibrant syrup with perfectly balanced sweetness and tartness.
Step 1: Combine Liquid Ingredients and Sweeteners
In a medium saucepan, pour in the 2 cups Fruit Juice, 0.25 cup Water, 1 cup Granulated Cane Sugar, and 0.5 cup Raw Honey. Use a whisk to break up any clumps of honey, ensuring all the sweeteners begin dissolving into the liquid.
The sugar will settle at the bottom initially—that’s normal. Stir just enough to distribute the ingredients, but avoid excessive mixing at this stage. You want the mixture to start integrating without creating unnecessary air bubbles.
Step 2: Heat and Dissolve Completely
Place the saucepan over medium heat and bring the mixture to a gentle simmer. Stir frequently with a silicone spatula, scraping the bottom to prevent the sugar from caramelizing or sticking. You’ll notice the liquid becoming clearer as the sweeteners fully dissolve.
This step takes about 5-7 minutes. The goal is a smooth, uniform consistency with no visible sugar granules. Once dissolved, reduce the heat to low-medium to maintain a steady, gentle simmer without boiling over.
Step 3: Add Acidic and Aromatic Elements
Stir in the 2 tbsp Fresh Lemon Juice, 2 tbsp Fresh Lime Juice, 1 tsp Vanilla Extract, and 0.25 tsp Citric Acid. The citrus juices will brighten the flavor, while the citric acid enhances tartness and preserves the vibrant color.
Allow the syrup to simmer for an additional 3-5 minutes. You’ll see the surface slightly thicken and develop a glossy sheen. The aroma will shift from purely sweet to a more complex, tangy profile, signaling that the flavors are melding properly.
Step 4: Cool and Thicken to Desired Consistency
Remove the saucepan from heat and let the syrup cool at room temperature for 20-30 minutes. As it cools, it will naturally thicken to a pourable but slightly viscous consistency, ideal for snow cones.
Give it a stir every 5 minutes during cooling to prevent a skin from forming on the surface. The final syrup should coat the back of a spoon but still flow easily. If it thickens too much once fully cooled, thin it with a splash of water and reheat gently.
Pro Tips For Making Natural Snow Cone Syrup
- Simmer, Don’t Boil: I learned this the hard way—heating the sugar and juice mixture too fast burns the honey and turns the syrup bitter. Keep it at a gentle simmer until the sugar fully dissolves.
- Strain the Juice: After burning three batches, I finally figured out that pulp in the fruit juice can make the syrup grainy. A quick strain through fine mesh guarantees a smooth pour every time.
- Skip the Substitutes: Resist the urge to swap granulated sugar for powdered—it won’t dissolve right and leaves a chalky texture. Granulated cane sugar is non-negotiable here.
- Add Citrus Last: Stir in the fresh lemon and lime juice after cooling slightly, not during cooking. Sounds weird, but it works: this keeps the bright citrus flavor from cooking off.
Essential Equipment for natural snow cone syrup
Precision Saucepan
I always use my 3-quart stainless steel saucepan from All-Clad for this syrup. The heavy base distributes heat evenly, preventing hot spots that can scorch the sugar. David swears by Cuisinart MultiClad Pro as a budget-friendly alternative that performs just as well. 💛
Accurate Measuring
A liquid measuring cup with clear markings is essential for the 2 cups fruit juice. I prefer OXO Good Grips because the angled design lets you read measurements from above. For the 1 cup sugar, use dry measuring cups and level off with a straight edge.
Whisk and Spatula
Start with a balloon whisk to dissolve the honey into the juice. Then switch to a silicone spatula for stirring during heating—it won’t scratch your pan and reaches into the corners perfectly. I keep both from Central Market in my Austin kitchen at all times.
Glass Storage Bottles
For storing your finished syrup, 16-ounce swing-top glass bottles are ideal. They’re airtight and let you see the vibrant colors. I’ve had good luck with IKEA’s 365+ line, but any clean glass bottle with a tight seal works. These keep the syrup fresh for 3-4 weeks in the fridge. ✨
Citrus Tools
A handheld citrus juicer makes quick work of the 2 tbsp lemon and lime juice. The OXO citrus reamer is my go-to—it extracts every last drop without seeds slipping through. For the 1 tsp vanilla, a standard measuring spoon set works perfectly.
Fun Extras
While not essential, a fine-mesh strainer helps remove any pulp from your juice for ultra-smooth syrup. I also love using small funnels for mess-free transfer into storage bottles. These tools make the process cleaner and more professional.
Nutrition Facts
Frequently Asked Questions
Can I use fresh fruit instead of juice?
Yes! Blend and strain fresh fruit to make your own juice. Use 2 cups of pureed fruit for each batch. Strain through a fine-mesh sieve to remove pulp for a smoother syrup.
Why is citric acid important?
It preserves the vibrant color and adds a bright, tangy flavor that balances the sweetness. Just 0.25 tsp keeps your syrup looking and tasting fresh for 3-4 weeks in the fridge.
Can I make this syrup ahead of time?
The flavors deepen after a day or two. Store in an airtight glass bottle in the fridge for up to 4 weeks. For longer storage, freeze in ice cube trays.
What if my syrup is too thick?
Thin it with 1-2 tbsp of water and reheat gently. Stir until smooth. If too thin, simmer for an additional 2-3 minutes to reduce.

Trained in classic French technique but raised on slow-cooked ribs and spicy rubs, she blends culinary skill with smoke and soul.
- Recipe for Boneless Pork Chops in Cast Iron Skillet: Sear and Baste to Juicy Perfection - October 3, 2026
- Recipe for Boneless Cross Rib Roast: Slow-Roasted Beef with Herb Crust - October 3, 2026
- Hamburgers in Sauce Recipe Crock Pot: Slow-Cooked Savory Delight - October 3, 2026