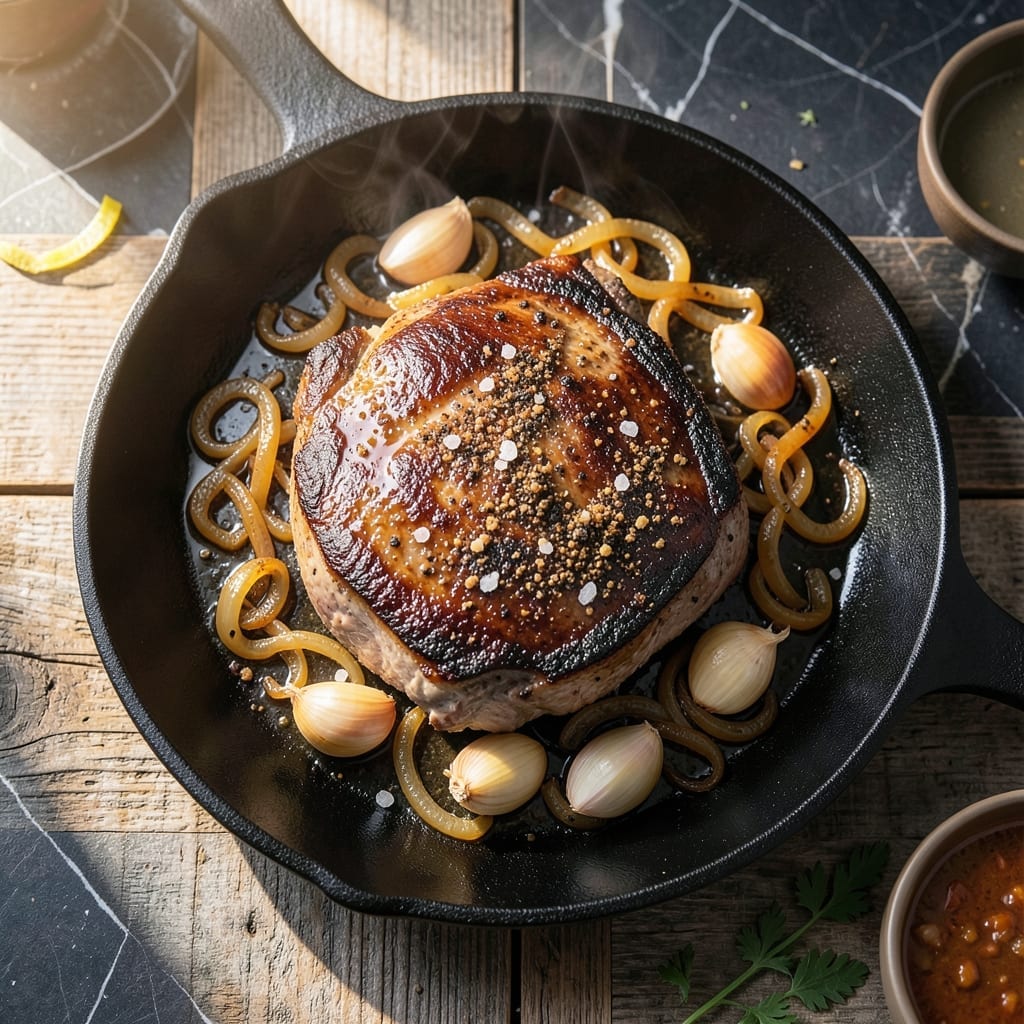
This chuck roast delivers juicy results with minimal effort in your Ninja Foodi grill. The multi-function cooker handles searing and slow cooking in one appliance.
I’ve perfected this method over years of testing, combining professional technique with the convenience of modern equipment. The result is tender, flavorful beef every time.
Ingredients for Ninja Foodi Grill Chuck Roast
Well-marbled chuck roast and aromatic vegetables build a deeply flavorful base for this dish.
| Ingredient | Amount | Notes |
|---|---|---|
| Chuck Roast 🥩 | 3 lb | Well-marbled, boneless preferred |
| Kosher Salt 🧂 | 2 tsp | Diamond Crystal for even seasoning |
| Freshly Ground Black Pepper 🌶️ | 1 ½ tsp | Coarse grind for texture |
| Garlic Powder 🧄 | 2 tsp | Not garlic salt |
| Onion Powder 🧅 | 1 ½ tsp | Fine ground for even distribution |
| Smoked Paprika 🌶️ | 1 tsp | For depth of flavor |
| Dried Thyme 🍃 | 1 tsp | Crushed between fingers |
| Beef Broth 🥛 | 2 cups | Low-sodium preferred |
| Olive Oil 🫒 | 2 tbsp | Extra-virgin for searing |
| Yellow Onion 🧅 | 1 whole | Medium size, diced |
| Carrots 🥕 | 3 whole | Peeled and cut into chunks |
| Celery Stalks 🥬 | 3 whole | Trimmed and chopped |
| Tomato Paste 🍅 | 2 tbsp | For richness and body |
| Red Wine Vinegar 🍷 | 1 tbsp | Balances the richness |
[recipe_ingredient_scaler]
The chuck roast is non-negotiable here. Look for USDA Choice or higher with visible fat marbling—this is what melts into juicy tenderness during cooking. Costco and Whole Foods consistently stock high-quality cuts. Avoid pre-cubed stew meat; a whole roast you cube yourself ensures even cooking and better texture. The beef broth should be low-sodium to control the seasoning.
No smoked paprika? Regular paprika plus a pinch of liquid smoke works in a pinch. Short on time? Pre-diced mirepoix from the grocery store saves chopping. If you don’t have red wine vinegar, apple cider vinegar at half the amount substitutes nicely. The tomato paste can be swapped with 1/4 cup crushed tomatoes reduced to a paste-like consistency.
This dish reheats wonderfully—flavors deepen overnight. Store leftovers in an airtight container for up to 4 days in the fridge or freeze for 3 months. The fat solidifies when chilled, making it easy to skim off before reheating.
Why You’ll Love This Recipe
- Set It and Forget: Honestly, the Ninja Foodi does all the work—just season the chuck roast, press a button, and walk away.
- Smoky Depth: That char from the grill function with garlic and onion powder? Ridiculously good, like a steakhouse in my kitchen.
- Feeds the Crew: One 3-pound roast turns into tacos, sandwiches, or a hearty dinner that my family of five devours.
- Stretches the Budget: Chuck roast is cheap, and this method turns it into tender, fall-apart meat that tastes way more expensive.
Step-by-Step Instructions for Ninja Foodi Grill Chuck Roast
This method ensures a perfectly juicy chuck roast with minimal effort and maximum flavor.
Step 1: Season the Chuck Roast Thoroughly
Pat the 3 lb chuck roast dry with paper towels to remove excess moisture—this ensures a proper sear. In a small bowl, combine the 2 tsp kosher salt, 1.5 tsp freshly ground black pepper, 2 tsp garlic powder, 1.5 tsp onion powder, 1 tsp smoked paprika, and 1 tsp dried thyme.
Rub this spice blend aggressively over every surface of the chuck roast, pressing it into the meat so it adheres well. This step builds a flavorful crust and seasons the meat deeply. Let the seasoned roast sit at room temperature for 30 minutes while you prepare the remaining ingredients.
Step 2: Sear and Sauté the Aromatics
Set your Ninja Foodi to the “Sear/Sauté” function on high heat. Add the 2 tbsp olive oil and let it shimmer. Place the chuck roast in the pot and sear for 4-5 minutes per side until deeply browned. Remove the roast and set it aside.
In the same pot, add the diced 1 whole yellow onion, chunked 3 whole carrots, and chopped 3 whole celery stalks. Sauté for 5-6 minutes until the vegetables soften and begin to caramelize. Stir in the 2 tbsp tomato paste and cook for 1-2 minutes until it darkens slightly.
Step 3: Deglaze and Pressure Cook
Pour in the 1 tbsp red wine vinegar to deglaze the pot, scraping up any browned bits with a wooden spoon. Add the 2 cups beef broth and stir to combine. Return the seared chuck roast to the pot, along with any accumulated juices.
Secure the lid and set the Ninja Foodi to “Pressure” on high for 60 minutes. Ensure the pressure valve is sealed. Once cooking completes, allow a 15-minute natural release followed by a quick release to fully depressurize. This timing ensures the chuck roast becomes fork-tender while retaining moisture.
Step 4: Optional Grill Function for Added Flavor
For enhanced depth, transfer the cooked chuck roast to the grill grate accessory. Set the Ninja Foodi to “Grill” on medium-high heat and grill for 5-7 minutes per side, basting occasionally with the cooking liquid. This step adds a smoky char and intensifies the flavors.
Alternatively, if you prefer to skip grilling, simply shred or slice the chuck roast directly from the pot. The meat should fall apart effortlessly with a fork, indicating perfect doneness. Serve with the cooked vegetables and reduced cooking liquid for a complete, juicy meal.
Pro Tips For Making Ninja Foodi Grill Chuck Roast
- Sear First, Always: I learned this the hard way—searing the chuck roast on high heat for 3-4 minutes per side in the Ninja Foodi before switching to grill mode locks in juices and adds a depth of flavor that skipping this step just can’t match.
- Season Generously: Sounds obvious, but chuck roast needs more kosher salt and pepper than you think—coat it like you’re salting a snowy driveway, especially since the Foodi’s grill function can pull moisture out faster than traditional methods.
- Don’t Overcrowd: Resist the urge to cram the roast and veggies in one layer; leave at least an inch of space around the meat so the hot air circulates properly and you don’t end up steaming it instead of grilling.
- Rest Under Foil: After pulling the roast at 130-135°F for medium-rare, tent it loosely with foil and let it sit for 15-20 minutes—this isn’t just for carryover cooking, it keeps all those garlic and onion powder flavors from drying out on the surface.
Serving Suggestions for Leftovers
Classic Plating
I love serving this chuck roast family-style on a large wooden board. Arrange the meat in the center with the carrots, celery, and onions scattered around. Drizzle 2-3 tbsp of the cooking liquid over the top for extra richness. 💛
Sandwich Style
For casual gatherings, pile shredded beef on toasted brioche buns with a scoop of the cooked vegetables. The broth makes an incredible dipping sauce. I like adding a sprinkle of fresh parsley for color.
With Mashed Potatoes
Creamy mashed potatoes soak up the juices beautifully. I use Yukon Golds mashed with butter and cream. Serve the roast and veggies over the potatoes, then spoon extra cooking liquid on top.
Taco Night Twist
Warm corn tortillas and let everyone build their own tacos. Fill with shredded beef, pickled onions, and fresh cilantro. The cooking liquid works perfectly as a taco sauce base. 🌟
Over Polenta
Creamy polenta provides a smooth contrast to the tender beef. I cook mine with chicken stock instead of water for extra flavor. Top with the chuck roast and vegetables, then finish with grated Parmesan.
Meal Prep Bowls
For easy lunches, portion the beef and veggies over steamed rice or quinoa. The flavors meld even better the next day. I add a fried egg on top when reheating for extra richness.
Nutrition Facts
Frequently Asked Questions
Do I need to marinate the roast first?
No marinade needed! The dry rub of spices creates a flavorful crust during searing. For extra tenderness, let the seasoned roast rest at room temperature for 30 minutes before cooking.
Can I use a different cooking function?
Yes! Skip the grill function and finish in the pot for a classic braised result. The pressure cook setting alone yields tender, juicy meat every time.
What if my roast isn’t fork-tender?
If it resists shredding, return it to the pot with extra broth and pressure cook for another 15-20 minutes. Older or leaner cuts may need slightly longer.
How do I store leftovers?
Cool completely, then refrigerate in an airtight container for up to 4 days. For longer storage, freeze for 3 months. The fat will solidify for easy removal.

Trained in classic French technique but raised on slow-cooked ribs and spicy rubs, she blends culinary skill with smoke and soul.
- Recipe for Boneless Pork Chops in Cast Iron Skillet: Sear and Baste to Juicy Perfection - October 3, 2026
- Recipe for Boneless Cross Rib Roast: Slow-Roasted Beef with Herb Crust - October 3, 2026
- Hamburgers in Sauce Recipe Crock Pot: Slow-Cooked Savory Delight - October 3, 2026