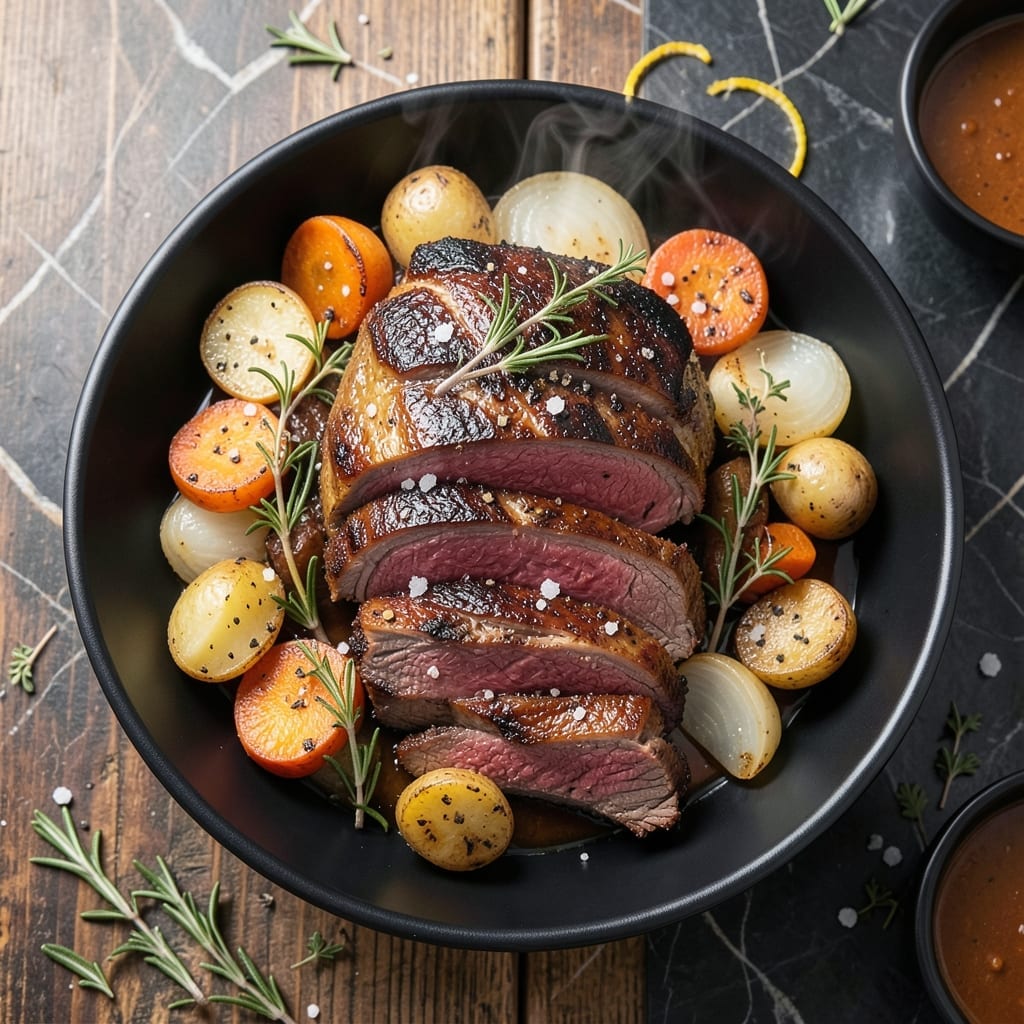
This Ninja Foodi method delivers juicy roast beef with minimal effort. The Smart XL Grill’s multi-function design ensures even cooking and perfect results every time.
I’ve perfected this technique to maintain tenderness while maximizing flavor. The result is a restaurant-quality roast that’s sure to impress.
Ingredients for Ninja Foodi Smart Xl Grill Roast Beef
Premium beef and bold seasonings create this restaurant-quality roast with minimal effort.
| Ingredient | Amount | Notes |
|---|---|---|
| Beef Top Round Roast 🥩 | 3 lb | Well-marbled, trimmed of excess fat |
| Kosher Salt 🧂 | 2 tsp | Diamond Crystal preferred for even seasoning |
| Freshly Ground Black Pepper 🌶️ | 1 ½ tsp | Coarse grind for texture |
| Garlic Powder 🧄 | 2 tsp | Not garlic salt for pure flavor |
| Onion Powder 🧅 | 1 ½ tsp | Enhances savory depth |
| Dried Rosemary 🌿 | 1 tsp | Crushed to release oils |
| Dried Thyme 🍃 | 1 tsp | French thyme preferred |
| Smoked Paprika 🌶️ | 1 tsp | Adds subtle smokiness |
| Olive Oil 🫒 | 2 tbsp | Extra-virgin for richness |
| Beef Broth 🥣 | 1 cup | Low-sodium to control seasoning |
| Worcestershire Sauce 💧 | 2 tbsp | Lea & Perrins for authenticity |
| Red Wine Vinegar 🍷 | 1 tbsp | Balances richness |
| Unsalted Butter 🧈 | 2 tbsp | For finishing baste |
[recipe_ingredient_scaler]
The beef selection is paramount. Top round roast offers the ideal balance of leanness and flavor for this preparation. Source from a reputable butcher or the premium section of your grocery store, ensuring vibrant red color and abundant marbling. Trim excess fat before cooking to prevent flare-ups in the Smart XL Grill. Avoid pre-cut roasts, as uniform thickness guarantees even cooking.
For the beef broth, homemade delivers superior depth, but low-sodium store-bought from Swanson works well. No Worcestershire sauce? Substitute soy sauce plus a pinch of sugar at half the quantity. Dried herbs can be replaced with fresh at triple the amount, though the flavor profile will differ. The smoked paprika is non-negotiable for that signature depth.
Store the roast in the coldest part of your refrigerator for up to 3 days before cooking. Leftover slices keep for 4-5 days and freeze beautifully for up to 3 months. Slice against the grain for maximum tenderness when serving.
Why You’ll Love This Recipe
- Set It and Forget: I toss the beef in the Ninja with salt, pepper, and those powders, then let the grill function do the work—no babysitting required.
- Crusty Perfection: That garlic-onion dry rub forms the most addictive crust on the top round, while the inside stays juicy and tender.
- Sunday to Thursday: This roast slices up just as well for fancy dinners as it does for next-day sandwiches or meal-prep burrito bowls.
- Feeds Many, Costs Little: A top round roast is budget-friendly, and one batch gives me enough for a crowd or leftovers that actually taste better the next day.
Instructions
Master the multi-function approach for perfectly juicy roast beef using your Smart XL Grill.
Step 1: Season and Sear the Beef Top Round Roast
Pat the 3 lb Beef Top Round Roast dry with paper towels to ensure a good sear. In a small bowl, combine the 2 tsp Kosher Salt, 1.5 tsp Freshly Ground Black Pepper, 2 tsp Garlic Powder, 1.5 tsp Onion Powder, 1 tsp Dried Rosemary, 1 tsp Dried Thyme, and 1 tsp Smoked Paprika.
Rub this seasoning mixture evenly over all surfaces of the roast. Heat the 2 tbsp Olive Oil in the Smart XL Grill on the “Sear/Sauté” function at 400°F. Once hot, sear the roast on all sides for 3-4 minutes per side until deeply browned. This step locks in juices and builds a flavorful crust.
Step 2: Deglaze and Set Up for Pressure Cooking
After searing, transfer the roast to a plate and deglaze the grill pot with the 1 cup Beef Broth, scraping up all the browned bits. These fond bits are packed with flavor and will enhance your cooking liquid.
Return the roast to the grill pot and add the 2 tbsp Worcestershire Sauce and 1 tbsp Red Wine Vinegar. These liquids add depth and balance the richness of the beef. Secure the pressure cooking lid and set the valve to “Seal.”
Step 3: Pressure Cook to Juicy Perfection
Select the “Pressure” function and cook on High for 60 minutes. The Smart XL Grill will build pressure and cook the roast evenly, breaking down tough fibers while retaining moisture. Natural release is recommended for 15 minutes to allow the meat to rest and reabsorb juices.
Once the pressure has fully released, carefully remove the lid. The roast should be fork-tender and the internal temperature should register at least 200°F for perfect doneness. The beef should pull apart easily with a fork, indicating it’s ready for the final step.
Step 4: Finish with a Butter Baste
Transfer the roast to a cutting board and tent loosely with foil. Skim excess fat from the cooking liquid in the grill pot if desired. Stir in the 2 tbsp Unsalted Butter until melted into the liquid, creating a rich finishing sauce.
Slice the roast against the grain into ½-inch thick slices. Serve with the buttery cooking liquid spooned over the top. The sauce should be glossy and coat the back of a spoon, adding an extra layer of flavor to each bite.
Pro Tips For Making Ninja Foodi Smart Xl Grill Roast Beef
- Preheat the Grill: I learned this the hard way—always preheat your Ninja Foodi Smart XL Grill for at least 10 minutes before adding the beef. It guarantees a proper sear on the top round roast, which locks in the juices.
- Dry the Beef Well: Pat the roast completely dry with paper towels before seasoning. Sounds weird, but it works: moisture on the surface steams the meat instead of letting it brown.
- Skip the Overcrowding: After burning three batches, I finally figured out that leaving space around the roast in the grill basket lets the hot air circulate properly for even cooking.
- Rest Before Slicing: Give it a solid 10 minutes under foil after grilling—your future self will thank you. Slicing too soon sends all the juices running onto the cutting board instead of staying in the meat.
Dietary Considerations for This Recipe
Gluten-Free Friendly
This preparation is naturally gluten-free as written. All seasonings and liquids used—Worcestershire sauce, beef broth, and red wine vinegar—are gluten-free in their standard forms. Just double-check your Lea & Perrins Worcestershire label to be sure.
Low-Carb Option
The recipe contains virtually no carbs, making it perfect for keto or low-carb diets. The 3 lb Beef Top Round Roast provides pure protein without added sugars or starches. I love this as a centerpiece for my low-carb meal prep.
Dairy-Free Adaptation
Simply omit the 2 tbsp Unsalted Butter at the end. The roast will still be incredibly flavorful from the pressure-cooked juices and seasoning rub. For extra richness, stir in 1 tbsp olive oil instead. 💪
Sodium Considerations
To reduce sodium, use low-sodium beef broth and cut the 2 tsp Kosher Salt by half. The smoked paprika and herbs still deliver bold flavor. I often make this adjustment for guests watching their salt intake.
Allergen Note
The only potential allergen is dairy from the butter finish. All other ingredients—beef, spices, and broth—are typically allergen-free. Always verify labels for cross-contamination warnings.
Paleo-Friendly
This fits perfectly into paleo guidelines with no modifications needed. The olive oil, herbs, and beef are all paleo-approved. Just ensure your Worcestershire sauce doesn’t contain added sugars. 🌿
Nutrition Facts
Frequently Asked Questions
Can I use a different cut of beef?
Yes, but choose wisely. Chuck roast works well with 90 minutes pressure time. Avoid lean cuts like eye of round as they may dry out. The top round in the recipe offers the best balance of flavor and tenderness.
How do I know when it’s done?
The roast is ready when it reaches 200°F internally and pulls apart easily with a fork. The 60-minute pressure cook plus 15-minute natural release should achieve this perfectly.
Can I skip the searing step?
Don’t skip it! Searing at 400°F creates a flavorful crust and locks in juices. Without this, you’ll miss depth of flavor and the roast may be less tender. The 3-4 minutes per side is worth it.
How should I store leftovers?
Slice and store in an airtight container with some cooking liquid. Keeps in the fridge for 4-5 days or freeze for up to 3 months. Reheat gently in the microwave or on the stovetop.

Trained in classic French technique but raised on slow-cooked ribs and spicy rubs, she blends culinary skill with smoke and soul.
- Recipe for Boneless Pork Chops in Cast Iron Skillet: Sear and Baste to Juicy Perfection - October 3, 2026
- Recipe for Boneless Cross Rib Roast: Slow-Roasted Beef with Herb Crust - October 3, 2026
- Hamburgers in Sauce Recipe Crock Pot: Slow-Cooked Savory Delight - October 3, 2026