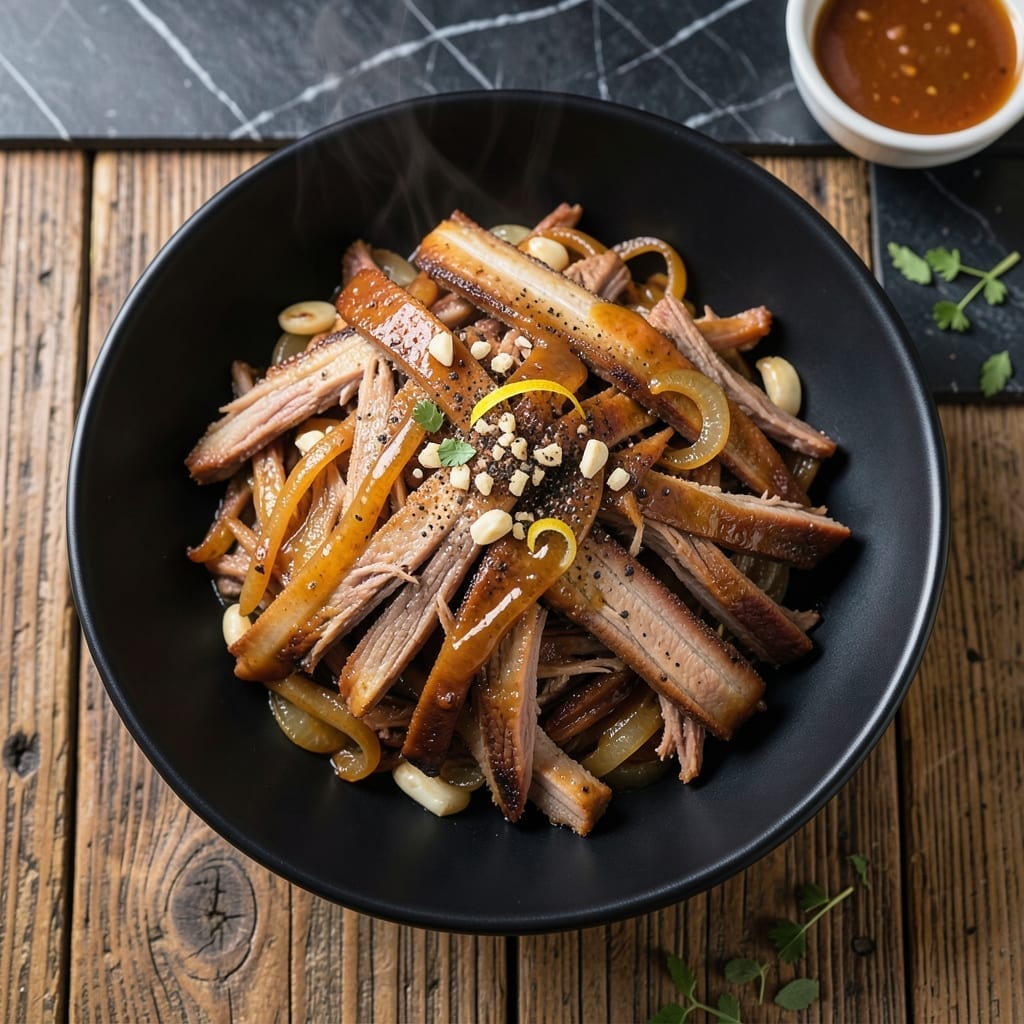
Achieving tender pulled pork without smoke is simpler than you think. This method relies on slow cooking with vinegar for a tangy, fall-apart texture.
I’ve perfected this approach over years of testing, ensuring the meat stays juicy while developing complex flavors. The result is a dish that’s rich and satisfying.
Ingredients for Non Barbecue Pulled Pork
Slow-cooked pork shoulder with vinegar for that perfect tangy, fall-apart texture you love.
| Ingredient | Amount | Notes |
|---|---|---|
| Pork Shoulder 🥩 | 3 lb | Boneless, well-marbled preferred |
| Apple Cider Vinegar 🍏 | 1 cup | For tangy acidity and tenderness |
| Brown Sugar 🍚 | ¼ cup | Light or dark, packed |
| Kosher Salt 🧂 | 1 ½ tbsp | Diamond Crystal preferred |
| Black Pepper 🌶️ | 1 tbsp | Freshly ground for best flavor |
| Garlic Powder 🧄 | 1 tbsp | Not garlic salt |
| Onion Powder 🧅 | 1 tbsp | Fresh ground preferred |
| Smoked Paprika 🌶️ | 1 tsp | Adds depth without smoke |
| Dried Oregano 🍃 | 1 tsp | Crushed between fingers |
| Chicken Broth 🍲 | 1 cup | Low-sodium preferred |
| Yellow Mustard 🟡 | 2 tbsp | For emulsifying and tang |
| Olive Oil 🫒 | 2 tbsp | For searing pork |
[recipe_ingredient_scaler]
The pork shoulder is key here—look for good marbling at Costco or your local butcher. Boneless saves time, but bone-in adds flavor if you don’t mind picking around it. I grab mine at Whole Foods when they’ve got a sale. The vinegar matters too—apple cider vinegar gives that classic tang. Don’t substitute white vinegar; it’s too harsh for this dish.
No smoked paprika? Regular paprika plus a pinch of liquid smoke works in a pinch. Out of chicken broth? Water with a bouillon cube is fine. Brown sugar can be swapped for honey or maple syrup (though the molasses notes in brown sugar are ideal). If you’re avoiding sugar, coconut sugar works too—just expect a slightly different flavor profile.
This tastes even better the next day after the flavors meld. Leftovers keep for 4-5 days in the fridge or freeze for up to 3 months. I like to portion it into sandwich-sized servings for easy lunches all week.
Why You’ll Love This Recipe
- Set It and Forget: I toss the pork shoulder with apple cider vinegar, brown sugar, salt, and pepper, then let the oven do the work for hours.
- Sweet-Tangy Balance: The vinegar’s sharpness and the brown sugar’s caramel notes hit just right without a drop of BBQ sauce.
- Sandwiches to Tacos: I’ve stuffed this pulled pork into buns, tortillas, and even over rice—it’s endlessly adaptable.
- Feeds Many, Costs Little: A big pork shoulder cooks down to a crowd-pleasing pile of tender meat for pennies per serving.
Step-by-Step Instructions for Vinegar-Kissed Pulled Pork
Here’s how I make fall-apart tender pork without a smoker or grill.
Step 1: Season the Pork Shoulder Generously
Pat the 3 lb pork shoulder dry with paper towels. This helps the seasoning stick and promotes better browning. In a small bowl, combine the 1.5 tbsp kosher salt, 1 tbsp black pepper, 1 tbsp garlic powder, 1 tbsp onion powder, 1 tsp smoked paprika, and 1 tsp dried oregano.
Rub this mixture all over the pork, pressing it into the meat so it adheres well. The pork should be completely coated—don’t be shy. Let it sit at room temperature for 20-30 minutes while you preheat the oven to 300°F.
Step 2: Sear and Build the Braising Liquid
Heat the 2 tbsp olive oil in a large, oven-safe pot or Dutch oven over medium-high heat. Once hot, add the pork and sear on all sides until deeply browned, about 3-4 minutes per side. You’re looking for a rich, golden crust—this adds incredible flavor.
Remove the pork and set it aside. In the same pot, add the 1 cup apple cider vinegar, 0.25 cup brown sugar, 1 cup chicken broth, and 2 tbsp yellow mustard. Stir to combine and scrape up any browned bits from the bottom—this is pure flavor.
Step 3: Braise Until Fork-Tender
Return the pork to the pot, spooning some of the liquid over the top. Cover tightly with a lid and transfer to the preheated oven. Braise for 3 to 3.5 hours, turning the pork halfway through, until it’s so tender it shreds easily with a fork.
Check the pork at the 3-hour mark. It’s done when a fork slides in with no resistance and the meat pulls apart effortlessly. If it’s not quite there, give it another 20-30 minutes—patience is key here.
Step 4: Shred and Reduce the Sauce
Carefully remove the pork from the pot and place it on a cutting board. Shred it into chunks using two forks—it should come apart with almost no effort. Skim any excess fat from the surface of the braising liquid, then return the shredded pork to the pot.
Simmer the pork in the liquid on the stovetop over medium heat for 5-10 minutes, stirring occasionally, until the sauce reduces slightly and coats the meat beautifully. The sauce should be tangy, slightly sweet, and cling to every bite.
Pro Tips For Making Non Barbecue Pulled Pork
- Low and Slow: Cook the pork shoulder at 275°F until it reaches 195°F internally—I learned this the hard way after pulling it too early and getting tough, chewy meat.
- Score the Fat: Cut 1/4-inch slits into the fat cap before seasoning so the salt, pepper, and brown sugar actually penetrate the meat instead of just sitting on top.
- Skip the Vinegar Bath: Resist the urge to drown the pork in apple cider vinegar upfront; just a splash at the end keeps the flavor bright without making it sour.
- Rest Before Shredding: Let the pork rest under foil for at least 20 minutes after cooking—it’ll hold onto all those juices instead of drying out on the cutting board.
Flavor Customization for This non barbecue pulled pork
Spice It Up
Add ½ tsp cayenne pepper or 1 chopped chipotle in adobo to the braising liquid for a smoky heat that nods to traditional BBQ. I forage wild habanero peppers when in season for an extra kick. This works beautifully with the vinegar’s tang. 🌶️
Sweeten the Deal
For a sweeter profile, swap brown sugar with maple syrup or add ½ cup pineapple juice to the braise. The natural sugars caramelize during cooking, creating a sticky, glazy finish that’s irresistible on sandwiches.
Herb Infusion
Stir in 2 tbsp fresh rosemary or thyme into the braising liquid for earthy depth. I often grab these from my coastal foraging spots. Remove the herb sprigs before shredding to avoid woody bits in the final dish.
Umami Boost
Add 2 tbsp soy sauce or Worcestershire sauce to the braising liquid for a savory depth that mimics the complexity of smoked meat. This trick comes from my French training—it enhances all the other flavors. 💡
Citrus Zing
Brighten the dish with zest of 1 orange or lime added to the rub. The citrus oils bloom during cooking, cutting through the richness. I learned this from a pitmaster at a local BBQ competition—it’s a game-changer.
Creamy Finish
After shredding, stir in ¼ cup mayonnaise or Greek yogurt for a creamy texture that still lets the pork shine. This works especially well for sandwiches, giving that classic deli-style moisture. 🥪
Nutrition Facts
Frequently Asked Questions
Can I use a different cut of pork?
Pork shoulder is ideal, but pork butt works too. Avoid lean cuts like tenderloin—they’ll dry out during the 3-4 hour braise. The fat in shoulder keeps it juicy and flavorful.
Why use apple cider vinegar instead of white?
Apple cider vinegar adds fruity depth that complements pork beautifully. White vinegar is too harsh and lacks the subtle sweetness that balances the dish. The 1 cup measurement is perfect for tang without overpowering.
How do I know when it’s done?
It’s ready when a fork slides in with no resistance and the meat pulls apart effortlessly. Check at the 3-hour mark. If it’s not quite there, give it another 20-30 minutes.

Trained in classic French technique but raised on slow-cooked ribs and spicy rubs, she blends culinary skill with smoke and soul.
- Recipe for Curried Tofu: Aromatic Spices With Crispy Edges - October 3, 2026
- Recipe for Dumplings in Crock Pot: Fluffy Pillows with Minimal Effort - October 3, 2026
- Recipe For Diced Pork In Slow Cooker: Melt-In-Your-Mouth Tenderness All Day - October 3, 2026