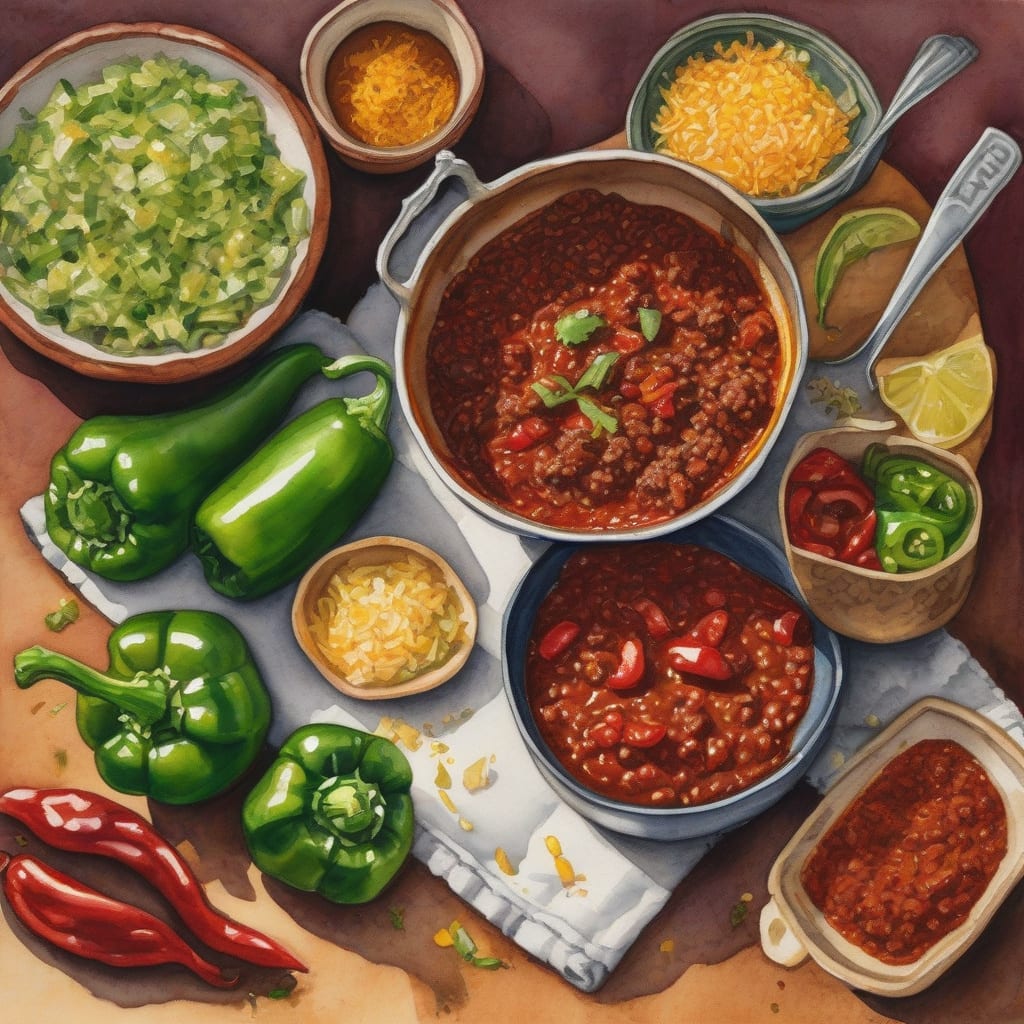
There’s nothing quite like the warmth and satisfaction of a hearty bowl of chili, especially when it’s packed with flavor. This one-pot creation features the beloved taco seasoning that brings a delightful twist to your classic chili. It’s the ultimate comfort food for any occasion.
This recipe combines simple, accessible ingredients to deliver robust flavors without complicated techniques. You’ll love how effortlessly everything comes together in one pot, making cleanup a breeze while still achieving that rich, comforting taste we all crave.
By the end of this cooking adventure, you’ll have a thick, savory chili that’s perfect for cozy nights or gatherings with friends. Each spoonful is a burst of flavor that will warm your soul. Let’s dive into the details and get cooking!
Ingredients for Old el paso taco seasoning chili
Gather these essential ingredients to create a hearty and flavorful chili in one pot.
| Ingredient | Amount | Notes |
|---|---|---|
| Ground Beef 🥩 | 1 lb | Lean for less grease |
| Onion 🧅 | 1 whole | Chopped for sweetness |
| Garlic Cloves 🧄 | 3 cloves | Minced for flavor |
| Bell Pepper 🌶️ | 1 whole | Chopped, any color |
| Diced Tomatoes 🍅 | 14 ½ oz | Canned, undrained |
| Kidney Beans 🫘 | 15 oz | Drained and rinsed |
| Black Beans 🫘 | 15 oz | Drained and rinsed |
| Corn Kernels 🌽 | 1 cup | Frozen or canned |
| Taco Seasoning 🌶️ | 2 tbsp | Old El Paso preferred |
| Beef Broth 💧 | 2 cups | Low sodium recommended |
[recipe_ingredient_scaler]
Most of these ingredients are readily available at local grocery stores, including Whole Foods and Trader Joe's. For the best quality ground beef, look for grass-fed options. Canned tomatoes should be high-quality—San Marzano is a great choice. Check for freshness in your vegetables, especially the bell pepper and onion, for optimal flavor in your chili.
If you prefer a vegetarian option, substitute the ground beef with lentils or a plant-based meat alternative. For the beans, feel free to mix varieties according to your taste, such as pinto beans or chickpeas. Fresh herbs like cilantro can enhance flavor if desired. Ensure that your taco seasoning is gluten-free if needed.
Store leftover chili in an airtight container in the fridge for up to 5 days. It freezes well for longer storage—just make sure it's cooled before placing it in freezer-safe bags. Reheat on the stove or in the microwave, adding a splash of broth if needed to loosen the consistency.
Step-by-Step Instructions for Hearty Chili
Let me guide you through this comforting one-pot meal that’s simple and satisfying.
👨🍳 Step 1: Brown the Ground Beef
In a large pot over medium-high heat, add the 1 lb ground beef. I like to break it up with a wooden spoon as it cooks. This ensures even browning and prevents clumps. Cook for about 5-7 minutes until the beef is no longer pink. You’ll notice a nice brown color developing, which adds flavor.
Once browned, drain any excess grease if necessary, especially if you’re using a higher fat content beef. This step helps keep the chili rich but not overly greasy, allowing the other flavors to shine through.
🍳 Step 2: Sauté the Aromatics
Add 1 whole onion, chopped, along with 3 cloves of minced garlic and 1 whole bell pepper, chopped. Stir everything together and sauté for about 5 minutes. I love how the aroma fills the kitchen at this point!
Cook until the onion is translucent and the bell pepper softens. This step builds a solid flavor base for your chili. Watch for the onions to become fragrant and just slightly golden, which indicates they are ready for the next ingredients.
🥘 Step 3: Combine the Ingredients
Now, it’s time to add in the rest of your ingredients. Pour in the 14.5 oz diced tomatoes (undrained), 15 oz kidney beans, 15 oz black beans, and 1 cup corn kernels. Then, sprinkle in 2 tbsp taco seasoning.
Stir everything well to combine. The colors will be vibrant and inviting! Next, pour in 2 cups beef broth. This will help create that wonderful chili consistency. Bring the mixture to a gentle boil, then reduce the heat to low.
⏰ Step 4: Simmer for Flavor
Cover the pot and let the chili simmer for about 20-30 minutes. This simmering allows all the flavors to meld beautifully. I often check it halfway through; if it looks too thick, I’ll add a splash more broth.
You’ll know it’s done when the chili is thickened and bubbling gently, releasing its savory scent. If you prefer a spicier kick, feel free to add some hot sauce or extra seasoning at this stage!
🍽️ Step 5: Serve and Enjoy
Once your chili is ready, give it a taste and adjust seasoning as needed. I like to serve it hot, garnished with shredded cheese or sour cream if desired. The comforting warmth of this dish is perfect for cozy evenings.
This hearty chili not only satisfies hunger but also warms the soul—enjoy every flavorful bite!
Flavor Enhancements for Your Hearty Chili Experience
To elevate your chili, consider adding a splash of worcestershire sauce or a tablespoon of honey for a touch of sweetness. These subtle additions can balance the spices from the taco seasoning and create a more complex flavor profile. I always find that these enhancements make a noticeable difference! 🌟
Another great tip is to top your chili with fresh ingredients. A sprinkle of cilantro adds a vibrant freshness, while sliced jalapeños can give it an extra kick. If you prefer creaminess, a dollop of sour cream or avocado slices will complement the chili beautifully. Each garnish not only adds flavor but also enhances the presentation! 🥑
If you’re looking for some heat, try incorporating chipotle peppers in adobo sauce. Just chop up one or two and stir them into the pot while it simmers. Their smoky flavor pairs excellently with the taco seasoning, adding depth and warmth to your dish. I’ve found this technique to be a game changer for my chili recipes! 🔥
Lastly, serving your chili with crispy tortilla chips or a side of cornbread provides a delightful crunch and makes for a more complete meal. The contrast between the soft chili and crunchy sides is simply irresistible! Trust me, your guests will love it!
Nutrition Facts
400kcal

Trained in classic French technique but raised on slow-cooked ribs and spicy rubs, she blends culinary skill with smoke and soul.
- Recipe for Boneless Pork Chops in Cast Iron Skillet: Sear and Baste to Juicy Perfection - October 3, 2026
- Recipe for Boneless Cross Rib Roast: Slow-Roasted Beef with Herb Crust - October 3, 2026
- Hamburgers in Sauce Recipe Crock Pot: Slow-Cooked Savory Delight - October 3, 2026