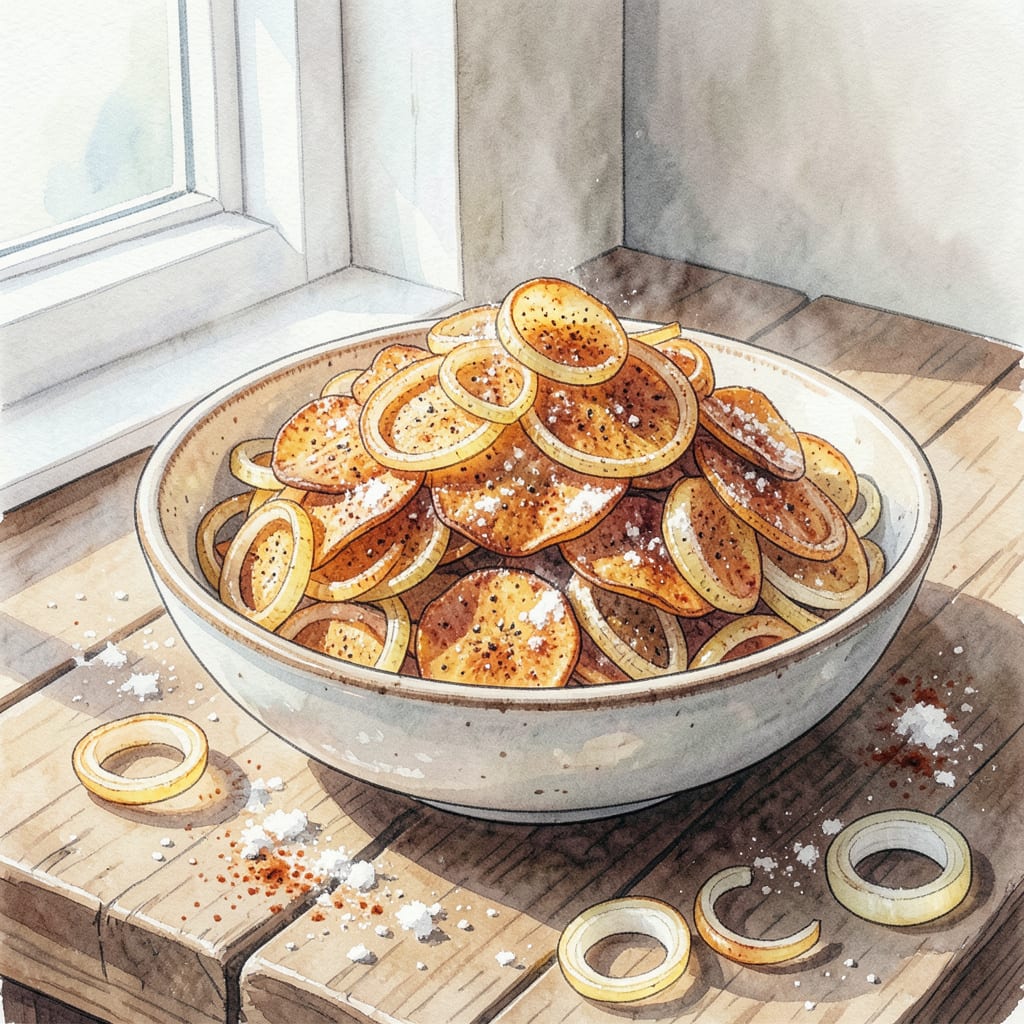
I’m obsessed with creating addictive snacks, and these onion chips are my latest obsession. 🔥 Thinly sliced onions get transformed into crispy, golden perfection in just minutes, making them perfect for movie nights or as a crunchy addition to your favorite dishes.
With a simple blend of seasonings and a quick fry, you’ll achieve that perfect balance of crunchy texture and savory flavor. Let’s make snacking easier and more delicious than ever!
Ingredients for Onion Chip
Simple ingredients for a snack that’s anything but simple. Crunchy, flavorful, and ready in minutes.
| Ingredient | Amount | Notes |
|---|---|---|
| Yellow Onions 🧅 | 2 whole | Thinly sliced, rings separated |
| All-Purpose Flour 🌾 | 1 cup | For coating onion slices |
| Paprika 🌶️ | 1 tsp | Smoked or sweet variety |
| Garlic Powder 🧄 | ½ tsp | For added depth |
| Salt 🧂 | ½ tsp | Kosher or sea salt |
| Black Pepper 🌶️ | ¼ tsp | Freshly ground preferred |
| Vegetable Oil 🫒 | 2 cups | For frying, can be reused |
| Optional: Chili Powder 🔥 | ¼ tsp | For spicy kick |
| Optional: Grated Parmesan 🧀 | ¼ cup | For cheesy flavor |
[recipe_ingredient_scaler]
Onions matter here—yellow or sweet work best. Thin slices are key, so a mandoline is worth the $10 investment. If you’re feeling fancy, try different onion varieties like Vidalia for a sweeter chip. Most grocery stores have the right onions, but Whole Foods often has particularly fresh ones.
No garlic powder? Minced fresh garlic (about 1 clove) works too—just be aware it can burn faster when frying. For extra crispiness, try cornstarch instead of flour for coating. The chili powder is optional, but it adds a nice kick—start with 1/8 teaspoon if you’re unsure.
These keep well in an airtight container for 2-3 days. If they last that long. To re-crisp, pop them in the oven at 350°F for 5-7 minutes. Don’t store them in the fridge—the moisture will soften them. Freezing works too—just freeze in a single layer first to prevent sticking.
Step-by-Step Instructions for Onion Chips
Let’s create these crispy onion chips together – it’s easier than you think.
🔪 Step 1: Prepare the Onions
Start by thinly slicing the 2 whole Yellow Onions and separating them into individual rings. I like to use a mandoline for this step as it gives me consistent thickness, but a sharp chef’s knife works too. Make sure to slice against the grain for the best texture. You’ll know you’re doing it right when you see the rings start to separate easily.
The key here is to get the slices as uniform as possible so they fry evenly. If you notice any particularly thick slices, you can thin them out a bit more. Don’t worry if you get some broken rings – they’ll still taste great.
👨🍳 Step 2: Mix the Coating
In a large bowl, combine 1 cup All-Purpose Flour, 1 tsp Paprika, 0.5 tsp Garlic Powder, 0.5 tsp Salt, and 0.25 tsp Black Pepper. If you’re feeling adventurous, add 0.25 tsp Optional: Chili Powder for an extra kick. Whisk these dry ingredients together until they’re well combined and you don’t see any lumps.
The mixture should be evenly distributed and have a nice aroma from the spices. This coating is what gives our onion chips their flavor, so don’t skip this step. If you’re using chili powder, you’ll notice the mixture takes on a slightly different color – that’s perfectly normal.
🍳 Step 3: Coat the Onions
Add the sliced onion rings to the bowl with the flour mixture. Toss them gently until they’re evenly coated. I like to use my hands for this – it helps work the coating into the onions. Make sure they’re coated on all sides, but don’t overdo it – you want a light coating, not a thick batter.
You’ll know they’re ready when they’re no longer sticky to the touch and have a nice even coating. If you notice any bare spots, give them a quick toss to coat. This step is crucial for getting that perfect crispiness.
🔥 Step 4: Fry the Onions
Heat 2 cups Vegetable Oil in a deep fryer or large pot to 350°F. I use a thermometer to ensure the right temperature – it’s crucial for crispy chips. Once the oil is hot, carefully add the coated onion rings in batches. Don’t overcrowd the pot – you want to be able to see the onions frying.
Fry for 2-3 minutes until they turn golden brown. You’ll see them start to bubble and then crisp up. Use a slotted spoon to remove them when they’re done and place them on a paper towel-lined plate to drain excess oil. Repeat with the remaining onion rings.
👨🍳 Step 5: Season and Serve
While the onion chips are still warm, sprinkle them with additional salt if needed. If you’re feeling fancy, sprinkle some 0.25 cup Optional: Grated Parmesan over them for a cheesy twist. Serve immediately while they’re still crispy. You can store any leftovers in an airtight container, but they’re best enjoyed fresh.
The result should be crispy, flavorful onion chips that are perfect for snacking. You can enjoy them on their own or use them as a topping for your favorite dishes. The parmesan adds a nice umami flavor if you choose to use it – it’s a great touch.
Essential Equipment for Perfect Results
Must-Have Tools
To make perfect onion chips, you’ll need a few essential tools. First, a mandoline is crucial for getting those ultra-thin onion slices. I swear by my Japanese mandoline – it’s worth the investment if you plan on making these chips regularly. You’ll also need a deep fryer or large pot for frying. 🔥
Thermometer Importance
A thermometer is non-negotiable when working with hot oil. You need to maintain the oil at 350°F for perfect crispiness. I use a digital thermometer with a probe that stays in the oil – it’s a game-changer. This ensures your oil stays at the right temperature throughout the frying process.
Frying Essentials
For safe and effective frying, you’ll need a slotted spoon and a paper towel-lined plate for draining excess oil. The slotted spoon helps you remove the chips from the hot oil without breaking them, while the paper towels absorb excess oil, keeping your chips crispy.
Preparation Tools
A large bowl is necessary for coating the onion slices with the flour mixture. I like to use a bowl with high sides to prevent the flour from flying everywhere. You’ll also need a whisk for mixing the coating ingredients. A simple, sturdy whisk does the trick perfectly.
Storage Containers
Once your onion chips are cool, you’ll need an airtight container to store them. This keeps them crispy by preventing moisture from getting in. I use glass containers with tight-fitting lids – they’re perfect for maintaining freshness.
Optional Equipment
If you want to get fancy, a wire cooling rack can be useful for cooling the onion chips. It allows air to circulate around the chips, keeping them crispy. While not essential, it can help maintain that perfect crunch. 💡
Nutrition Facts

Trained in classic French technique but raised on slow-cooked ribs and spicy rubs, she blends culinary skill with smoke and soul.
- Recipe for Boneless Pork Chops in Cast Iron Skillet: Sear and Baste to Juicy Perfection - October 3, 2026
- Recipe for Boneless Cross Rib Roast: Slow-Roasted Beef with Herb Crust - October 3, 2026
- Hamburgers in Sauce Recipe Crock Pot: Slow-Cooked Savory Delight - October 3, 2026