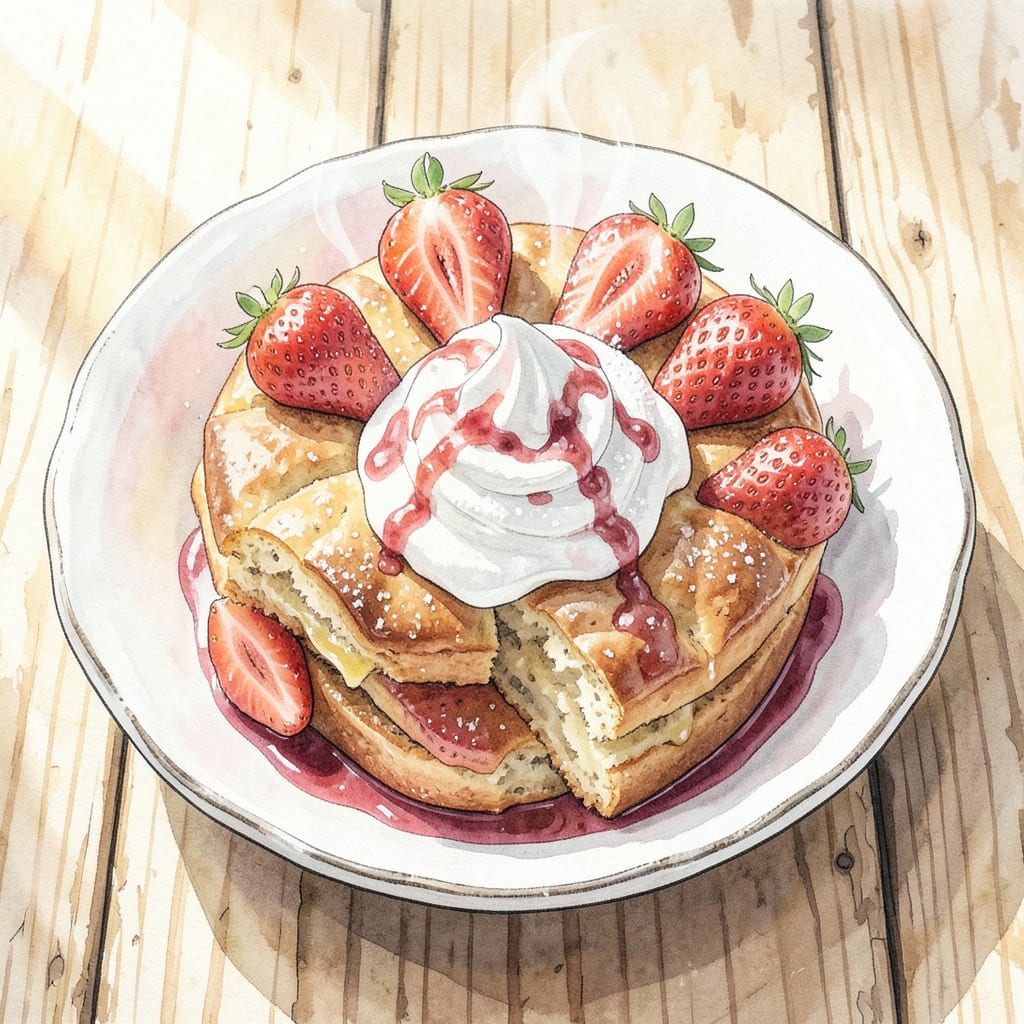
There’s something timeless about the original Bisquick shortcake recipe printed right on the box—a simple, foolproof method that delivers tender, flaky layers every time. This classic dessert has been a staple in American kitchens for generations, and for good reason. With just a handful of pantry staples, you can create a dessert that feels special enough for company but is easy enough for a weeknight treat.
The beauty of this recipe lies in its simplicity: Bisquick mix, milk, and a touch of sugar form the base, while fresh strawberries and whipped cream transform it into something extraordinary. Ready in under 30 minutes, these shortcakes offer the perfect balance of crisp edges and soft, cakey centers—ideal for soaking up juicy fruit and creamy toppings. Whether you stick to tradition or add your own twist, this recipe guarantees a dessert that’s both nostalgic and satisfying.
Ingredients for Original Bisquick Shortcake Recipe on Box
Nine classic ingredients transform the original Bisquick box recipe into tender, flaky shortcakes perfect for strawberry season.
| Ingredient | Amount | Notes |
|---|---|---|
| Original Bisquick Baking Mix 🥞 | 2 cups | Standard yellow box variety |
| Heavy Whipping Cream 🥛 | ½ cup | Cold, for optimal texture |
| Granulated Sugar 🍚 | 3 tbsp | Divided for dough and topping |
| Whole Milk 🥛 | ⅓ cup | Cold, approximately 5 tbsp |
| Melted Butter 🧈 | 3 tbsp | Unsalted, cooled slightly |
| Fresh Strawberries 🍓 | 1 lb | Hulled and sliced |
| Powdered Sugar 🍚 | 2 tbsp | For dusting berries |
| Vanilla Extract 🌿 | ½ tsp | Pure extract recommended |
| Whipped Cream 🍦 | 1 cup | Freshly whipped preferred |
[recipe_ingredient_scaler]
The Bisquick mix is fundamental—standard yellow box delivers the signature texture. For optimal results, use cold heavy cream (36% fat content) and whole milk; both contribute to the flaky layers. Butter quality matters: European-style unsalted (like Plugrá) provides superior flavor, but standard grocery brands work. The strawberries should be vibrant red and firm—avoid pre-sliced packages that release excess juice.
No heavy cream? Full-fat coconut milk (chilled overnight) whips similarly, though flavor differs. For a dairy-free version, Miyoko’s vegan butter substitutes well. Granulated sugar can be turbinado or coconut sugar at 1:1 ratio, though texture may vary slightly. The vanilla extract should be pure—avoid imitation for authentic flavor. Pre-made whipped cream works in a pinch, but homemade is superior for stability and taste.
Store Bisquick in an airtight container at room temperature for up to 6 months. Fresh shortcakes keep 2 days at room temperature (covered) or 1 week refrigerated. Assemble components separately—shortcakes freeze well for 3 months; thaw before serving. Strawberries macerate best with sugar 1 hour before serving, but can be prepped 4 hours ahead if refrigerated.
Step-by-Step Instructions for Original Bisquick Shortcake
This method delivers light, flaky shortcakes with minimal effort—perfect for showcasing fresh strawberries.
Step 1: Prepare the Shortcake Dough
In a large mixing bowl, combine the 2 cups Original Bisquick Baking Mix with 1 tablespoon Granulated Sugar. I use a fork to whisk these dry ingredients together thoroughly, ensuring even distribution of the sugar throughout the mix. This initial step creates the foundation for your shortcake’s texture and subtle sweetness.
Make a well in the center of the dry mixture. Pour in the 0.33 cup Whole Milk and 3 tablespoons Melted Butter, then add 0.5 cup Heavy Whipping Cream. Using a silicone spatula, gently fold the ingredients together until just combined—about 10-12 strokes. The dough will be slightly sticky but manageable. Overmixing at this stage develops gluten, resulting in tough shortcakes rather than tender ones.
Step 2: Shape and Bake the Shortcakes
Turn the dough onto a lightly floured surface and gently pat it into a 1-inch thick circle. I prefer using a 2.5-inch biscuit cutter to stamp out individual shortcakes, but you can also simply cut the dough into 8 equal wedges with a sharp knife. Place the shortcakes on an ungreased baking sheet, leaving about 1 inch between each.
Bake in a preheated 425°F oven for 10-12 minutes until the tops are light golden brown. The shortcakes should spring back when lightly pressed in the center. This high heat creates the perfect balance between a crisp exterior and a tender, flaky interior. Remove from the oven and let cool on the baking sheet for 5 minutes before transferring to a wire rack.
Step 3: Prepare the Strawberries
While the shortcakes bake, hull and slice the 1 lb Fresh Strawberries into ¼-inch thick slices. Place them in a medium bowl and sprinkle with the remaining 2 tablespoons Granulated Sugar and 2 tablespoons Powdered Sugar. Gently toss to coat, then let the berries macerate for 15-20 minutes at room temperature.
The sugars will draw out the natural juices from the strawberries, creating a syrupy sauce that perfectly complements the shortcakes. Stir in the 0.5 teaspoon Vanilla Extract just before assembling—this enhances the berries’ natural sweetness without overpowering their fresh flavor.
Step 4: Assemble and Serve
To assemble, split each warm shortcake horizontally using a serrated knife. Place the bottom half on individual serving plates and spoon a generous portion of the macerated strawberries and their juices over each. Top with a dollop of 1 cup Whipped Cream, then add the shortcake top.
For the best presentation, dust the assembled shortcakes lightly with additional powdered sugar and garnish with a few whole strawberry slices. Serve immediately while the shortcakes are still warm—the contrast between the warm, flaky biscuit and the cool, juicy strawberries creates the perfect balance of textures and temperatures.
Make-Ahead Tips for This Recipe
Prep Ahead Shortcakes
You can make the shortcake dough up to 24 hours ahead and refrigerate it tightly wrapped in plastic. I actually prefer this method—chilling relaxes the gluten, resulting in even more tender layers. When ready to bake, let the dough sit at room temperature for 15 minutes before shaping. This little trick saves morning stress when hosting brunch. 💡
Bake in Advance
Bake the shortcakes completely, let them cool, then store in an airtight container at room temperature for up to 2 days. To refresh before serving, wrap in foil and warm in a 350°F oven for 5-7 minutes. They’ll taste almost as fresh as day one, with that perfect crispness returning to the edges.
Strawberry Prep
The strawberries can be washed, hulled, and sliced 4 hours ahead—store them in an airtight container with a paper towel to absorb excess moisture. Wait to add sugar until 1 hour before serving to prevent them from getting too soft. I learned this the hard way after serving mushy berries at a summer picnic.
Whipped Cream Hack
Whip the cream up to 6 hours ahead and store it in a piping bag in the fridge. The bag shape helps maintain its structure better than a bowl. When ready to serve, give it a quick re-whip with the mixer for 10 seconds to restore perfect peaks. This has been my secret for stress-free dinner parties.
Freezer-Friendly Option
Baked shortcakes freeze beautifully for up to 3 months. Cool completely, wrap individually in plastic, then place in a freezer bag. Thaw at room temperature for 30 minutes, then warm in the oven as above. I always keep a batch frozen for unexpected guests—it’s my version of dessert insurance. ❄️
Assembly Timeline
For maximum efficiency, follow this schedule: Day before—make dough; Morning of—bake shortcakes and prep strawberries; 1 hour before serving—sugar berries and whip cream. This way, everything comes together fresh but without last-minute chaos. Trust me, your future self will thank you!
Nutrition Facts

Trained in classic French technique but raised on slow-cooked ribs and spicy rubs, she blends culinary skill with smoke and soul.
- Recipe for Boneless Pork Chops in Cast Iron Skillet: Sear and Baste to Juicy Perfection - October 3, 2026
- Recipe for Boneless Cross Rib Roast: Slow-Roasted Beef with Herb Crust - October 3, 2026
- Hamburgers in Sauce Recipe Crock Pot: Slow-Cooked Savory Delight - October 3, 2026