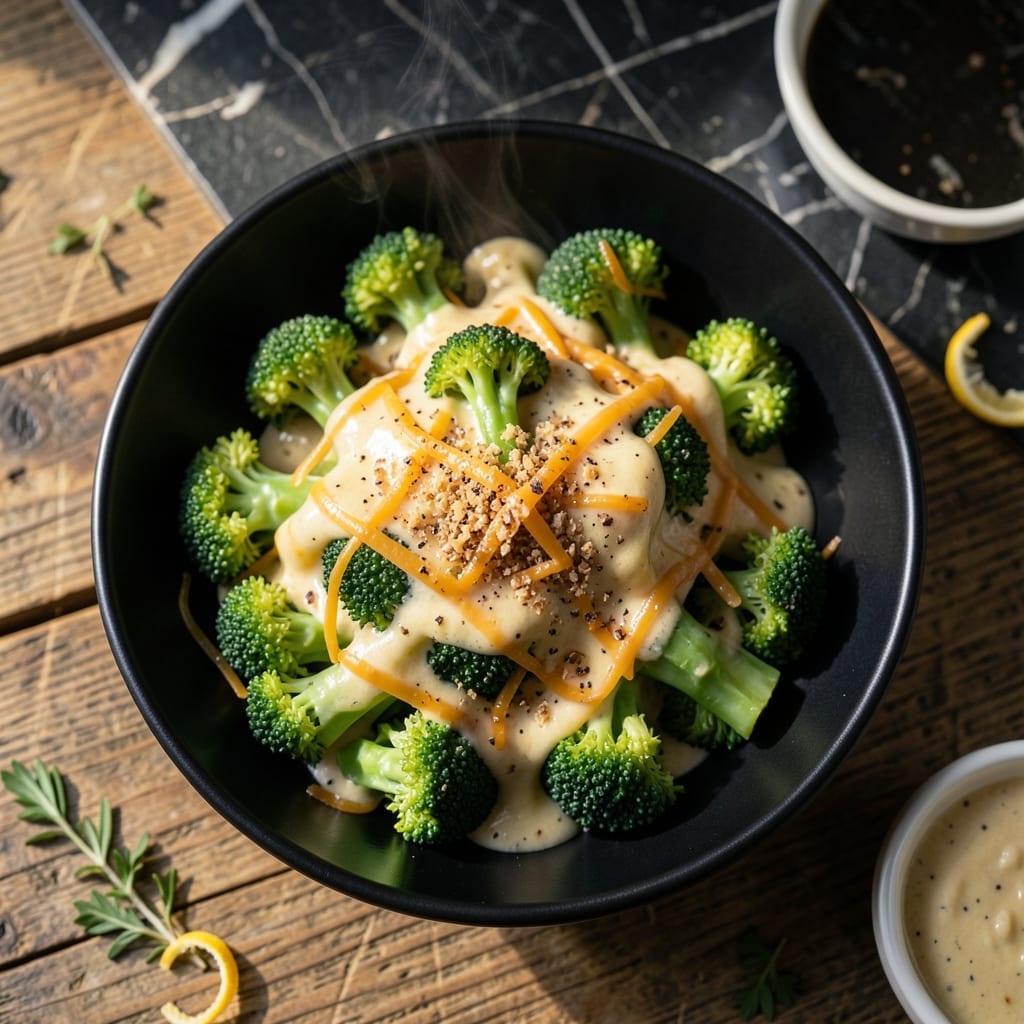
This restaurant-style broccoli delivers crispy edges and a cheesy, garlicky bite that outshines the original. A simple baking technique transforms humble florets into an irresistible side dish.
I developed this method after years of testing to achieve that perfect texture balance. The secret is high heat and a smart combination of ingredients that create a golden, bubbly topping.
What you get is tender broccoli with a crispy, cheesy crust and bold garlic flavor in every bite. It’s the kind of side that disappears before the main course arrives.
Ready in under 30 minutes with minimal effort. Here’s how to make it.
Ingredients for Outback Broccoli
Pantry staples and fresh broccoli create this irresistible cheesy, crispy side dish in minutes.
| Ingredient | Amount | Notes |
|---|---|---|
| Broccoli Crowns 🥦 | 2 lb | Cut into even florets |
| Garlic Cloves 🧄 | 6 cloves | Minced finely for even flavor |
| Unsalted Butter 🧈 | ½ cup | Melted for topping |
| All-Purpose Flour 🌾 | ¼ cup | For crispy coating |
| Shredded Cheddar Cheese 🧀 | 1 ½ cups | Sharp cheddar preferred |
| Shredded Monterey Jack Cheese 🧀 | 1 cup | Melts beautifully for topping |
| Mayonnaise 🥚 | ½ cup | Full-fat for creaminess |
| Grated Parmesan Cheese 🧀 | ½ cup | Freshly grated for best texture |
| Garlic Powder 🧄 | 1 tsp | Enhances garlic depth |
| Onion Powder 🧅 | 1 tsp | Balances savory notes |
| Salt 🧂 | ½ tsp | Kosher or sea salt |
| Black Pepper 🌶️ | ¼ tsp | Freshly ground preferred |
| Dried Parsley 🍃 | 1 tsp | For color and freshness |
| Lemon Juice 🍋 | 1 tbsp | Brightens the dish |
[recipe_ingredient_scaler]
The cheeses are non-negotiable here. Sharp cheddar gives that bold bite, while Monterey Jack ensures perfect melt. Whole Foods or Trader Joe’s have excellent pre-shredded options (the good stuff, not the pre-shredded kind with anti-caking agents). For the broccoli, look for deep green crowns with tight florets—organic if possible. Freshness matters since it’s the star of the dish.
No sharp cheddar? Colby Jack at a 1:1 ratio works. Skip the Monterey Jack? Just double the cheddar. Vegan swap? Daiya cheddar shreds melt surprisingly well. The mayonnaise can be light mayo if you prefer, but full-fat gives that rich, restaurant-style finish. For extra crunch, swap half the flour for panko breadcrumbs (worth the extra minute).
Leftovers keep well—store in an airtight container for up to 3 days. Reheat in the oven at 350°F to revive the crispiness. Don’t microwave or the topping will get soggy. Best served fresh, but honestly, it’s so good it rarely lasts that long.
Why You’ll Love This Recipe
- 20-Minute Side: I can get this from fridge to table faster than the kids argue over who sits where.
- Garlic-Cheddar Magic: The buttery garlic sauce with that melty cheddar topping turns plain broccoli into something I crave.
- Weeknight MVP: It pairs just as well with steak as it does with boxed mac and cheese on busy nights.
- One-Bowl Wonder: I love that I can mix the sauce right in the same bowl I use for serving—fewer dishes, more flavor.
Step-by-Step Instructions for Cheesy Garlic Broccoli
This method delivers perfectly crispy topping and tender broccoli with rich cheese flavor every time.
Step 1: Prepare and Blanch the Broccoli
Cut the 2 lb Broccoli Crowns into even, bite-sized florets. I keep the stems attached for a nicer presentation. Bring a large pot of salted water to a boil and prepare an ice bath in a separate bowl. The salt in the water enhances the broccoli’s natural flavor.
Blanch the florets for 2 minutes until they turn bright green and slightly tender. Immediately transfer them to the ice bath to stop the cooking process. This preserves the vibrant color and crisp-tender texture. Drain well and pat completely dry with paper towels—any moisture will prevent the topping from adhering properly.
Step 2: Create the Cheese Sauce Base
In a large bowl, combine the 0.5 cup Mayonnaise, 1.5 cups Shredded Cheddar Cheese, 1 cup Shredded Monterey Jack Cheese, 0.5 cup Grated Parmesan Cheese, 1 tsp Garlic Powder, 1 tsp Onion Powder, 0.5 tsp Salt, and 0.25 tsp Black Pepper. Mix until fully combined and smooth.
The mayonnaise creates a creamy base that helps the cheese melt evenly while the seasonings build depth. I use full-fat mayonnaise for the richest flavor. This mixture should be thick but spreadable—if it’s too stiff, let it sit at room temperature for a few minutes to soften slightly.
Step 3: Coat the Broccoli with Sauce and Topping
Preheat your oven to 400°F. Place the blanched broccoli in a large mixing bowl and pour the cheese sauce over it. Gently toss until every floret is evenly coated. The sauce should cling to the broccoli without pooling at the bottom of the bowl.
In a separate small bowl, melt the 0.5 cup Unsalted Butter and mix it with the 0.25 cup All-Purpose Flour, 6 cloves minced Garlic Cloves, and 1 tbsp Lemon Juice to create a buttery, garlicky paste. Drizzle this mixture over the cheese-coated broccoli.
Step 4: Bake to Crispy Perfection
Arrange the coated broccoli in a single layer on a baking sheet lined with parchment paper. Sprinkle the 1 tsp Dried Parsley evenly over the top for a pop of color and freshness. Bake on the middle rack for 15-20 minutes until the topping is golden brown and the cheese is bubbly.
Keep an eye on it during the last few minutes to prevent over-browning. The edges should be crispy while the cheese underneath remains gooey and melted. I rotate the pan halfway through baking to ensure even browning and that perfect crispy texture promised in the title.
Pro Tips For Making Outback Broccoli
- Blanch the Broccoli: Drop the florets in boiling salted water for exactly 2 minutes—any longer and they turn to mush under the cheese. Shock them in ice water after to lock in that bright green color.
- Grate Your Own Cheese: Pre-shredded cheddar has anti-caking agents that make the sauce grainy. I learned this the hard way after wondering why my sauce never melted smooth.
- Brown the Butter: Let the butter cook until it turns golden and smells nutty—about 3-4 minutes—before adding garlic. It adds depth that raw butter just can’t.
- Skip the Flour Clumps: Whisk the flour into the butter for a full 30 seconds before adding liquid. Sounds tedious, but it’s the only way to avoid those pesky lumps in your cheese sauce.
Pro Cooking Tips for This Dish
Blanching Perfection
Blanch your broccoli for exactly 2 minutes in salted boiling water—the key to maintaining that bright green color and crisp-tender texture. I learned this the hard way after overcooking a batch to mushy oblivion in my tiny Boston kitchen. 💡
Dry Thoroughly
After blanching, pat the florets completely dry with paper towels. Any moisture will prevent the cheese mixture from adhering properly. I use Bounty paper towels for their absorbency—they work better than generic brands in my experience.
Even Coating
Toss the broccoli in the cheese sauce until every floret is evenly coated. The sauce should cling without pooling. I find using my hands works better than a spoon for this step—it’s messy but effective.
Butter-Garlic Paste
Melt the ½ cup butter and mix it with the flour, minced garlic, and 1 tbsp lemon juice to create a paste. This layer adds that signature garlicky crunch. I always use Land O’Lakes butter for consistent results.
High Heat Baking
Bake at 400°F on the middle rack for 15-20 minutes. Rotate the pan halfway through for even browning. Watch closely during the last 5 minutes to prevent over-browning—that crispy topping is worth the attention. 🔥
Rest Before Serving
Let the broccoli rest for 2-3 minutes after baking. This allows the cheese to set slightly, making it easier to serve without the topping sliding off. Trust me, the wait improves both presentation and flavor.
Nutrition Facts
Frequently Asked Questions
Why blanch the broccoli first?
Blanching for 2 minutes preserves the vibrant green color and ensures crisp-tender texture. It also removes surface impurities that could prevent the cheese from sticking properly.
Can I use frozen broccoli?
Yes, but thaw and pat completely dry first. Frozen broccoli releases more moisture, which can make the topping soggy. Fresh is preferred for the best texture and flavor.
How do I prevent the topping from sliding off?
Make sure the broccoli is completely dry before coating. Also, let it rest for 2-3 minutes after baking to help the cheese set and adhere better.
Can I make this ahead of time?
Prepare the broccoli and sauce separately, then combine and bake just before serving. The dish is best fresh from the oven when the topping is still crispy.

Trained in classic French technique but raised on slow-cooked ribs and spicy rubs, she blends culinary skill with smoke and soul.
- Recipe for Boneless Pork Chops in Cast Iron Skillet: Sear and Baste to Juicy Perfection - October 3, 2026
- Recipe for Boneless Cross Rib Roast: Slow-Roasted Beef with Herb Crust - October 3, 2026
- Hamburgers in Sauce Recipe Crock Pot: Slow-Cooked Savory Delight - October 3, 2026