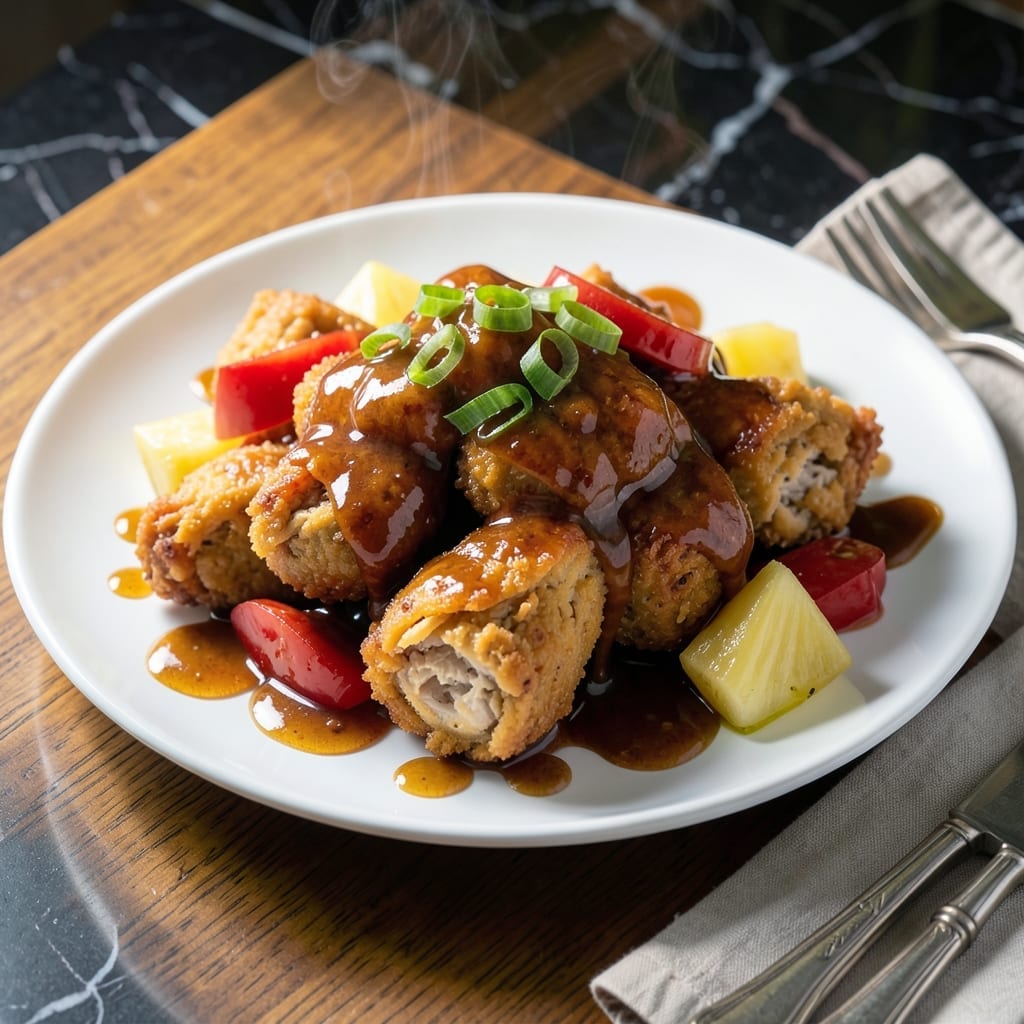
I’ve spent years perfecting this homemade version of the classic takeout favorite. The secret lies in balancing sweet pineapple with tangy vinegar, creating that signature sauce we all crave.
This recipe replicates the restaurant experience with crispy, golden chicken pieces coated in a glossy, tangy glaze. It’s easier than you’d think to achieve professional results in your own kitchen.
What sets this apart is the texture contrast: shatteringly crispy chicken against the velvety sauce. I developed this method after countless test batches to get it just right.
The final dish delivers on that copycat promise, bringing the flavors you love home with simple ingredients and straightforward techniques.
Ingredients for Panda Express Sweet and Sour Chicken
Simple pantry staples come together for that iconic takeout flavor at home.
| Ingredient | Amount | Notes |
|---|---|---|
| Boneless Skinless Chicken Thighs 🍗 | 1 ½ lb | Cut into 1-inch pieces |
| Cornstarch 🌾 | ½ cup | For crispy coating |
| All-Purpose Flour 🌾 | ½ cup | Lightens the batter |
| Large Eggs 🥚 | 2 whole | Beaten for batter |
| Pineapple Chunks 🍍 | 1 cup | Canned or fresh, drained |
| Red Bell Pepper 🌶️ | 1 whole | Diced into 1-inch pieces |
| Green Bell Pepper 🌶️ | 1 whole | Diced into 1-inch pieces |
| White Granulated Sugar 🍚 | ¾ cup | Balances the tang |
| White Vinegar 💧 | ½ cup | For signature tanginess |
| Ketchup 🍅 | ½ cup | Thickens the sauce |
| Soy Sauce 🫒 | 2 tbsp | Adds umami depth |
| Garlic Cloves 🧄 | 3 cloves | Minced for sauce |
| Vegetable Oil 🫒 | 2 cups | For deep frying |
| Salt 🧂 | 1 tsp | To taste |
| Ground Black Pepper 🌶️ | ½ tsp | Freshly ground preferred |
[recipe_ingredient_scaler]
The chicken is key here. Thighs stay juicier than breasts after frying—look for skinless, boneless at any major supermarket. Costco has great bulk options if you’re making a double batch. Cornstarch is non-negotiable for that shatteringly crisp coating (don’t sub flour). The pineapple? Canned in juice works perfectly—just drain it well so the sauce doesn’t get watery.
No pineapple chunks? Crushed pineapple (drained) works in a pinch, but texture suffers. Swap bell peppers for carrots or celery if that’s what’s in the crisper. Vinegar is essential for tang—apple cider vinegar at the same amount is the only good sub. Out of ketchup? Tomato paste plus a touch of sugar gets you close, but the flavor will be slightly different.
Leftovers keep 3-4 days in the fridge—reheat in the oven to revive crispiness. The sauce actually thickens more overnight. Freeze without chicken for up to 3 months, then toss with fresh fried pieces when ready to serve.
Why You’ll Love This Recipe
- One Pan Wonder: I love that I can coat the chicken, fry it up, and toss it with the sauce all in one pan—minimal cleanup, maximum flavor.
- That Sweet Tang: The pineapple chunks soak up the sauce, giving every bite that perfect balance of sticky sweetness and zingy sour.
- Kid-Tested Favorite: My picky eater devours this, especially the crispy cornstarch-coated chicken. Honestly, it’s my reliable Friday night win.
- Stretches Far: Leftovers taste even better the next day, and the chicken thighs keep it budget-friendly without skimp on taste.
Step-by-Step Instructions for Sweet and Sour Chicken
Here’s the method. Straightforward, tested, works every time.
Step 1: Prep and Coat the Chicken
Cut the 1.5 lb boneless skinless chicken thighs into 1-inch pieces and pat them dry with paper towels. This removes excess moisture so the coating sticks properly. Season the pieces with 1 tsp salt and 0.5 tsp ground black pepper—this ensures every bite is flavorful.
In a bowl, whisk together the 0.5 cup cornstarch, 0.5 cup all-purpose flour, and the 2 whole large eggs until smooth. The cornstarch gives that signature crispiness, while the flour lightens the texture. Dip each piece of chicken into the batter, letting any excess drip off, and set aside on a plate.
Step 2: Fry the Chicken to Golden Perfection
Heat the 2 cups vegetable oil in a deep skillet or Dutch oven over medium-high heat until it reaches 350°F. To test without a thermometer, drop in a pinch of batter—it should sizzle and float immediately. Carefully lower the coated chicken into the oil in batches, avoiding overcrowding.
Fry for 4-5 minutes, turning occasionally, until the chicken is golden brown and cooked through to an internal temperature of 165°F. The coating should be crisp and uniformly colored. Transfer the fried chicken to a paper towel-lined plate to drain excess oil while you work on the sauce.
Step 3: Sauté the Vegetables and Garlic
In a separate large skillet, heat 1 tablespoon of the vegetable oil over medium-high heat. Add the diced red bell pepper and green bell pepper, and stir-fry for 3-4 minutes until they begin to soften but still retain a slight crunch. This keeps them vibrant and fresh-tasting in the final dish.
Add the minced 3 cloves garlic cloves and cook for 30 seconds until fragrant. Be careful not to let it burn—garlic turns bitter quickly. Stir in the 1 cup pineapple chunks and cook for another 1 minute to warm through. The pineapple will release some juices, which helps build the sauce base.
Step 4: Create the Sweet and Sour Sauce
In a small bowl, whisk together the 0.75 cup white granulated sugar, 0.5 cup white vinegar, 0.5 cup ketchup, and 2 tbsp soy sauce until the sugar dissolves completely. This balance of sweet, tangy, and umami mimics the signature flavor of the dish you’re replicating.
Pour the sauce mixture into the skillet with the vegetables and bring to a simmer over medium heat. Let it cook for 2-3 minutes until the sauce thickens slightly and becomes glossy. It should coat the back of a spoon but still be pourable. Taste and adjust the seasoning if needed, though the measured ingredients should deliver perfect harmony.
Step 5: Combine and Serve Immediately
Add the fried chicken to the skillet with the sauce and vegetables. Gently toss to coat every piece evenly, ensuring the crispy exterior soaks up the flavor without becoming soggy. Let it all warm together for 1-2 minutes so the chicken absorbs some of the sauce.
Serve immediately while the chicken is still crisp. The sauce should cling lightly to each piece, with the bright bell peppers and pineapple chunks adding color and texture. This dish is best enjoyed fresh, with steamed rice to soak up every last bit of that tangy, sweet goodness.
Pro Tips For Making Panda Express Sweet And Sour Chicken
- Velouté the Chicken: Cut the boneless thighs into 1-inch pieces and velouté them in a mix of cornstarch and flour before dipping in egg—this double coating is what gives that signature crispy yet tender bite.
- Fry in Batches: Resist the urge to crowd the pan; cook the chicken in small batches over medium-high heat so each piece gets evenly golden without steaming into a soggy mess.
- Drain Pineapple Well: Pat the pineapple chunks dry with a paper towel before adding to the sauce—I learned this the hard way after my sweet and sour turned into sweet and soupy.
- Rest Before Saucing: Let the fried chicken rest on a wire rack for 2-3 minutes before tossing in sauce; it keeps the coating crisp instead of absorbing the liquid like a sponge.
Best Sauces and Condiments for This Recipe
Classic Pairings
This dish shines with steamed jasmine rice—its floral notes complement the tangy sauce beautifully. I always use a 1:1 rice-to-water ratio for perfect texture. The rice soaks up that glossy glaze like a dream.
Extra Sauce Boost
Double the sauce recipe and keep it warm in a small pot. Drizzle extra over the chicken just before serving for that restaurant-style shine. I add 1 tsp cornstarch to the sauce for a thicker consistency that clings better to the crispy coating.
Fresh Toppings
Garnish with thinly sliced green onions for a pop of color and mild onion bite. A sprinkle of toasted sesame seeds adds nutty depth. These small touches elevate the dish from good to “I can’t believe this is homemade.” 💫
Dipping Options
Serve with fortune cookies or crispy wonton strips for dipping. The strips add crunch contrast, while cookies keep it playful. I make wonton strips by frying thinly sliced wonton wrappers for 30-45 seconds until golden.
Spice Control
For heat lovers, offer Sriracha or chili garlic sauce on the side. A few drops let guests customize their plate. I prefer Lee Kum Kee chili garlic sauce—its sweet-spicy balance pairs perfectly with the dish’s flavors.
Kid-Friendly Twist
Set out a small bowl of sweetened condensed milk for dipping. Kids love the extra sweetness, and it tempers the tang for sensitive palates. Just 2 tbsp is plenty for a family meal.
Nutrition Facts
Frequently Asked Questions
Can I bake the chicken instead of frying?
Yes! Bake at 400°F for 20-25 minutes on a wire rack for crispiness. Flip halfway for even browning. The texture won’t be identical, but it’s a healthier option.
How do I keep the chicken crispy after coating?
Fry in small batches to avoid oil temperature drops. Drain on a wire rack, not paper towels, to prevent steam from softening the crust. Serve immediately for best results.
Can I make the sauce ahead of time?
Prepare the sauce up to 2 days ahead and store in the fridge. Reheat gently before tossing with freshly fried chicken to maintain texture.

Trained in classic French technique but raised on slow-cooked ribs and spicy rubs, she blends culinary skill with smoke and soul.
- Recipe for Boneless Pork Chops in Cast Iron Skillet: Sear and Baste to Juicy Perfection - October 3, 2026
- Recipe for Boneless Cross Rib Roast: Slow-Roasted Beef with Herb Crust - October 3, 2026
- Hamburgers in Sauce Recipe Crock Pot: Slow-Cooked Savory Delight - October 3, 2026