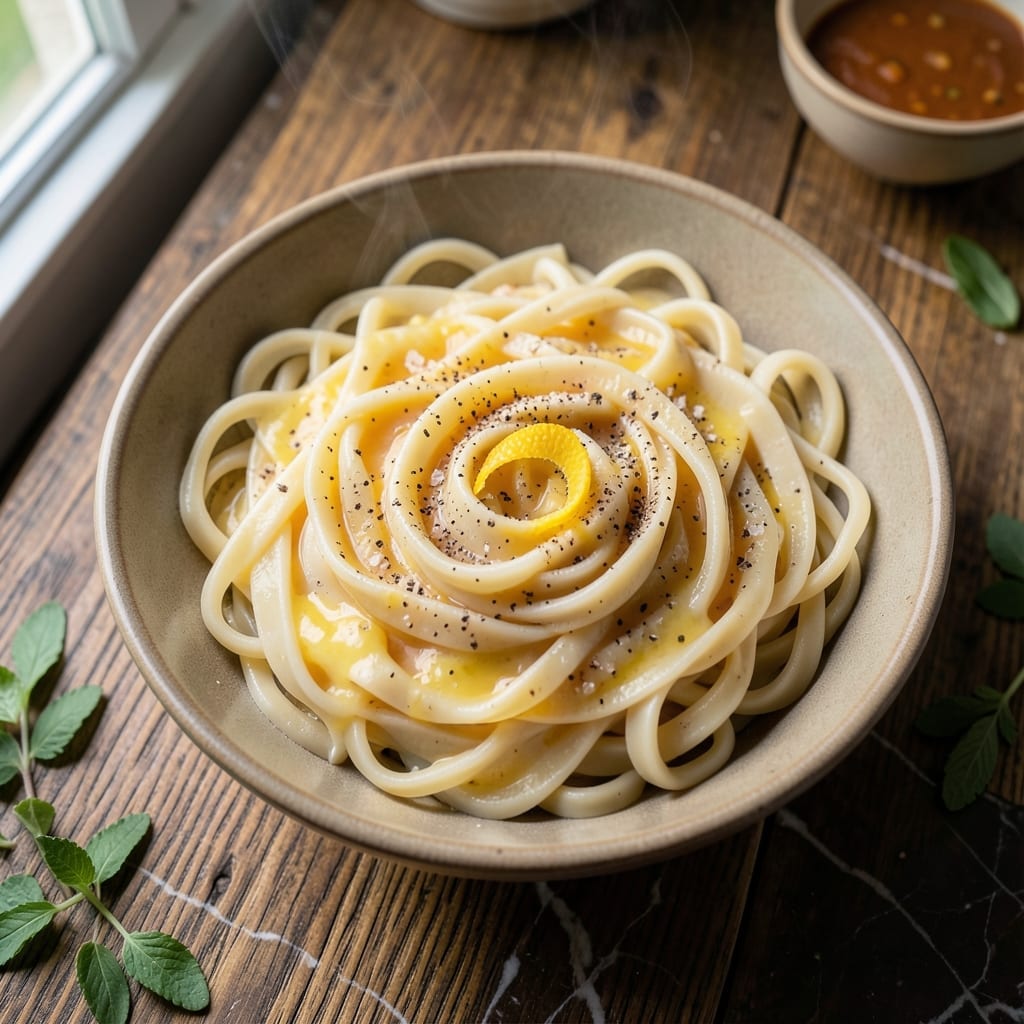
There’s nothing like homemade egg noodles to elevate a simple meal into something special. This Pennsylvania Dutch version uses bread flour for a rich, tender texture that stands out.
I’ve perfected this method over years of testing, ensuring each batch delivers consistent, restaurant-quality results. The dough comes together quickly, then rests before rolling and cutting.
Ingredients for Pennsylvania Dutch Egg Noodles
Bread flour and fresh eggs create these tender, restaurant-quality Pennsylvania Dutch noodles with ease.
| Ingredient | Amount | Notes |
|---|---|---|
| Bread Flour 🌾 | 2 ½ cups | Plus extra for dusting |
| Large Eggs 🥚 | 4 whole | Room temperature preferred |
| Whole Milk 🥛 | ¼ cup | Cold from refrigerator |
| Unsalted Butter 🧈 | 1 tbsp | Melted and cooled |
| Sea Salt 🧂 | 1 tsp | Fine grain preferred |
| Freshly Ground Black Pepper 🌶️ | ¼ tsp | Adjust to taste |
| Nutmeg 🌰 | 0.125 tsp | Freshly grated optimal |
| All-Purpose Flour 🌾 | ½ cup | For dough adjustment |
| Large Egg Yolks 🥚 | 2 whole | For extra richness |
| Olive Oil 🫒 | 1 tsp | For bowl greasing |
[recipe_ingredient_scaler]
The bread flour is non-negotiable here—it provides the chewy, elastic texture that defines Pennsylvania Dutch noodles. King Arthur is my go-to brand for consistent results. Look for flour with at least 12% protein content. The eggs should be as fresh as possible (farmers market if you can swing it), but standard grocery store large eggs work perfectly fine for this application.
No bread flour? All-purpose flour plus 1 tbsp vital wheat gluten per cup gets you close. Want to skip the milk? Water works in a pinch but the richness suffers. The nutmeg is traditional but can be omitted if you prefer a plainer flavor. For the butter, European-style (higher fat content) adds an extra layer of luxury if you want to splurge.
The dough needs to rest for at least 30 minutes at room temperature before rolling. Once cut, fresh noodles can be refrigerated for up to 24 hours or frozen for 3 months. Dust them lightly with flour before storing to prevent sticking.
Why You’ll Love This Recipe
- I’ll be real: I always make a double batch to stash away for quick soups or casseroles later.
- One Bowl Wonder: I just dump the bread flour, eggs, milk, and butter in a single bowl—no fancy equipment, no mess.
- Buttery Richness: The unsalted butter and whole milk give these noodles a velvety texture that’s hard to resist.
- Freezer Friendly: I’ll be real: I always make a double batch to stash away for quick soups or casseroles later.
Step-by-Step Instructions for Pennsylvania Dutch Egg Noodles
This traditional method delivers tender, rich noodles with the perfect bite every time.
Step 1: Create the Dough Base
In a large mixing bowl, combine the 2.5 cups Bread Flour, 1 tsp Sea Salt, 0.25 tsp Freshly Ground Black Pepper, and 0.125 tsp Nutmeg. I whisk these dry ingredients together first to ensure even distribution of the seasonings throughout the dough.
Create a well in the center of the flour mixture. Add the 4 whole Large Eggs and 2 whole Large Egg Yolks to the well. The extra yolks provide that signature Pennsylvania Dutch richness. Begin mixing with a fork, gradually incorporating the flour into the wet ingredients until a shaggy dough forms.
Step 2: Incorporate the Remaining Ingredients
Pour in the 0.25 cup Whole Milk and 1 tbsp Unsalted Butter (melted and cooled to room temperature). The cold milk helps maintain the dough’s structure while the butter adds tenderness. Mix until the liquid is mostly absorbed, then switch to kneading by hand.
If the dough feels too sticky, gradually add up to 0.5 cup All-Purpose Flour, 1 tablespoon at a time, until it reaches the right consistency. The dough should be smooth and elastic but not dry. Knead for 8-10 minutes until it passes the windowpane test—when stretched thin, it should be nearly translucent.
Step 3: Rest and Roll the Dough
Lightly coat a clean bowl with 1 tsp Olive Oil and place the dough inside, turning to coat all sides. Cover with a damp towel and let rest at room temperature for 30 minutes. This relaxation period makes the dough easier to roll thin without springing back.
After resting, divide the dough into 4 equal portions. Working with one portion at a time (keep the others covered), roll the dough out on a lightly floured surface until it’s 1/8-inch thick. The thinner you roll, the more delicate your final noodles will be.
Step 4: Cut and Dry the Noodles
Dust the rolled dough lightly with additional Bread Flour, then loosely roll it up like a jelly roll. Using a sharp knife, slice the dough into ¼-inch wide strips for traditional Pennsylvania Dutch width. Gently separate the strips and spread them out on a floured surface.
Let the noodles dry for 15-20 minutes at room temperature. This drying step is crucial—it prevents them from sticking together when cooked. You’ll know they’re ready when they feel slightly firm to the touch and the edges begin to curl slightly.
Step 5: Cook to Perfection
Bring a large pot of salted water to a rolling boil. Add the fresh noodles and cook for 2-3 minutes until they float to the surface and are al dente. Unlike store-bought, fresh noodles cook quickly, so watch them closely to avoid overcooking.
Drain immediately and toss with a bit of butter to prevent sticking if not serving right away. These noodles are best served fresh but can be refrigerated for up to 2 days or frozen for longer storage. When reheating, simply drop them into boiling water for 30 seconds to refresh.
Pro Tips For Making Pennsylvania Dutch Egg Noodles
- Knead Longer: Work the dough for at least 8-10 minutes until smooth—this develops the gluten for that perfect chewy texture Pennsylvania Dutch noodles are known for.
- Use Room Temp Eggs: Pull your eggs out 30 minutes before starting; they incorporate better into the flour and prevent the butter from clumping.
- Roll Thinly: Aim for 1/8-inch thickness when rolling—any thicker and your noodles will be gummy instead of tender.
- Dry Before Cutting: Let the rolled dough rest uncovered for 10 minutes before cutting; this prevents sticking and makes cleaner, more uniform strips.
Make-Ahead Tips for This Recipe
Prep Ahead Strategy
I always make the dough the night before and let it rest in the fridge overnight. The cold develops the gluten slowly, giving you even better texture. Just bring it to room temperature for 30 minutes before rolling. 💡
Drying for Storage
After cutting, spread noodles on a baking sheet dusted with Bread Flour. Let them air-dry completely at room temperature for 2-3 hours. This creates a slightly firm texture that stores beautifully.
Refrigerator Storage
Fresh, undried noodles can be refrigerated in an airtight container for up to 24 hours. Dust them with extra flour first to prevent sticking. I use a glass container to avoid absorbing odors.
Freezing Method
For longer storage, freeze dried noodles in a single layer on a baking sheet first, then transfer to a freezer bag. They’ll keep for 3 months. No need to thaw—just drop frozen noodles directly into boiling water.
Day-of Cooking
If making same-day, prepare the dough in the morning and let it rest at room temperature. You can roll and cut 4 hours ahead—just cover with a damp towel to prevent drying out. 💛
Portioning for Meals
I divide my batch into 1-pound portions before freezing. This makes it easy to grab exactly what I need for family dinners. Each portion cooks perfectly for a 4-serving meal.
Nutrition Facts
Frequently Asked Questions
Can I use all-purpose flour instead of bread flour?
Yes, but add 1 tablespoon vital wheat gluten per cup to match bread flour’s protein. The texture will be slightly less chewy but still delicious.
Why does the dough need to rest?
Resting relaxes the gluten, making the dough easier to roll thin. Skipping this step results in springy dough that shrinks when rolled. 30 minutes is ideal.
How do I prevent the noodles from sticking together?
Dust generously with flour before drying and storage. For freezing, spread in a single layer first, then transfer to bags. Never skip the drying step.
What’s the best way to cook frozen noodles?
Drop them directly into boiling water—no need to thaw. Add 30 seconds to the cooking time compared to fresh noodles. They’ll be just as tender.

Trained in classic French technique but raised on slow-cooked ribs and spicy rubs, she blends culinary skill with smoke and soul.
- Recipe for Boneless Pork Chops in Cast Iron Skillet: Sear and Baste to Juicy Perfection - October 3, 2026
- Recipe for Boneless Cross Rib Roast: Slow-Roasted Beef with Herb Crust - October 3, 2026
- Hamburgers in Sauce Recipe Crock Pot: Slow-Cooked Savory Delight - October 3, 2026