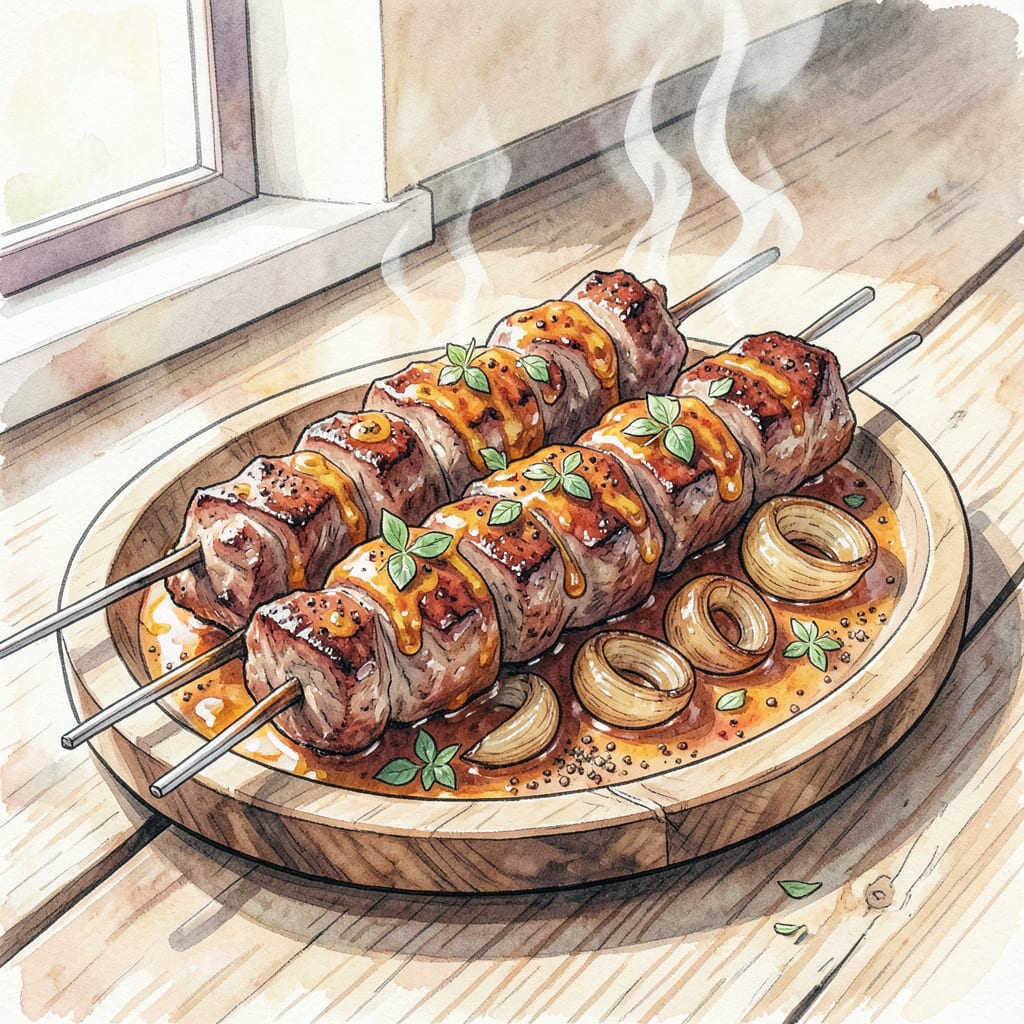
I’m obsessed with the smoky flavors of Persian kababs, and I’m about to share my secret for achieving that authentic taste at home. 🔥 The key is a blend of spices and a hot grill that’ll transport you straight to the streets of Tehran.
With this recipe, you’ll get tender, juicy kababs with a crispy exterior and a flavor that’s both bold and aromatic. Let’s get grilling!
Ingredients for Persian Kabab Bbq
Gather these aromatic ingredients for authentic Persian kababs, rich with smoky flavors.
| Ingredient | Amount | Notes |
|---|---|---|
| Lamb or Beef 🥩 | 1 ½ lb | Thinly sliced for kababs |
| Onions 🧅 | 2 whole | Thinly sliced |
| Garlic Cloves 🧄 | 4 cloves | Minced |
| Saffron Threads 🌼 | ½ tsp | Soaked in hot water |
| Smoked Paprika 🌶️ | 1 tsp | For smoky flavor |
| Cumin Powder 🌿 | 1 tsp | Ground cumin |
| Turmeric 💛 | ½ tsp | Ground |
| Salt 🧂 | 1 tsp | Kosher or sea salt |
| Black Pepper 🌶️ | ½ tsp | Freshly ground |
| Olive Oil 🫒 | ¼ cup | For brushing grill |
| Lemon Juice 🍋 | 2 tbsp | Freshly squeezed |
| Fresh Parsley 🌿 | ¼ cup | Chopped, for garnish |
[recipe_ingredient_scaler]
The meat matters here. Look for thinly sliced lamb or beef at Middle Eastern markets or quality butcher shops. I prefer lamb for its rich flavor, but beef works too. Make sure to slice against the grain for tender kababs.
Saffron is worth the splurge—soak the threads in hot water to release their full flavor and color. No smoked paprika? Regular paprika with a dash of liquid smoke gets you close. Fresh parsley adds a bright finish—don’t skip it.
These kababs keep well in the fridge for 3-4 days. Reheat on the grill or in a skillet to retain that crispy exterior. You can also freeze cooked kababs for up to 3 months.
Step-by-Step Instructions for Persian Kabab BBQ
Let’s create this authentic Persian kabab experience with smoky flavors that transport you.
🔥 Step 1: Prepare the Marinade
In a large bowl, combine the 1 tsp Smoked Paprika, 1 tsp Cumin Powder, 0.5 tsp Turmeric, 1 tsp Salt, and 0.5 tsp Black Pepper. I like to mix these dry ingredients first to ensure they’re evenly distributed throughout the marinade. Add the 4 cloves minced Garlic Cloves and 0.5 tsp Saffron Threads soaked in hot water to the spice mix. The saffron adds that signature Persian flavor and beautiful color.
Now, pour in the 0.25 cup Olive Oil and 2 tbsp Lemon Juice. I use freshly squeezed lemon juice for the best flavor. Whisk everything together until you have a smooth, aromatic marinade. You’ll notice the mixture has a deep orange color from the spices and a lovely sheen from the olive oil.
👨🍳 Step 2: Marinate the Meat
Add the 1.5 lb thinly sliced Lamb or Beef to the marinade. I prefer using a mix of lamb and beef for a more complex flavor profile. Toss everything together until the meat is evenly coated with the marinade. Make sure to separate any pieces that stick together to ensure uniform flavor distribution.
Cover the bowl with plastic wrap and refrigerate for at least 2 hours, or overnight if you have the time. The longer it marinates, the more tender and flavorful the kababs will be. I like to give it a gentle stir every few hours to redistribute the marinade.
🔥 Step 3: Grill the Kababs
Preheat your grill to medium-high heat. I use a charcoal grill for that authentic smoky flavor, but a gas grill works too. Thread the marinated meat and 2 thinly sliced Onions onto skewers. Leave a little space between each piece to ensure even cooking.
Brush the grill grates with a bit of Olive Oil to prevent sticking. Grill the kababs for 8-10 minutes, turning occasionally, until they’re cooked through and have nice char marks on the outside. For lamb, cook until it reaches your desired level of doneness. For beef, I recommend cooking to medium-rare for the best texture.
👨🍳 Step 4: Finish and Serve
Once the kababs are done, remove them from the grill and let them rest for a few minutes. This allows the juices to redistribute, making the meat even more tender. Garnish with 0.25 cup chopped Fresh Parsley and serve immediately. I like to serve these kababs with a side of rice, grilled tomatoes, and a dollop of yogurt for a complete meal.
Enjoy the explosion of flavors in every bite – the smokiness from the grill, the warmth of the spices, and the freshness of the parsley. This dish is sure to transport you to the streets of Persia!
Troubleshooting This Recipe
Common Grilling Issues
When grilling Persian kababs, uneven cooking is a common problem. To avoid this, make sure your grill is preheated to medium-high heat and that your meat is at room temperature before grilling. I like to let mine sit for 30 minutes before cooking. 🔥
Meat Sticking to Skewers
If your kababs are sticking to the skewers, it might be because the meat wasn’t marinated long enough or the skewers weren’t properly prepared. Soak wooden skewers in water for at least 30 minutes before threading your meat to prevent them from catching fire. For metal skewers, brush with a bit of olive oil to prevent sticking.
Preventing Dry Kababs
Dry kababs can be prevented by not overcooking the meat. Use a meat thermometer to check for doneness—I aim for 145°F for medium-rare beef and 160°F for lamb. Letting the kababs rest for a few minutes after grilling also helps retain juices. I like to rest mine for 5 minutes before serving.
Flare-Ups and Charring
Flare-ups can occur when fat drips onto the grill. To minimize this, trim excess fat from your meat before grilling. If you do experience a flare-up, move the kababs to a cooler part of the grill until the flames die down. A bit of charring is desirable for flavor, but too much can make the kababs taste burnt. Keep an eye on your grill and adjust the heat as needed. 🌡️
Serving and Storage Tips
Once your kababs are cooked, serve them immediately with your choice of sides. If you have leftovers, store them in an airtight container in the refrigerator for up to 3 days. Reheat on the grill or in a skillet to retain that crispy exterior. You can also freeze cooked kababs for up to 3 months—just thaw and reheat when you’re ready.
Adjusting for Different Grills
Different grills can produce varying results. If you’re using a charcoal grill, you might need to adjust the vents to control the temperature. For gas grills, preheating is key to getting those nice grill marks. I recommend preheating your grill for at least 15 minutes before cooking. Experiment with your grill to find the settings that work best for you.
Nutrition Facts

Trained in classic French technique but raised on slow-cooked ribs and spicy rubs, she blends culinary skill with smoke and soul.
- Recipe for Boneless Pork Chops in Cast Iron Skillet: Sear and Baste to Juicy Perfection - October 3, 2026
- Recipe for Boneless Cross Rib Roast: Slow-Roasted Beef with Herb Crust - October 3, 2026
- Hamburgers in Sauce Recipe Crock Pot: Slow-Cooked Savory Delight - October 3, 2026