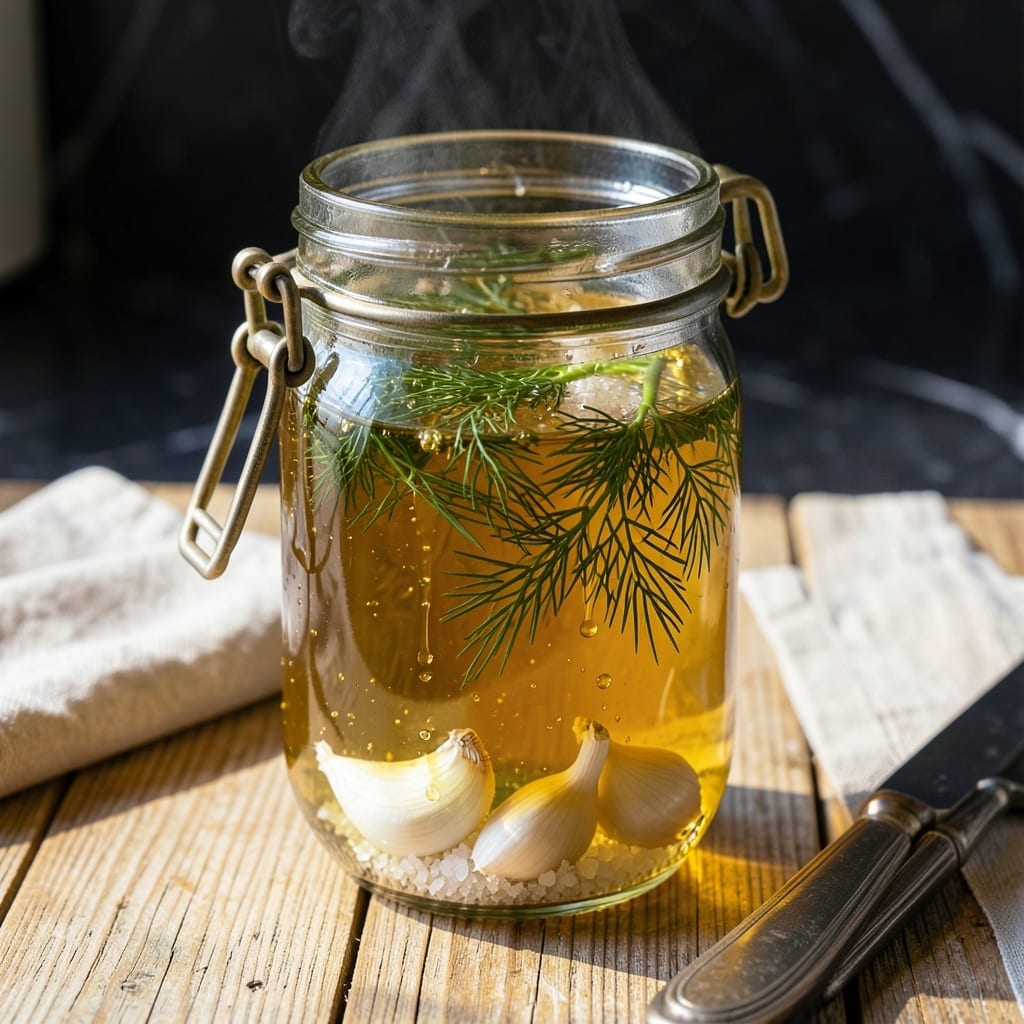
This tangy brine transforms ordinary dishes with its bold, zesty character. I developed it to elevate everything from marinades to cocktails.
With just a few simple ingredients, you create a versatile liquid that adds depth to any recipe. Store it properly, and it keeps for weeks.
Ingredients for Pickle Juice
Transform everyday dishes with this bold, tangy brine made from simple pantry staples.
| Ingredient | Amount | Notes |
|---|---|---|
| White Vinegar 💧 | 2 cups | Distilled, 5% acidity |
| Water 💧 | 2 cups | Filtered, room temperature |
| Pickling Salt 🧂 | 3 tbsp | Non-iodized, fine grain |
| Granulated Sugar 🍚 | 2 tbsp | Optional for sweetness balance |
| Fresh Dill 🌿 | ¼ cup | Chopped, stems included |
| Garlic Cloves 🧄 | 6 cloves | Lightly crushed, peeled |
| Mustard Seeds 🌿 | 2 tsp | Yellow or brown variety |
| Black Peppercorns 🌶️ | 1 tsp | Whole, lightly crushed |
| Red Pepper Flakes 🔥 | ½ tsp | Adjust to heat preference |
| Bay Leaves 🍃 | 2 whole | Dried, whole leaves |
[recipe_ingredient_scaler]
The vinegar is critical here. Heinz distilled white vinegar provides consistent 5% acidity, which is ideal for pickling. Pickling salt, available at any grocery store (look for Diamond Crystal or Morton brands), ensures no anti-caking agents that could cloud your brine. Fresh dill from the produce section (or your garden) offers the brightest flavor—avoid the dried kind for this application.
No pickling salt? Kosher salt at the same volume works, but avoid iodized table salt—it can make the brine cloudy. Out of mustard seeds? Ground mustard at one-quarter the amount substitutes well. Want more complexity? Add a strip of lemon peel or a few coriander seeds. The sugar is optional but recommended to balance the acidity.
This keeps beautifully at room temperature for 2-3 weeks in a sealed glass jar. For longer storage, refrigerate for up to 6 months. The flavor deepens over time, so consider making a double batch—you’ll find endless uses for it.
Why You’ll Love This Recipe
- Five-Minute Mix: I just dump vinegar, water, salt, sugar, and dill in a pot—no chopping, no fuss.
- Tangy Punch: That sharp vinegar bite balanced with a hint of sweetness and fresh dill is ridiculously good.
- Endless Uses: Honestly, I use this for pickles, marinades, even a quick brine for chicken.
- Pantry Savior: All the ingredients are already in my cupboard, so it saves me a last-minute store run.
Step-by-Step Instructions for Pickle Brine
This method ensures a perfectly balanced, flavorful brine every time.
Step 1: Combine Vinegar, Water, and Salt
In a medium saucepan, pour in the 2 cups White Vinegar and 2 cups Water. Add the 3 tbsp Pickling Salt and stir until it begins to dissolve. The salt should start breaking down as you mix, but don’t worry if some grains remain visible.
Place the saucepan over medium-high heat and bring the mixture to a gentle boil. This step ensures the salt and sugar fully dissolve and the brine reaches the proper temperature to extract maximum flavor from the aromatics. You’ll see small bubbles forming around the edges first.
Step 2: Add Sugar and Aromatic Spices
Once boiling, stir in the 2 tbsp Granulated Sugar. Continue stirring until the sugar completely dissolves—this should take about 1-2 minutes. The mixture will become slightly more translucent as the sugar incorporates.
Add the 2 tsp Mustard Seeds, 1 tsp Black Peppercorns, and 0.5 tsp Red Pepper Flakes. These spices will infuse the brine with complex, layered flavors. The mustard seeds will plump slightly as they absorb liquid, and the peppercorns will release their aromatic oils into the mixture.
Step 3: Incorporate Fresh Herbs and Garlic
Reduce the heat to medium and add the 0.25 cup Fresh Dill and 2 whole Bay Leaves. Stir gently to combine. The dill will turn a vibrant green in the hot liquid, and its fresh, grassy aroma will become immediately apparent.
Add the 6 cloves Garlic Cloves and let the mixture simmer for 5 minutes. This allows the garlic to mellow slightly while still retaining its pungent character. You’ll notice the garlic cloves becoming slightly translucent at the edges and the entire kitchen filling with the rich, tangy scent of the developing brine.
Step 4: Cool and Strain the Brine
Remove the saucepan from heat and let the brine cool to room temperature—this typically takes 30-45 minutes. As it cools, the flavors will continue to meld and deepen. The liquid will change from nearly clear to a pale golden color as it absorbs the essence of the spices and herbs.
Once cooled, strain the brine through a fine-mesh sieve into a clean jar or container to remove the solids. Press gently on the dill and spices with the back of a spoon to extract as much liquid as possible. Your brine is now ready to use for pickling or as a flavorful addition to other dishes.
Pro Tips For Making Pickle Juice
- Boil the Brine: Bring the vinegar, water, salt, and sugar to a full boil—this ensures the salt and sugar dissolve completely, and I learned this the hard way when my first batch had gritty undissolved salt at the bottom.
- Use Filtered Water: Skip the tap water if it’s hard or chlorinated; I used to wonder why my pickles sometimes had a weird aftertaste until I switched to filtered.
- Cool Before Using: Let the brine cool to room temperature before pouring it over your dill and veggies—hot brine can make them mushy, and I’ve ruined a few cucumbers by rushing this.
- Add Dill Last: Stir in the fresh dill just before using the brine; adding it too early can make the juice bitter, and I was skeptical until I tried it both ways.
Health Benefits of This Dish
Electrolyte Boost
This brine is packed with sodium and potassium from the pickling salt and vinegar, making it a natural electrolyte replacement. I use 1-2 ounces post-workout for a quick mineral boost—it helps with hydration better than many sports drinks. 💪
Gut Health Support
The fermented nature of this brine (if used for pickling) introduces beneficial probiotics. Even as a non-fermented version, the apple cider vinegar base supports digestive health by promoting a balanced gut microbiome.
Low-Calorie Flavor
At just 5-10 calories per ounce, this adds bold flavor without the guilt. I drizzle it over salads or use it as a marinade base when I want zesty taste without extra calories.
Antioxidant Rich
The garlic and dill in this brine are loaded with antioxidants. Garlic contains allicin, while dill provides flavonoids—both help combat oxidative stress in the body.
Blood Sugar Balance
Studies suggest the vinegar in this brine may help regulate blood sugar levels. I’ve noticed better stability when I include a tablespoon in my morning routine. The acetic acid slows carbohydrate digestion. ✨
Digestive Aid
A shot of this before meals can stimulate digestive enzymes. The acidic nature helps break down foods more efficiently, reducing bloating. I keep a jar in my fridge for quick access.
Nutrition Facts
Frequently Asked Questions
How long does homemade brine keep?
Store in a sealed glass jar at room temperature for up to 2-3 weeks. For longer storage, refrigerate for up to 6 months. The flavor intensifies over time.
Can I use this for quick pickles?
Slice veggies thinly and submerge in the brine. Refrigerate for at least 24 hours for best flavor. Cucumbers or radishes work great.
What if my brine turns cloudy?
Cloudiness usually means the salt didn’t fully dissolve or you used iodized salt. Always use pickling salt and ensure it dissolves completely before cooling.
Can I adjust the spice level?
Yes! Reduce or omit the red pepper flakes for mild flavor. For extra heat, add up to 1 tsp more. Taste and tweak before using.

Trained in classic French technique but raised on slow-cooked ribs and spicy rubs, she blends culinary skill with smoke and soul.
- Recipe for Boneless Pork Chops in Cast Iron Skillet: Sear and Baste to Juicy Perfection - October 3, 2026
- Recipe for Boneless Cross Rib Roast: Slow-Roasted Beef with Herb Crust - October 3, 2026
- Hamburgers in Sauce Recipe Crock Pot: Slow-Cooked Savory Delight - October 3, 2026