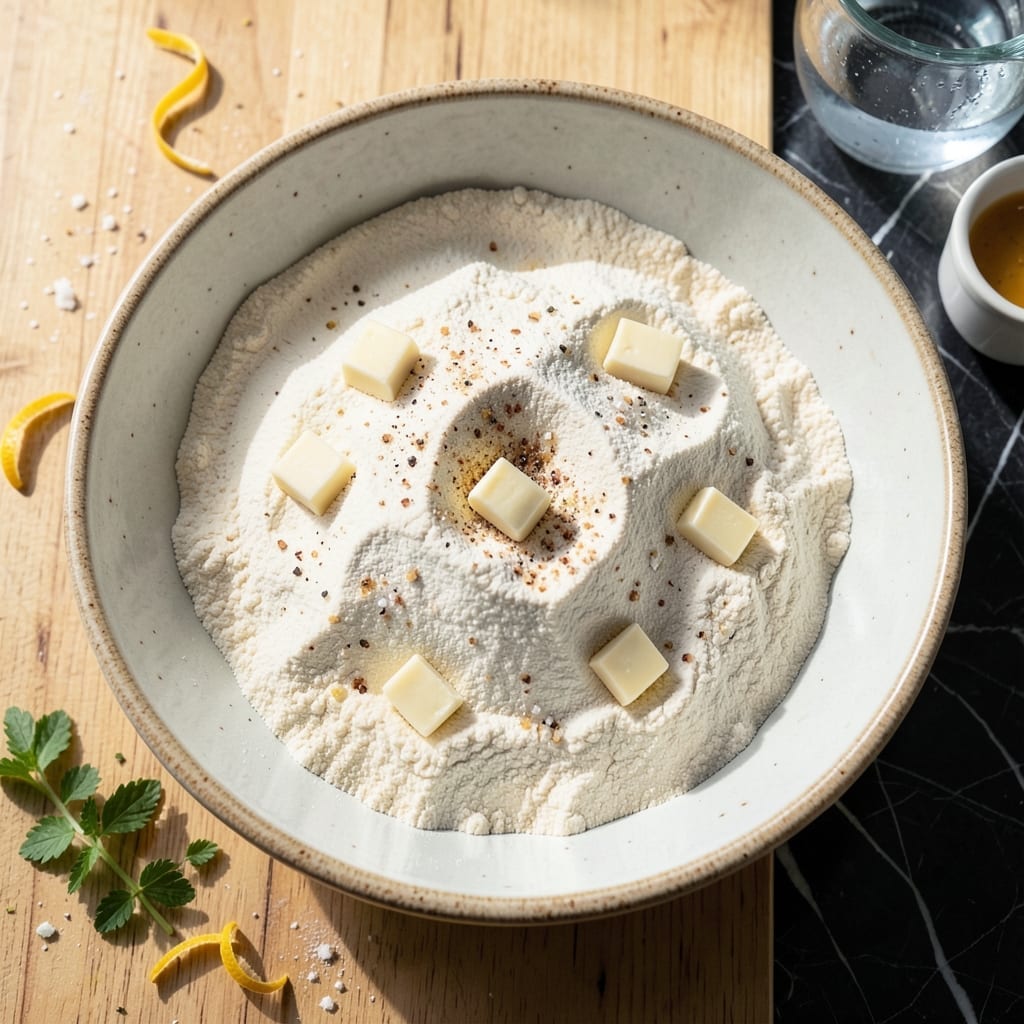
Creating a flaky pie crust by hand is a rewarding process that yields superior texture and flavor. This method ensures delicate layers without any special equipment.
With just a few simple ingredients and precise technique, you’ll achieve a golden, buttery crust that’s the foundation of any great pie. The key lies in keeping everything cold.
Ingredients for Pie Crust Recipe No Food Processor
Seven ingredients yield a superior flaky crust without any special equipment. Cold and precise.
| Ingredient | Amount | Notes |
|---|---|---|
| All-Purpose Flour 🌾 | 2 ½ cups | Spooned and leveled, plus extra for dusting |
| Unsalted Butter 🧈 | 1 cup | Cold, cut into 1/2-inch cubes |
| Ice Water 💧 | ⅓ cup | Plus 1 tbsp as needed |
| Granulated Sugar 🍚 | 1 tsp | Optional, for sweet crusts |
| Kosher Salt 🧂 | 1 tsp | Diamond Crystal preferred for flaky texture |
| Distilled White Vinegar 🍶 | 1 tbsp | Or apple cider vinegar |
| Vanilla Extract 🌿 | ½ tsp | Optional, for sweet crusts |
[recipe_ingredient_scaler]
The butter is non-negotiable for flakiness. Use high-fat European-style butter like Plugrá or Kerrygold for optimal layers. The flour should be low-protein all-purpose—Gold Medal or King Arthur are reliable brands. Keep everything ice-cold; warm ingredients mean tough crust. The vinegar tenderizes the gluten, but don’t overdo it—1 tablespoon is plenty.
No vinegar? Lemon juice at the same amount works fine. For a sweeter crust, increase the sugar to 1 tablespoon. If you’re making a savory pie, omit the sugar entirely and add 1/4 teaspoon black pepper. The ice water must stay icy—refill your glass if it warms up. Short on time? Vodka instead of water (same amount) makes an even flakier crust without affecting flavor.
The dough keeps 2-3 days wrapped tightly in the fridge, or freeze for 1 month. Always let it rest 30 minutes before rolling—this relaxes the gluten. Pre-baked crusts stay fresh 1 day at room temperature or 1 week frozen.
Why You’ll Love This Recipe
- No Tools Needed: I just use my hands and a bowl—no fancy gadgets, just cold butter and flour working together.
- Buttery Richness: The unsalted butter and a pinch of sugar give it that melt-in-your-mouth flakiness I crave.
- Endless Uses: Sweet pies, savory quiches, or even handheld pot pies—this crust does it all.
- Pantry Staples: Honestly, I always have flour, butter, and salt on hand, so it’s ready whenever inspiration strikes.
Step-by-Step Instructions for Pie Crust No Food Processor
Master the art of creating delicate, flaky layers using only your hands and simple tools.
Step 1: Combine Dry Ingredients with Precision
In a large mixing bowl, whisk together the 2.5 cups All-Purpose Flour, 1 tsp Granulated Sugar, and 1 tsp Kosher Salt until thoroughly combined. This ensures even distribution of leavening and seasoning throughout the crust.
The sugar and salt not only add flavor but also help tenderize the gluten, contributing to that coveted flaky texture. Use a fork to aerate the flour mixture as you whisk—this lightens the base before adding fat.
Step 2: Cut in the Butter by Hand
Add the 1 cup Unsalted Butter (cold and cubed) to the flour mixture. Using a pastry cutter or two forks, work the butter into the flour until the mixture resembles coarse crumbs with some pea-sized butter pieces remaining. This creates the layered structure essential for flakiness.
Here’s the thing—visible butter pieces are crucial. They melt during baking, creating steam pockets that separate the dough into distinct layers. If the butter becomes too warm or fully incorporated, your crust will be tough, not tender.
Work quickly to keep the butter as cold as possible. If your kitchen is warm, chill the bowl for 5 minutes between steps to maintain the butter’s integrity.
Step 3: Incorporate the Liquid Components
In a small bowl, combine the 0.33 cup Ice Water, 1 tbsp Distilled White Vinegar, and 0.5 tsp Vanilla Extract. The vinegar tenderizes the gluten while the vanilla adds subtle depth to sweet crusts. Create a well in the center of your flour-butter mixture.
Gradually pour the liquid into the well, using a fork to gently mix until the dough just comes together. You should see dry bits at the bottom of the bowl—this is normal. The dough will look shaggy and slightly dry, but it will hydrate during the resting period.
If the mixture seems too dry to hold together, add the reserved 1 tbsp of ice water, one teaspoon at a time. Be conservative; it’s easier to add liquid than to fix a sticky dough.
Step 4: Shape and Chill the Dough
Turn the dough out onto a lightly floured surface and gently press it into a rough rectangle about 1-inch thick. Fold the dough in half like a book, then fold it in half again. This creates layers without overworking the gluten.
Wrap the dough tightly in plastic wrap and refrigerate for at least 1 hour, or up to 2 days. Chilling relaxes the gluten and allows the flour to fully hydrate. It also firms up the butter, making the dough easier to roll out.
Real talk: Don’t skip the resting time. Rushing this step results in a tough crust that shrinks during baking. The wait is non-negotiable for professional results.
Step 5: Roll and Fit the Crust
On a well-floured surface, roll the chilled dough into a 12-inch circle, about ⅛-inch thick. Rotate the dough frequently to prevent sticking and ensure even thickness. Use a dry pastry brush to sweep away excess flour as you work.
To transfer the dough to your pie dish, loosely roll it around your rolling pin, then unroll it over the dish. Gently press the dough into the bottom and up the sides without stretching it. Stretching causes shrinkage during baking.
Trim the edges to leave a ½-inch overhang, then fold and crimp as desired. For a pre-baked crust, chill for another 30 minutes before blind baking. This prevents the edges from slumping.
Pro Tips For Making Pie Crust Recipe No Food Processor
- Chill the Butter: Cut the unsalted butter into small cubes and refrigerate for 15 minutes before mixing—I learned this the hard way after ending up with a greasy, tough crust.
- Use Ice Water: Fill a glass with ice and water, then measure from that—cold water prevents the butter from melting too soon.
- Skip Overworking: Mix just until the dough comes together; overworking develops gluten, and your crust will be chewy instead of flaky.
- Rest the Dough: After shaping, give it a solid 30 minutes in the fridge—this relaxes the gluten and makes rolling out much easier.
Creative Variations of This Recipe
Savory Herb Crust
For quiches or savory pies, omit the Granulated Sugar and Vanilla Extract, then add 1 tbsp fresh rosemary and 1 tsp cracked black pepper to the dry ingredients. I forage wild rosemary along coastal trails—its piney aroma elevates any dish. 🌿
Sweet Cinnamon Version
Increase the Granulated Sugar to 2 tbsp and add ½ tsp ground cinnamon to the flour mixture. This works beautifully for apple or peach pies. The cinnamon adds warmth that pairs perfectly with the butter’s richness.
Whole Wheat Blend
Replace 1 cup All-Purpose Flour with whole wheat flour for a nuttier flavor and heartier texture. Add 1 extra tbsp Ice Water because whole wheat absorbs more liquid. This is my go-to for rustic galettes.
Lemon Zest Twist
Add 1 tbsp finely grated lemon zest to the flour mixture for a bright, citrusy note. This variation sings with berry fillings. I use Meyer lemons when I can find them at farmers markets—they’re sweeter and more floral.
Spiced Chocolate Crust
For chocolate pies, add 2 tbsp cocoa powder and ¼ tsp cayenne pepper to the dry ingredients. The subtle heat from the cayenne enhances the chocolate’s depth. This one always impresses at local BBQ competitions. 🔥
Cheese and Herb
Add ½ cup finely grated Parmesan and 1 tbsp chopped fresh thyme to the flour mixture. This creates a crust with incredible umami depth, perfect for tomato or spinach pies. The Parmesan also helps the crust brown beautifully.
Nutrition Facts
Frequently Asked Questions
Can I use shortening instead of butter?
Yes, but butter gives superior flavor and flakiness. Use the same amount of cold shortening, though the texture will be slightly different. Butter creates that classic golden crust everyone loves.
Why is my crust tough?
Overworking the dough or using warm ingredients causes toughness. Handle the dough as little as possible and keep everything ice-cold for best results. Resting the dough is equally important.
How do I fix a cracked crust?
Patch small cracks with extra dough, pressing gently to seal. For larger cracks, use a bit of ice water to help the patch adhere. This happens when the dough is too dry.
Can I make this ahead?
Prepare the dough up to 2 days ahead and refrigerate, or freeze for 1 month. Let it warm slightly before rolling for best results.

Trained in classic French technique but raised on slow-cooked ribs and spicy rubs, she blends culinary skill with smoke and soul.
- Recipe for Boneless Pork Chops in Cast Iron Skillet: Sear and Baste to Juicy Perfection - October 3, 2026
- Recipe for Boneless Cross Rib Roast: Slow-Roasted Beef with Herb Crust - October 3, 2026
- Hamburgers in Sauce Recipe Crock Pot: Slow-Cooked Savory Delight - October 3, 2026