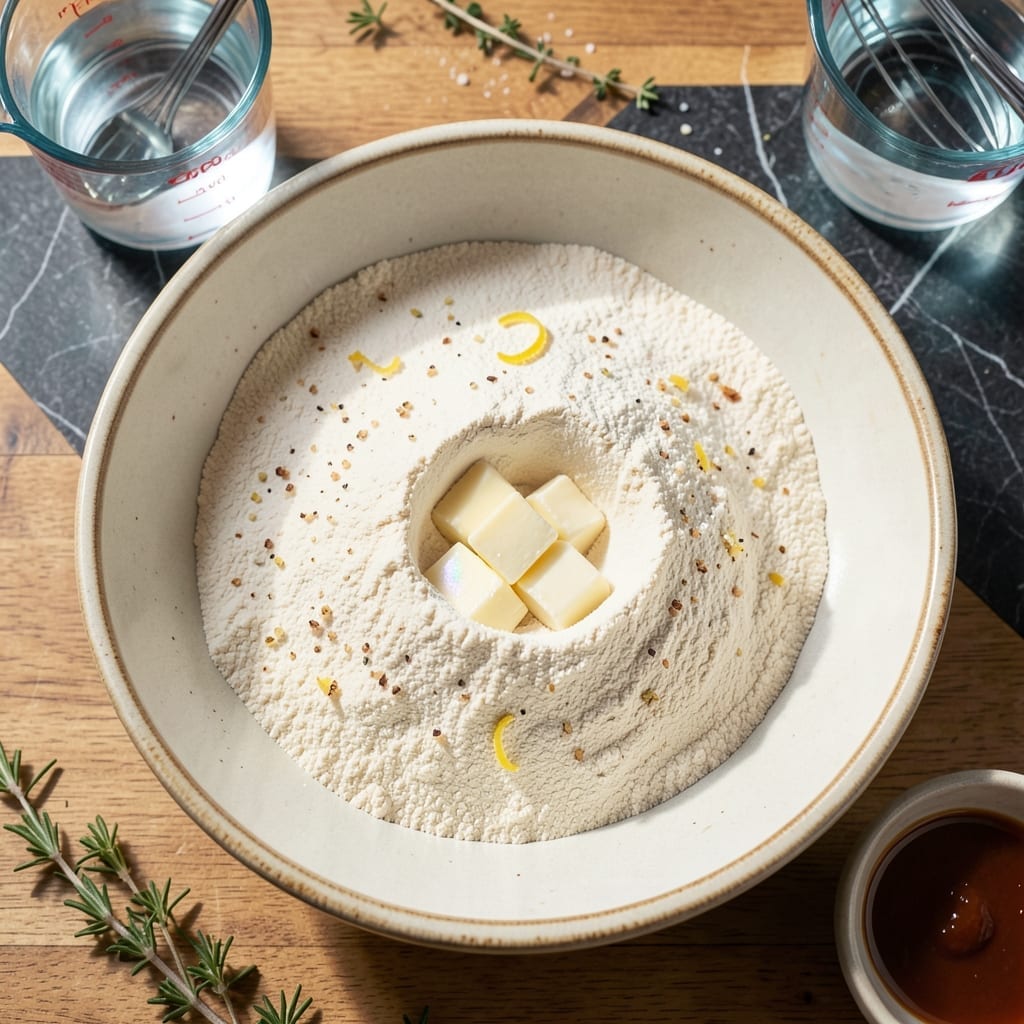
Achieving flaky pie crust without shortening is absolutely possible with a simple butter-only approach. This method delivers tender, layered results that rival any traditional recipe.
Cold butter creates steam as it melts, forming the pockets that make crust flaky. The key is handling the dough minimally and keeping ingredients chilled throughout the process.
Ingredients for Pie Crust Recipe No Shortening
Six essential ingredients create tender, layered pie crust without shortening. Butter does all the work.
| Ingredient | Amount | Notes |
|---|---|---|
| All-Purpose Flour 🌾 | 2 ½ cups | Sifted, plus extra for dusting |
| Unsalted Butter 🧈 | 1 cup | Cold, cut into small cubes |
| Ice Water 💧 | ½ cup | Plus 1 tbsp as needed |
| Granulated Sugar 🍚 | 1 tsp | Optional for sweet crusts |
| Sea Salt 🧂 | 1 tsp | Fine grain preferred |
| White Vinegar 🍋 | 1 tsp | Or lemon juice alternative |
[recipe_ingredient_scaler]
The butter is non-negotiable—cold, unsalted, and high-fat content (80% or higher). European-style butter like Plugrá or Kerrygold works beautifully here. The flour should be all-purpose, not bread flour (too much protein) or cake flour (too little). For best results, chill your mixing bowl and pastry cutter for 15 minutes before starting. Ice water is exactly that—cubes floating in water, not just cold tap.
No unsalted butter? Salted butter works but omit the added salt. For a richer flavor, try one-third cup lard (though this defeats the no-shortening purpose). The vinegar tenderizes the gluten—apple cider or white wine vinegar are fine substitutes. If your kitchen is warm, freeze the butter cubes for 10 minutes before incorporating. The sugar is optional but helps with browning.
The dough keeps 2-3 days wrapped tightly in the fridge. For longer storage, freeze for up to 3 months. Let it thaw overnight in the fridge before rolling. Baked crusts keep 1 week at room temperature in an airtight container.
Why You’ll Love This Recipe
- No Fuss Mixing: I just pulse butter and flour in the food processor, then stream in ice water—done in five minutes flat.
- Buttery Richness: The cold unsalted butter layers with the flour for that flaky, golden finish I crave.
- Endless Possibilities: Sweet pies, savory galettes, even hand pies—this crust handles whatever I’m baking that day.
- Budget Friendly: All-purpose flour and butter are pantry staples, so I’m not buying specialty ingredients just for crust.
Step-by-Step Instructions for Pie Crust No Shortening
Follow this precise method for achieving buttery, flaky layers without any shortening.
Step 1: Combine Dry Ingredients and Cold Butter
In a large mixing bowl, whisk together the 2.5 cups all-purpose flour, 1 tsp granulated sugar, and 1 tsp sea salt until evenly distributed. The sugar adds subtle sweetness, while the fine sea salt ensures even seasoning throughout the crust.
Add the 1 cup unsalted butter, which must be cold and cut into small cubes. Use a pastry cutter or your fingertips to work the butter into the flour until the mixture resembles coarse crumbs with pea-sized butter pieces visible. This creates the flaky texture by keeping the butter intact until baking.
Step 2: Incorporate Liquid Ingredients Gradually
Create a well in the center of the flour-butter mixture. Add the 1 tsp white vinegar followed by 0.5 cup ice water, one tablespoon at a time. The vinegar tenderizes the gluten, while the cold water prevents the butter from melting prematurely.
Use a fork to gently mix the liquid into the dry ingredients until the dough just begins to come together. Avoid overworking—it should look shaggy with visible butter streaks. If it feels too dry, add the additional 1 tbsp ice water as noted in the ingredients list.
Step 3: Chill and Rest the Dough
Turn the dough onto a lightly floured surface and shape it into a disk without kneading. Wrap it tightly in plastic wrap and refrigerate for at least 1 hour, or up to 2 days. This resting period allows the gluten to relax and the butter to firm up, ensuring flakiness.
Chilling is non-negotiable for this butter-only crust. The cold dough holds its shape better during rolling and prevents the butter from leaking out, which would ruin the layered texture.
Step 4: Roll and Shape the Crust
On a floured surface, roll the chilled dough into a 12-inch circle, about ⅛-inch thick. Rotate the dough frequently and dust with flour as needed to prevent sticking. The visible butter streaks should remain intact—these create the flaky layers during baking.
Transfer the rolled dough to a pie dish, press it gently into the bottom and sides, and trim the edges to leave a ½-inch overhang. Fold the overhang under itself and crimp decoratively. For a pre-baked crust, dock the bottom with a fork and freeze for 15 minutes before baking at 375°F until golden brown.
Pro Tips For Making Pie Crust Recipe No Shortening
- Keep Butter Ice Cold: Cut your unsalted butter into small cubes and chill for 15 minutes before mixing—I learned this the hard way after ending up with a tough, greasy crust.
- Use Minimal Water: Add ice water one tablespoon at a time, just until the dough holds together. Too much water makes the crust tough and hard to roll out.
- Don’t Overwork Dough: Mix just until the flour is incorporated and small butter chunks remain visible. Overmixing develops gluten, which makes your crust dense instead of flaky.
- Chill Before Rolling: After shaping the dough, refrigerate it for at least 30 minutes. This prevents shrinking and ensures a crisp, layered texture when baked.
Essential Equipment for Great pie crust recipe no shortening
Pastry Cutter
A pastry cutter is essential for cutting cold butter into flour without warming it with your hands. I use the OXO Good Grips model—its sturdy wires make quick work of the butter while keeping my fingers clean. This tool ensures even distribution of butter for maximum flakiness. 💪
Rolling Pin
Invest in a French-style tapered rolling pin for the best control. The J.K. Adams maple wood version is my go-to. Unlike traditional pins with handles, this style gives you more pressure and precision for rolling dough to an even ⅛-inch thickness.
Marble Slab
For rolling, a chilled marble slab keeps the dough cold as you work. I place mine in the freezer for 15 minutes before use. Marble’s natural coolness prevents butter from melting, which is critical for maintaining those flaky layers.
Pie Dish
A 9-inch glass pie dish like Pyrex is ideal—it conducts heat evenly and lets you monitor browning. The transparent glass helps me check the bottom crust’s color without lifting it. Avoid dark metal pans, which can cause over-browning.
Bench Scraper
A stainless steel bench scraper helps lift and turn dough while rolling. The Ateco brand is my favorite for its sharp edge and comfortable grip. It also makes quick work of trimming excess dough from the pie dish edges. 🔥
Plastic Wrap
Use heavy-duty plastic wrap for chilling the dough disk. I prefer Glad ClingWrap because it sticks tightly, preventing air from drying out the dough. Press it directly onto the surface before refrigerating to maintain moisture.
Nutrition Facts
Frequently Asked Questions
Can I use margarine instead of butter?
Margarine works but may affect texture and flavor. Stick margarine with at least 80% fat content mimics butter best. For optimal results, use cold, high-quality butter as directed.
Why does the dough need to rest?
Resting relaxes the gluten and rechills the butter. This prevents shrinking during baking and ensures flaky layers. Skip this step, and you risk a tough crust.
What if my kitchen is warm?
Chill your bowl, tools, and even the flour for 15 minutes first. Work quickly and return dough to the fridge if it softens. Cold is key!
Can I make this ahead?
The dough keeps 2-3 days refrigerated or 3 months frozen. Thaw overnight in the fridge before rolling.

Trained in classic French technique but raised on slow-cooked ribs and spicy rubs, she blends culinary skill with smoke and soul.
- Hamburgers in Sauce Recipe Crock Pot: Slow-Cooked Savory Delight - October 3, 2026
- Sanjeev Kapoor Egg Biryani Recipe: Fragrant Spiced Rice With Boiled Eggs - October 3, 2026
- Recipe for French Pork Spread Gorton: Savory Gallic Flavors in a Spreadable Delight - October 3, 2026