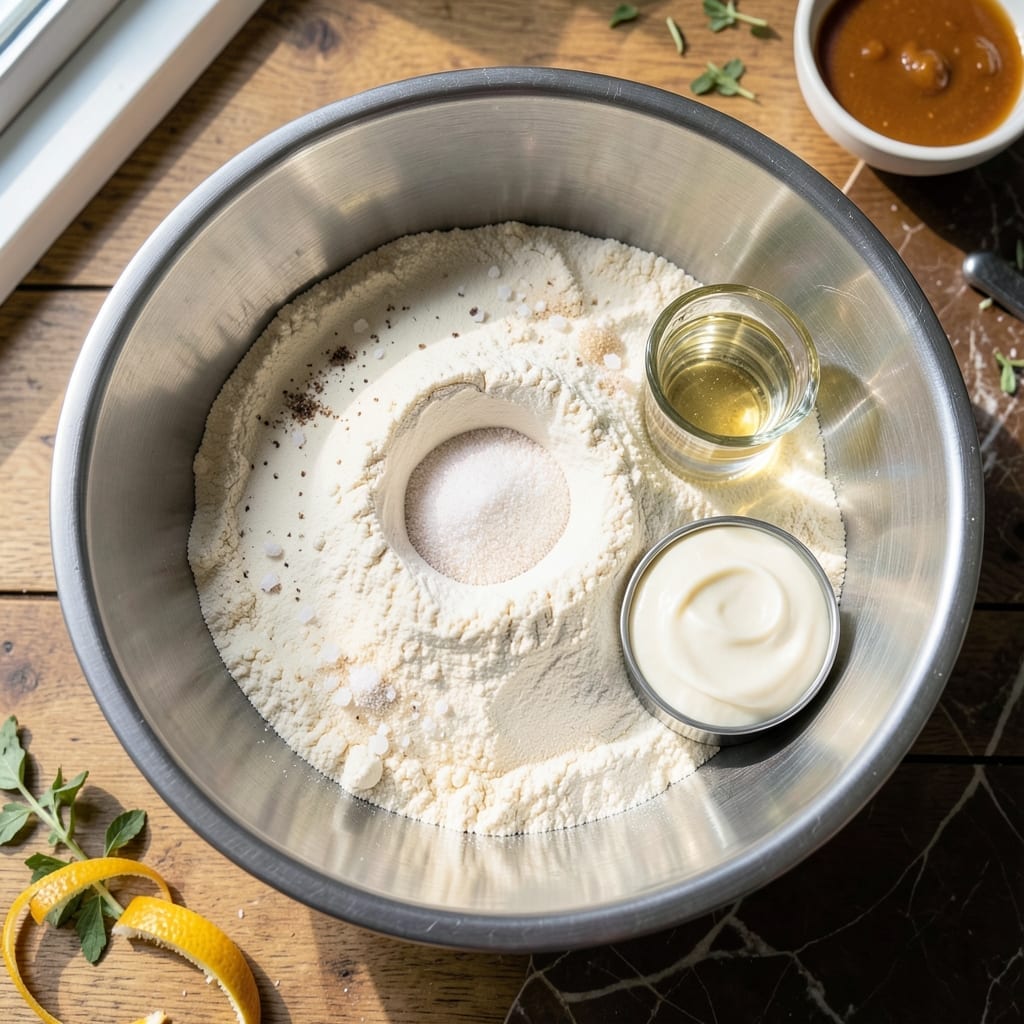
Achieving flaky pie crust requires precision, and vegetable shortening delivers the perfect neutral base for consistent results. This method ensures layers that separate beautifully with every bite.
With simple ingredients and proper technique, you’ll create a crust that holds its shape while maintaining a tender, delicate texture. The key lies in keeping everything cold and handling the dough minimally.
Ingredients for Pie Crust Recipe Vegetable Shortening
Precision matters here. Cold fats and minimal handling create those coveted flaky layers in every bite.
| Ingredient | Amount | Notes |
|---|---|---|
| All-Purpose Flour 🌾 | 2 ½ cups | Sifted for even texture |
| Vegetable Shortening 🧈 | ¾ cup | Cold, cut into small cubes |
| Fine Sea Salt 🧂 | 1 tsp | Diamond Crystal preferred |
| Granulated Sugar 🍚 | 1 tbsp | Optional for sweet crusts |
| Apple Cider Vinegar 🍏 | 1 tbsp | Cold, for tenderness |
| Ice Water 💧 | ½ cup | Plus 1-2 tbsp as needed |
| Unsalted Butter 🧈 | ¼ cup | Cold, optional for flavor |
| Baking Powder 🧂 | ¼ tsp | For extra flakiness |
[recipe_ingredient_scaler]
The fat is everything. Vegetable shortening (like Crisco) gives that neutral base and high melting point for stability, but butter adds flavor—use a mix if you want both. King Arthur Flour is my go-to for consistency. Keep the shortening and butter icy cold; warm fat = tough crust. Ice water prevents gluten development, so don’t skip it.
No shortening? Lard works (though not vegetarian), or use all butter—just chill it well and work fast. The vinegar tenderizes; lemon juice works too. For a sweeter crust, bump the sugar to 2 tbsp. If you’re gluten-free, swap in a 1:1 GF blend (like Bob’s Red Mill), but add 1 tsp xanthan gum for structure.
Dough keeps 2-3 days wrapped tightly in the fridge, or freeze for 3 months. Roll it cold and handle minimally—overworking develops gluten. Blind-bake for pre-filling, or fill and bake as directed. Always dock the crust (prick with a fork) to prevent bubbles.
Why You’ll Love This Recipe
- No-Fuss Mixing: I just cut the cold shortening into the flour with a fork—no pastry cutter, no stress.
- Flaky Perfection: That touch of vinegar keeps it tender, and the shortening makes layers that actually crackle.
- Endless Possibilities: Sweet or savory, it holds up to fruit pies, quiches, even hand pies for lunchboxes.
- Budget Friendly: A cup of shortening costs pennies and makes multiple crusts. Honestly, it’s my cheapest baking win.
Step-by-Step Instructions for Pie Crust with Vegetable Shortening
Master the technique for creating perfectly flaky layers with this reliable method.
Step 1: Combine Dry Ingredients and Cold Fat
In a large mixing bowl, whisk together the 2.5 cups All-Purpose Flour, 1 tsp Fine Sea Salt, 1 tbsp Granulated Sugar, and 0.25 tsp Baking Powder until evenly distributed. This ensures uniform texture and flavor throughout the crust.
Add the 0.75 cup Vegetable Shortening (cold, cut into small cubes) and 0.25 cup Unsalted Butter (also cold and cubed). Using a pastry cutter or your fingertips, work the fat into the flour mixture until the texture resembles coarse crumbs with pea-sized pieces of shortening and butter visible. This step creates the pockets that will transform into flaky layers during baking.
Step 2: Add Liquid Ingredients for Tenderness
Create a well in the center of the flour-fat mixture. Pour in the 1 tbsp Apple Cider Vinegar and 0.5 cup Ice Water. The vinegar tenderizes the gluten, while the ice water prevents the fat from melting prematurely, preserving the flaky structure.
Using a fork, gently mix the liquid into the dry ingredients, starting from the center and working outward. Stop mixing as soon as the dough begins to come together—overworking will develop gluten and result in a tough crust. The dough should look shaggy with visible streaks of fat.
Step 3: Shape and Chill the Dough
Turn the dough out onto a lightly floured surface and divide it into two equal portions. Shape each into a disk about 1 inch thick by gently pressing the edges together. Avoid kneading or handling the dough excessively to maintain those precious flaky layers.
Wrap each disk tightly in plastic wrap and refrigerate for at least 1 hour, or up to 2 days. Chilling relaxes the gluten and firms up the fat, making the dough easier to roll out and ensuring maximum flakiness. This resting period is non-negotiable for professional results.
Step 4: Roll and Fit the Crust
Remove one disk of dough from the refrigerator and let it sit at room temperature for 5-10 minutes to soften slightly. On a lightly floured surface, roll the dough into a 12-inch circle, about ⅛ inch thick, rotating the dough a quarter turn after each roll to prevent sticking.
Transfer the rolled dough to a 9-inch pie dish by folding it in half, then in quarters, and placing the point in the center of the dish. Unfold the dough and gently press it into the bottom and up the sides, allowing any excess to hang over the edge. For a pre-baked crust, prick the bottom all over with a fork and freeze for 15 minutes before baking to prevent shrinking.
Pro Tips For Making Pie Crust Recipe Vegetable Shortening
- Chill the Shortening: Cut the vegetable shortening into the flour straight from the fridge—warm shortening blends too much and makes the crust tough. I learned this the hard way after my first three pies came out dense.
- Add Vinegar Last: Mix the apple cider vinegar into the ice water just before adding it to the dough. Sounds weird, but it works: keeps the gluten from overdeveloping and gives you a flakier crust.
- Skip the Overworking: Stop mixing as soon as the dough comes together, even if it looks a little shaggy. After burning three batches, I finally figured out that overworking the dough is the fastest way to a chewy pie crust.
- Rest Before Rolling: Give the dough a solid 30 minutes in the fridge before rolling it out—this relaxes the gluten and makes it way easier to handle. My grandmother swore by this, and she was right.
Perfect Pairings for pie crust recipe vegetable shortening
Classic Fruit Pies
This crust excels with apple or peach pie—the neutral shortening base lets the fruit flavors shine. I love pairing it with a scoop of vanilla bean ice cream for a timeless combination. The flaky layers hold up beautifully to juicy fillings. 🍏
Custard Fillings
For pumpkin pie or pecan pie, pre-bake the crust to prevent sogginess. The shortening’s high melting point creates a sturdy shell that won’t absorb liquid. I always brush the warm crust with a thin layer of egg white before adding filling for extra protection.
Savory Applications
Don’t limit this to desserts—it makes incredible pot pies or quiches. The flaky texture works just as well with chicken pot pie as it does with fruit. I’ve even used it for handheld empanadas with great success.
Beverage Pairings
Serve warm fruit pies with hot coffee or spiced chai to complement the buttery crust. For custard pies, a glass of Moscato or riesling cuts through the richness beautifully. I always keep a French press ready when serving pie. ☕
Topping Ideas
Fresh whipped cream or a dusting of powdered sugar elevates any pie. For a special touch, try caramel drizzle or chocolate ganache on apple or pecan pies. I like to toast sliced almonds for extra crunch on fruit pies.
Storage Tips
Unbaked crust disks freeze beautifully for up to 3 months—just thaw overnight in the fridge. Baked pies keep at room temperature for 2 days or can be refrigerated for up to 5 days. Always reheat in a 350°F oven for 10-15 minutes to restore crispness.
Frequently Asked Questions
Why use shortening instead of butter?
Shortening has a higher melting point, creating more stable layers. It also has a neutral flavor, letting your filling shine. Butter adds taste but can make the crust less flaky.
How cold should the ingredients be?
Keep everything ice cold—shortening, butter, and water. Cold fat prevents melting before baking, ensuring maximum flakiness. Chill your mixing bowl too for best results.
Can I make this ahead of time?
Yes! Wrap dough disks tightly and refrigerate for 2 days or freeze for 3 months. Thaw overnight in the fridge before rolling.
What if my crust shrinks when baking?
Shrinking happens when gluten develops too much. Avoid overworking the dough and always chill it before rolling. Docking (pricking) the base helps prevent bubbles.
Nutrition Facts

Trained in classic French technique but raised on slow-cooked ribs and spicy rubs, she blends culinary skill with smoke and soul.
- Recipe for Boneless Pork Chops in Cast Iron Skillet: Sear and Baste to Juicy Perfection - October 3, 2026
- Recipe for Boneless Cross Rib Roast: Slow-Roasted Beef with Herb Crust - October 3, 2026
- Hamburgers in Sauce Recipe Crock Pot: Slow-Cooked Savory Delight - October 3, 2026