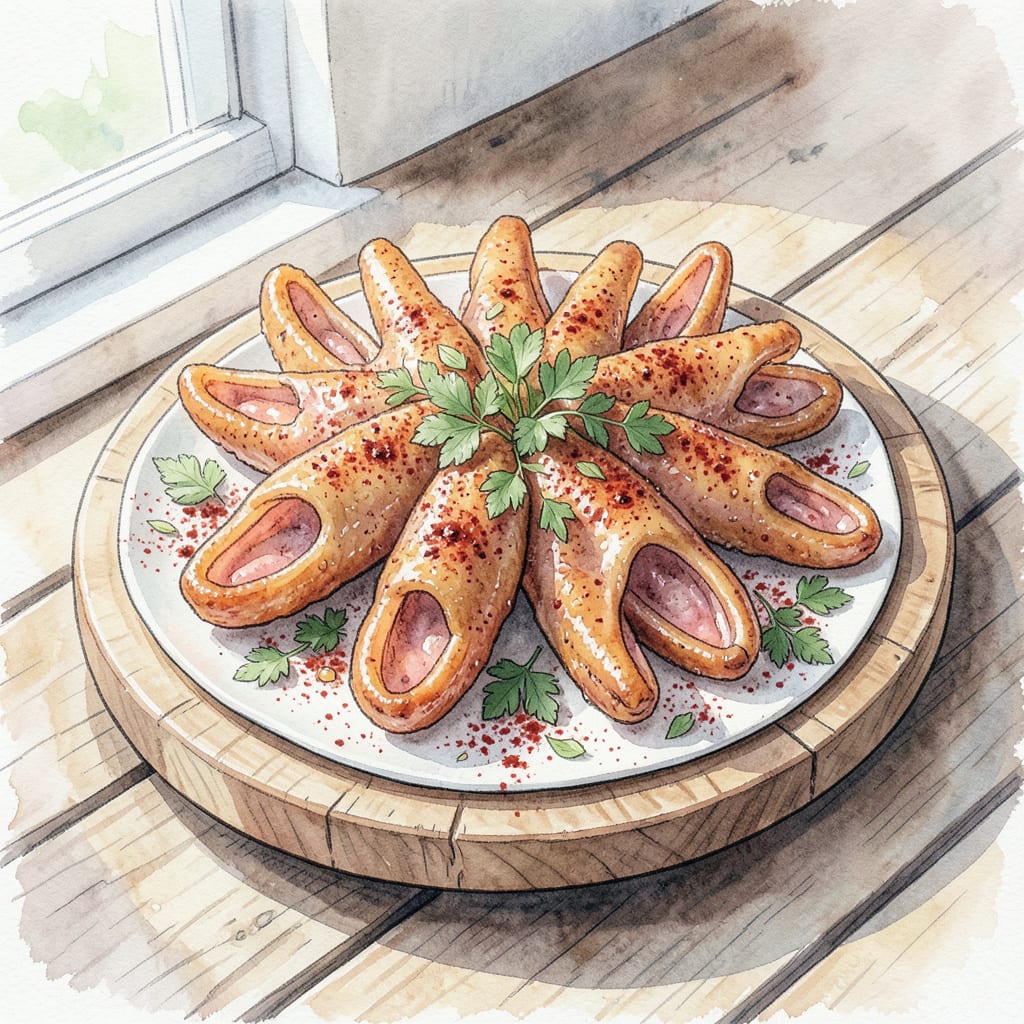
Crispy fried pig ears bring a taste of Southern comfort to your table. 🔥 I’ve perfected this recipe through years of experimenting with different marinades and cooking techniques, resulting in a crispy exterior that gives way to tender, unctuous meat.
To achieve this crispy delight, we’ll marinate the pig ears in a blend of spices and herbs, then dredge them in a seasoned flour mixture before frying to a golden brown perfection. The result is a dish that’s both familiar and adventurous, perfect for those looking to try something new.
Ingredients for Pig Ears
Gather these Southern comfort ingredients for a crispy fried treat that’s sure to impress.
| Ingredient | Amount | Notes |
|---|---|---|
| Pig Ears 🐖 | 4 whole | Cleaned, trimmed for best results |
| All-Purpose Flour 🌾 | 2 cups | For dredging, all-purpose works best |
| Paprika 🌶️ | 2 tbsp | Smoked or sweet, adds depth |
| Garlic Powder 🧄 | 1 tbsp | For extra flavor in coating |
| Onion Powder 🧅 | 1 tbsp | Adds savory complexity |
| Cayenne Pepper 🔥 | ½ tsp | Adjust for desired heat |
| Salt 🧂 | 1 tbsp | Kosher salt preferred for texture |
| Black Pepper 🌶️ | 1 tsp | Freshly ground for best flavor |
| Buttermilk 🥛 | 2 cups | For marinating, helps tenderize |
| Vegetable Oil 🫒 | 1 cup | For frying, use neutral oil |
| Fresh Parsley 🌿 | ¼ cup | Chopped, for garnish |
| Hot Sauce 🔥 | 2 tbsp | Optional, for serving |
[recipe_ingredient_scaler]
Pig ears can be found at specialty butcher shops or some Asian markets. If you’re having trouble sourcing them, consider asking your local butcher to order some. They might need a few days’ notice, so plan ahead. Look for ears that are firm and have a good layer of fat—this is where the flavor is.
No buttermilk? Mix 1 cup milk with 1 tbsp white vinegar or lemon juice—let it sit for 5-10 minutes to curdle. The cayenne can be adjusted or omitted if you prefer less heat. For an extra crispy coating, try chilling the dredged pig ears in the fridge for 30 minutes before frying. If you’re out of paprika, a mix of cumin and chili powder can work as a substitute.
Leftover fried pig ears can be stored in an airtight container in the fridge for up to 3 days. To reheat, bake in a 375°F oven until crispy again. Freeze unfried, coated pig ears on a baking sheet, then transfer to a freezer bag for up to 3 months—fry straight from frozen, adding a few extra minutes to the cooking time.
Step-by-Step Instructions for Crispy Fried Pig Ears
Here’s the method that’ll give you perfectly crispy pig ears every time.
👨🍳 Step 1: Prepare the Pig Ears for Marinating
Start by cleaning and trimming the 4 whole Pig Ears according to your preference. I like to remove any excess cartilage for a cleaner presentation. Once they’re prepped, place them in a large bowl or container and pour in the 2 cups Buttermilk. Make sure they’re fully submerged – if necessary, weigh them down with a plate. Cover and refrigerate for at least 2 hours or overnight for maximum tenderness.
The buttermilk marinade is crucial as it tenderizes the pig ears and helps the coating adhere better. You’ll notice they become more pliable and develop a tangy flavor after marinating.
👨🍳 Step 2: Create the Spicy Flour Coating
In a large shallow dish, combine the 2 cups All-Purpose Flour, 2 tbsp Paprika, 1 tbsp Garlic Powder, 1 tbsp Onion Powder, 0.5 tsp Cayenne Pepper, 1 tbsp Salt, and 1 tsp Black Pepper. Mix thoroughly until all the spices are evenly distributed throughout the flour. I like to use a whisk for this – it ensures there are no lumps and the spices are well incorporated.
The spice blend is where the magic happens. The combination of paprika, garlic, and onion powder creates that perfect Southern flavor profile that complements the richness of the pig ears.
🔥 Step 3: Dredge and Fry to Crispy Perfection
Heat the 1 cup Vegetable Oil in a deep fryer or large heavy pot to 350°F. While the oil is heating, remove the pig ears from the buttermilk marinade, letting any excess drip off. Dredge them in the flour mixture, pressing the coating onto the ears to ensure it adheres well. I find that a gentle press with my fingers works best.
Once the oil reaches 350°F, carefully place the coated pig ears in the hot oil. Fry for 8-10 minutes until they turn a deep golden brown and the coating becomes crispy. You’ll know they’re done when they float to the surface and the coating is crunchy. Drain on paper towels.
👨🍳 Step 4: Garnish and Serve with a Kick
Once the pig ears have drained slightly, transfer them to a serving platter. Sprinkle the chopped 0.25 cup Fresh Parsley over the top for a fresh contrast to the rich fried ears. If you’re feeling adventurous, serve with a side of 2 tbsp Hot Sauce for an extra kick. The heat from the hot sauce perfectly balances the savory flavors of the fried pig ears.
Serve immediately while they’re still hot and crispy. The combination of the crunchy exterior and tender interior will make these pig ears a crowd favorite.
Storing and Reheating This pig ears
Refrigerator Storage Tips
After frying, let the pig ears cool completely before storing them in an airtight container. They’ll keep in the refrigerator for up to 3 days. To maintain crispiness, store them in a single layer separated by paper towels. I like to use glass containers with tight-fitting lids. ❄️
Freezer Storage for Later
For longer storage, you can freeze the fried pig ears. Place them on a baking sheet in a single layer and freeze until solid, about 1-2 hours. Then transfer them to a freezer-safe bag or container. They’ll keep for up to 3 months. When you’re ready to eat them, you can reheat directly from frozen.
Reheating for Best Results
The best way to reheat fried pig ears is in the oven. Preheat to 375°F, place the ears on a baking sheet, and heat for 10-15 minutes until crispy. You can also reheat them in an air fryer at 350°F for 5-7 minutes for an extra crispy exterior. Avoid microwaving as it makes the coating soggy.
Tips for Maintaining Crispiness
To keep the coating crispy during reheating, make sure the pig ears are in a single layer on the baking sheet. Don’t overcrowd the sheet as this can cause them to steam instead of crisp up. If you’re reheating from frozen, add a few extra minutes to the cooking time. 🔥
Serving After Reheating
Once reheated, serve the pig ears immediately. You can garnish with additional fresh parsley and serve with a side of hot sauce if desired. The contrast between the crispy exterior and tender interior will still be delicious even after reheating.
Common Reheating Mistakes
Avoid using the microwave for reheating as it can’t restore the crispy texture. Also, don’t reheat at too high a temperature as this can burn the coating before the interior is fully heated. Stick to 375°F for best results.

Trained in classic French technique but raised on slow-cooked ribs and spicy rubs, she blends culinary skill with smoke and soul.
- Recipe for Boneless Pork Chops in Cast Iron Skillet: Sear and Baste to Juicy Perfection - October 3, 2026
- Recipe for Boneless Cross Rib Roast: Slow-Roasted Beef with Herb Crust - October 3, 2026
- Hamburgers in Sauce Recipe Crock Pot: Slow-Cooked Savory Delight - October 3, 2026