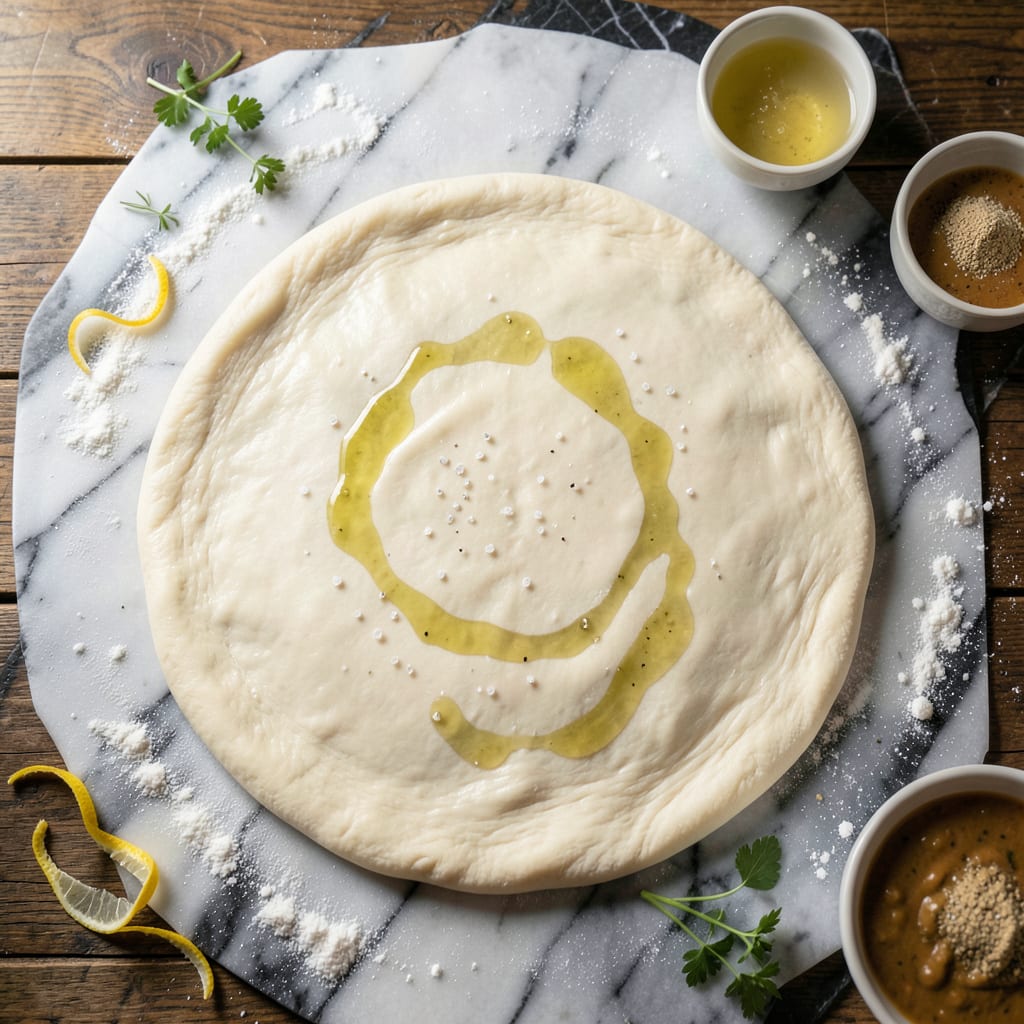
Grilling pizza dough transforms your backyard cookout into an Italian pizzeria experience. The high heat creates a char-kissed crust with perfect leopard spotting, while the smoky aroma elevates every topping.
This method requires minimal prep but delivers maximum flavor. The dough cooks in minutes, developing a crisp exterior and chewy interior that holds up to your favorite toppings.
Ingredients for Pizza Dough for Grilling
Pantry staples plus yeast create that perfect grilled crust with minimal effort.
| Ingredient | Amount | Notes |
|---|---|---|
| Bread Flour 🌾 | 3 ½ cups | High protein for chewy texture |
| Warm Water 💧 | 1 ¼ cups | 110-115°F for yeast activation |
| Active Dry Yeast 🍞 | 2 ¼ tsp | One packet plus extra |
| Extra-Virgin Olive Oil 🫒 | 2 tbsp | For dough elasticity |
| Fine Sea Salt 🧂 | 1 ½ tsp | Enhances flavor development |
| Granulated Sugar 🍚 | 1 tbsp | Feeds the yeast |
| Cornmeal 🌽 | ½ cup | For dusting and crispness |
| All-Purpose Flour 🌾 | ½ cup | For dusting work surface |
| Garlic Powder 🧄 | 1 tsp | Optional for flavor boost |
| Dried Oregano 🌿 | 1 tsp | Optional for Italian flair |
[recipe_ingredient_scaler]
The bread flour is non-negotiable here—King Arthur or Bob’s Red Mill give that chewy bite you want. Yeast should be fresh (check the expiration date). I grab mine in bulk at Whole Foods to save money. Warm water temp matters: too hot kills yeast, too cold slows activation. A kitchen thermometer is worth the $10 investment if you grill pizza often.
No bread flour? All-purpose plus 1 tbsp vital wheat gluten per cup gets you close. Out of yeast? This isn’t a no-yeast recipe—don’t bother with baking powder. Cornmeal can be fine or semolina (that’s what pizzerias use). The olive oil can be any neutral oil in a pinch, but extra-virgin adds flavor.
Dough keeps 2-3 days in the fridge (let it come to room temp before grilling). Or freeze balls of dough for up to 3 months—thaw overnight in the fridge. Always dust with cornmeal right before grilling to prevent sticking.
Why You’ll Love This Recipe
- Five-Minute Mix: I can have this dough ready while the grill heats up—just bread flour, yeast, and a glug of olive oil, no fancy steps.
- That Smoky Crisp: Grilling gives it a char-kissed edge and chewy center that my oven just can’t replicate.
- Backyard Party Hero: I’ve fed a crowd of 12 with one batch, stretching it thin for kids and thick for the adults.
- Penny-Pincher’s Dream: Bread flour and yeast cost pennies, and honestly, it tastes better than the $12 takeout dough I used to buy.
Step-by-Step Instructions for Pizza Dough for Grilling
This method delivers a crispy, charred crust that holds up perfectly on the grill.
Step 1: Activate the Yeast and Mix the Dough
In a large bowl, whisk together the 1.25 cups warm water, 1 tbsp granulated sugar, and 2.25 tsp active dry yeast. Let it sit for 5-7 minutes until the mixture becomes frothy and cloudy—this confirms the yeast is alive and active.
Add the 2 tbsp extra-virgin olive oil, 3.5 cups bread flour, 1.5 tsp fine sea salt, 1 tsp garlic powder, and 1 tsp dried oregano. Mix with a wooden spoon until a shaggy dough forms. The dough will be sticky at this stage, but that’s exactly what you want.
Step 2: Knead Until Smooth and Elastic
Turn the dough out onto a surface dusted with 0.5 cup all-purpose flour. Knead for 8-10 minutes by hand, adding more all-purpose flour as needed to prevent sticking. You’ll feel the dough transform from rough and shaggy to smooth and elastic.
Stop kneading once the dough springs back when gently pressed with your finger. This indicates the gluten has developed properly, which gives your crust that perfect chewy texture. The dough should be slightly tacky but not sticky.
Step 3: Let the Dough Rise Until Doubled
Lightly oil a clean bowl, place the dough inside, and cover it with a damp kitchen towel. Let it rise in a warm, draft-free spot for 1-2 hours, or until it has doubled in size. A properly risen dough will be puffy and jiggly when you gently shake the bowl.
If your kitchen is cool, you can extend the rise time to ensure the dough fully proofs. The warmth from the yeast activation will help speed up the process, but don’t rush it—this step is crucial for a light, airy texture.
Step 4: Shape and Prepare for Grilling
Punch down the risen dough to release the air and divide it into 4 equal portions for individual pizzas. On a surface dusted with 0.5 cup cornmeal, roll or stretch each portion into a ¼-inch thick round. The cornmeal not only prevents sticking but also adds a delightful crunch to your crust.
Let the shaped dough rounds rest for 10 minutes before grilling. This brief rest relaxes the gluten, making it easier to stretch and preventing the dough from shrinking back as it cooks. You’ll notice the dough becomes more pliable and cooperative after this short pause.
Pro Tips For Making Pizza Dough For Grilling
- Preheat the Grill: Get your grill screaming hot—at least 500°F—before the dough hits the grates. I learned this the hard way after my first few pizzas came out gummy instead of crisp.
- Use Bread Flour: Skip the all-purpose and stick with bread flour for that chewy, grill-worthy texture. The higher protein content actually changes the outcome, giving you a crust that holds up to the heat.
- Roll It Thin: Resist the urge to make thick dough—aim for 1/4-inch or less. After burning three batches, I finally figured out that thin dough cooks through without charring on the outside before the inside’s done.
- Oil the Grates: Brush the grill grates with olive oil right before adding the dough. Sounds weird, but it works: prevents sticking and gives you those perfect grill marks every time.
Storing and Reheating pizza dough for grilling
Refrigerator Storage
After grilling, let your pizza crusts cool completely before storing. Wrap each one tightly in plastic wrap or place in airtight containers and refrigerate. They’ll keep for up to 4 days at 40°F or below. 💡
Freezing for Later
For longer storage, freeze grilled crusts between layers of parchment paper in a zip-top bag. Squeeze out excess air to prevent freezer burn. These will last 2-3 months without losing texture or flavor.
Reheating on the Grill
To revive that smoky grill flavor, warm crusts directly on medium-high heat for 1-2 minutes per side. Keep a close eye—they’ll crisp up fast. Perfect for impromptu pizza nights on my coastal rides. 🔥
Oven Reheating
Preheat your oven to 375°F and place crusts on a baking sheet for 5-7 minutes. For extra crispiness, spritz with water before reheating. This method works great when I’m foraging wild herbs and need a quick meal.
Microwave Option
For a fast fix, microwave individual crusts on high power for 20-30 seconds. Place a paper towel underneath to absorb moisture. Not ideal for texture, but it’ll do in a pinch.

Trained in classic French technique but raised on slow-cooked ribs and spicy rubs, she blends culinary skill with smoke and soul.
- Recipe for Boneless Pork Chops in Cast Iron Skillet: Sear and Baste to Juicy Perfection - October 3, 2026
- Recipe for Boneless Cross Rib Roast: Slow-Roasted Beef with Herb Crust - October 3, 2026
- Hamburgers in Sauce Recipe Crock Pot: Slow-Cooked Savory Delight - October 3, 2026