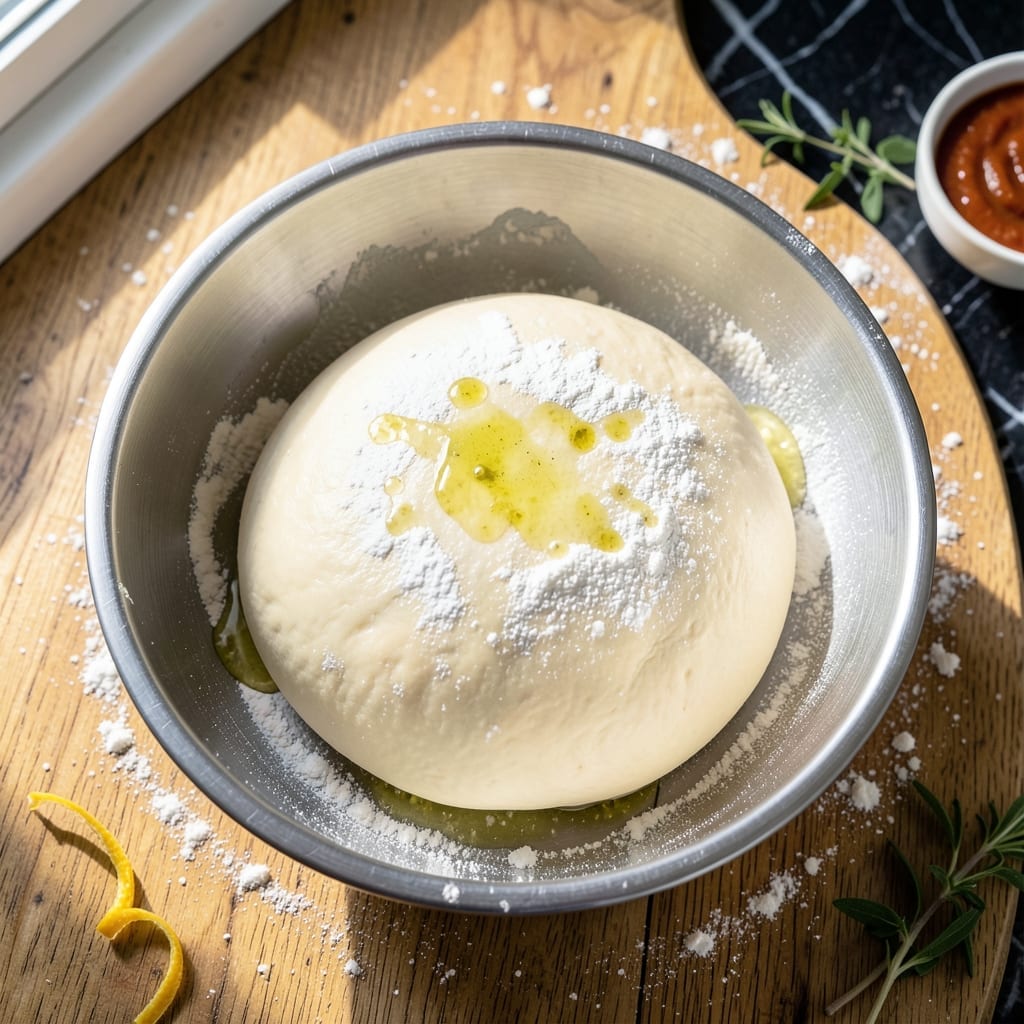
Making pizza dough in a bread machine eliminates the guesswork while delivering homemade results every time. This method takes advantage of your machine’s precision to create a perfectly elastic, flavorful base.
With just a few simple ingredients and your bread machine’s dough setting, you’ll have a smooth, workable dough ready for shaping. The result is a crust with the ideal balance of chewiness and crispness.
Ingredients for Pizza Dough Recipe Bread Machine
Pantry staples plus your bread machine. Nothing complicated, just good ingredients.
| Ingredient | Amount | Notes |
|---|---|---|
| Bread Flour 🌾 | 3 ½ cups | All-purpose works in pinch |
| Active Dry Yeast 🍞 | 2 ¼ tsp | Or one 0.25 oz packet |
| Granulated Sugar 🍚 | 1 tbsp | Feeds the yeast |
| Kosher Salt 🧂 | 1 ½ tsp | Diamond Crystal preferred |
| Extra-Virgin Olive Oil 🫒 | 2 tbsp | For tenderness and flavor |
| Lukewarm Water 💧 | 1 ¼ cups | About 110°F, not hot |
| Semolina Flour 🌾 | ¼ cup | For dusting work surface |
| Cornmeal 🌽 | 2 tbsp | For pizza peel dusting |
| Non-Fat Dry Milk 🥛 | 2 tbsp | Optional for browning |
| Dried Italian Seasoning 🌿 | 1 tsp | Optional for flavor boost |
[recipe_ingredient_scaler]
The flour is the foundation here. King Arthur Bread Flour gives you that perfect chew, but Gold Medal All-Purpose works if that’s what’s in the pantry. Yeast is yeast—just make sure it’s fresh (check the expiration date). I grab mine from Costco in bulk since it keeps well in the freezer. The olive oil? California Olive Ranch is my go-to for everyday cooking (solid quality, reasonable price).
No bread flour? All-purpose plus a tablespoon of vital wheat gluten per cup gets you close. Out of yeast? Instant yeast works the same—just skip the proofing step. The sugar can be swapped for honey (same amount), but stick with granulated for the most reliable results. Lukewarm water is key—too hot kills the yeast, too cold slows it down (think bathwater temp).
Store flour in airtight containers to keep bugs out. Yeast lasts 6-12 months unopened, 3 months once opened (freeze for longer life). The dough itself? Use within 24 hours or freeze for up to 3 months (thaw overnight in the fridge).
Why You’ll Love This Recipe
- Hands-Off Magic: I toss the ingredients in and let the machine do all the kneading—no sticky counters or sore arms.
- Crispy Chewy Perfection: The olive oil gives it that golden crust with just the right chew, every single time.
- Endless Possibilities: Homemade pizza night, garlic knots, or calzones—this dough handles it all without breaking a sweat.
- Budget-Friendly Staple: Bread flour and yeast cost pennies, and I get restaurant-quality dough without the delivery fee.
Step-by-Step Instructions for Pizza Dough Bread Machine
Here’s my foolproof method for perfect bread machine dough with minimal effort and maximum flavor.
Step 1: Layer Wet Ingredients in the Bread Pan
Start by adding the 1.25 cups lukewarm water to your bread machine pan. I always check the temperature with my finger—it should feel warm but not hot, around 110°F. Then pour in the 2 tbsp extra-virgin olive oil.
The order matters here. Liquids go in first to prevent the yeast from activating too early. If your machine has a specific order recommendation, follow that instead, but this sequence works for most standard models.
Step 2: Add Dry Ingredients and Yeast
Next, add the 3.5 cups bread flour, 2 tbsp non-fat dry milk, 1 tbsp granulated sugar, 1.5 tsp kosher salt, and 1 tsp dried Italian seasoning. Spread them evenly over the liquid layer.
Make a small well in the center of the flour mixture and add the 2.25 tsp active dry yeast. This separation ensures the yeast doesn’t come into direct contact with the liquid until the machine starts mixing, which could lead to premature activation or uneven rising.
Step 3: Select and Start the Dough Cycle
Secure the bread pan in your machine and select the dough cycle. Most machines have a specific setting for pizza dough, but the standard dough cycle works perfectly if yours doesn’t. Set the timer for 1 hour 30 minutes—this gives the dough enough time to rise properly.
Press start and let the machine do its work. You’ll hear the mixing begin immediately, followed by a resting period where the dough will rise. Resist the urge to open the lid during the cycle—maintaining a consistent temperature is crucial for proper yeast activation.
Step 4: Shape and Rest the Dough
When the cycle completes, turn the dough out onto a surface lightly dusted with 0.25 cup semolina flour. The dough should be smooth, elastic, and slightly tacky but not sticky. If it feels too sticky, add a bit more bread flour, 1 tbsp at a time.
Divide the dough into 4 equal portions for individual pizzas, or leave it whole for a large pie. Shape each portion into a ball, place them on a lightly floured surface, cover with a clean towel, and let rest for 15-20 minutes. This short rest makes stretching much easier.
Step 5: Prepare for Baking
After resting, shape your dough on a surface dusted with 2 tbsp cornmeal. This not only prevents sticking but adds a nice crisp texture to the crust. Stretch the dough gently with your hands or a rolling pin to your desired thickness.
If you’re using a pizza peel, sprinkle it with cornmeal before transferring the shaped dough. This makes sliding the pizza onto the hot stone or into the oven seamless. The dough is now ready for your favorite toppings and baking.
Pro Tips For Making Pizza Dough Recipe Bread Machine
- Warm the Water: Use 110°F water for the yeast—any hotter kills it, any cooler slows activation. I learned this the hard way after three flat doughs in a row.
- Measure Flour Right: Spoon bread flour into the measuring cup, then level it off—scooping straight from the bag packs it too tight and makes dense dough.
- Skip the Overproof: Let the dough rise in the machine until just doubled, about 45-60 minutes. Resist the urge to let it go longer or the texture turns spongy.
- Oil the Pan: Coat the bread machine pan with about 1 tablespoon olive oil before adding ingredients. Sounds simple, but it prevents sticking and makes cleanup a breeze.
Regional Styles of This Dish
New York Style
For a classic NY crust, use high-gluten flour like King Arthur Sir Lancelot instead of regular bread flour. The extra protein gives that signature chew. I also add 1 tbsp vital wheat gluten to boost elasticity. 🗺️
Neapolitan Thin Crust
Reduce the flour to 3 cups and use 1 cup warm water for a thinner base. Skip the dry milk but add 1 tbsp honey instead of sugar. This creates a more delicate, crisp crust that puffs at the edges.
Chicago Deep Dish
Increase the dough quantity by 50% (add 1.75 cups flour and ⅔ cup water). Add 2 tbsp cornmeal directly to the dough for extra crunch. Let it rise 2 hours in the pan before adding toppings.
Sicilian Focaccia Style
Add 1 tbsp olive oil to the dough and let it rise in a greased 9×13-inch pan for 1 hour. Press your fingers into the dough to create dimples before baking. This works great for sheet pan pizzas too.
Gluten-Free Adaptation
Replace bread flour with 3.5 cups gluten-free bread flour blend (I like King Arthur Measure for Measure). Add 1 tsp xanthan gum and increase water to 1.5 cups. The texture will be different but still delicious.
Nutrition Facts
Frequently Asked Questions
Can I use all-purpose flour instead of bread flour?
Yes, but add 1 tbsp vital wheat gluten per cup for better chew. Bread flour’s higher protein creates a more elastic dough. The result will still be tasty, just slightly less chewy.
How long should I let the dough rest before shaping?
Allow it to rest for 15-20 minutes after the bread machine cycle. This short rest relaxes the gluten, making the dough easier to stretch without springing back.
Can I make this dough ahead and refrigerate?
Store the shaped dough balls in an airtight container in the fridge for up to 24 hours. Cold fermentation actually enhances flavor development.
Why is my dough too sticky after the machine cycle?
This usually means too much liquid. Add bread flour 1 tbsp at a time until it reaches the right consistency. The dough should be tacky but not stick to your fingers.

Trained in classic French technique but raised on slow-cooked ribs and spicy rubs, she blends culinary skill with smoke and soul.
- Recipe for Boneless Pork Chops in Cast Iron Skillet: Sear and Baste to Juicy Perfection - October 3, 2026
- Recipe for Boneless Cross Rib Roast: Slow-Roasted Beef with Herb Crust - October 3, 2026
- Hamburgers in Sauce Recipe Crock Pot: Slow-Cooked Savory Delight - October 3, 2026