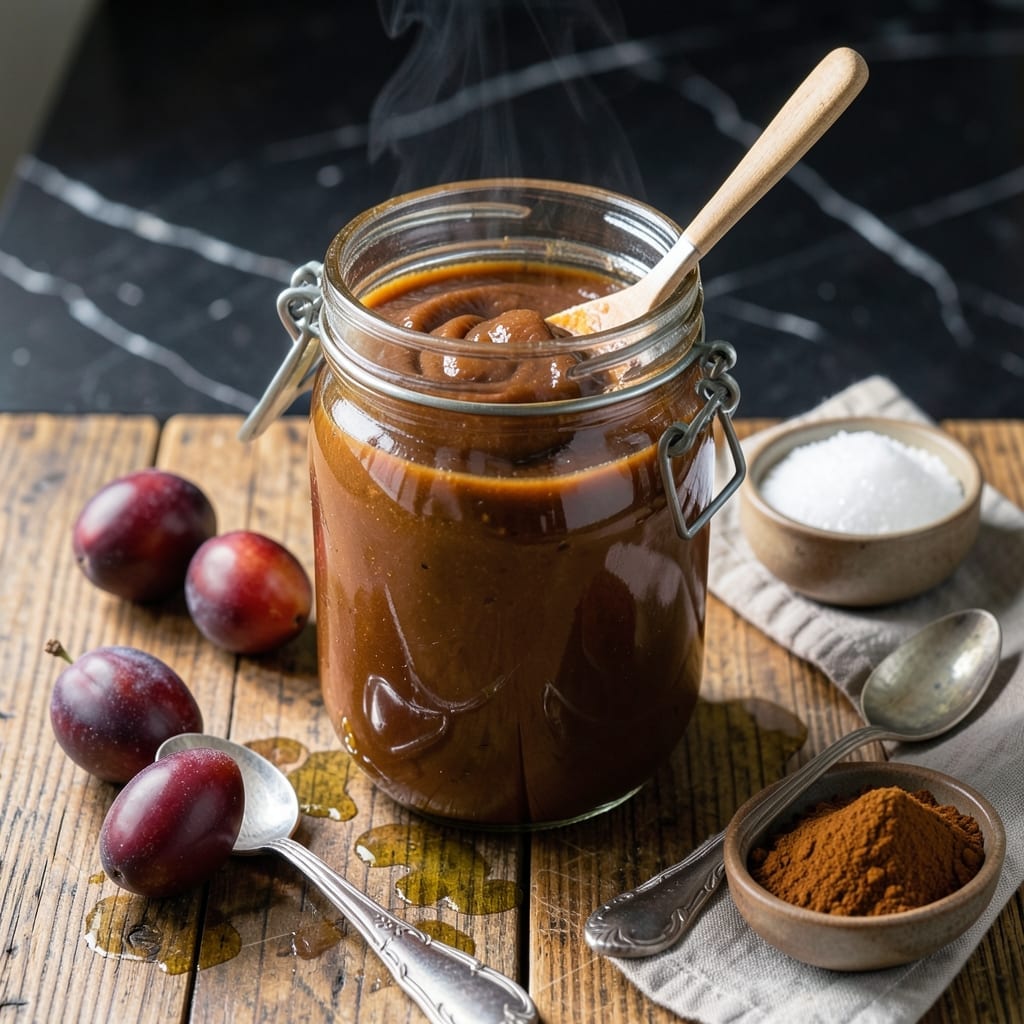
This smooth, velvety spread captures the essence of ripe plums transformed into a rich, spreadable delight. The slow cooking process intensifies the fruit’s natural sweetness while balancing it with a subtle tartness that makes it irresistible.
Perfect for preserving summer’s bounty, this recipe yields a shelf-stable butter that spreads beautifully on toast or pairs wonderfully with cheeses. The canning method ensures you can enjoy this flavor all year long.
Ingredients for Plum Butter Recipe for Canning
Eight ingredients transform ripe plums into a velvety, shelf-stable spread ready for canning.
| Ingredient | Amount | Notes |
|---|---|---|
| Ripe Plums 🍑 | 4 lb | Pitted, any sweet variety |
| Granulated Cane Sugar 🍚 | 2 cups | Adjust to taste for sweetness |
| Light Brown Sugar 🟤 | 1 cup | Packed, for depth of flavor |
| Fresh Lemon Juice 🍋 | ¼ cup | For acidity and balance |
| Ground Cinnamon 🌿 | 1 tsp | Optional, for warmth |
| Ground Cloves 🌶️ | ¼ tsp | Optional, for complexity |
| Vanilla Extract 🌿 | 1 tsp | Pure, not imitation |
| Water 💧 | ½ cup | To prevent sticking |
[recipe_ingredient_scaler]
For optimal results, select ripe but firm plums—overripe fruit breaks down too quickly. Stanley or Italian prune plums are traditional, but any sweet variety works. Source from farmers markets during peak season for the best flavor. The sugars are essential for preservation and texture, so avoid reducing them. Organic cane sugar is preferred for a cleaner taste.
No lemon juice? Lime juice or vinegar at equal amounts maintains the necessary acidity for canning safety. Short on spices? Allspice or nutmeg at half the amount adds warmth. For a smoother texture, strain the cooked butter through a fine-mesh sieve. The vanilla can be omitted, but it deepens the flavor profile significantly.
Store unopened jars in a cool, dark place for up to 1 year. Once opened, refrigerate and use within 3 weeks. The butter thickens as it cools, making it perfect for spreading. Always use sterilized jars and follow proper canning procedures to ensure shelf stability.
Why You’ll Love This Recipe
- One Pot Wonder: I toss everything in a single pot and let the stove do the work—no fancy equipment, just plums, sugar, and a little patience.
- Warm Spiced Sweetness: The cinnamon and caramel notes from the brown sugar make this spread taste like autumn in a jar.
- Gift-Worthy Staple: I can it in pretty jars for hostess gifts or holiday presents—everyone loves a homemade touch.
- Pantry Hero: A batch lasts me months, and it’s way cheaper than store-bought preserves with half the additives.
Step-by-Step Instructions for Plum Butter
This method ensures a smooth, deeply flavored spread with the perfect balance of sweetness and tartness.
Step 1: Prepare and Cook the Plums
Begin by pitting all 4 lb Ripe Plums and roughly chopping them. I prefer to leave the skins on for added texture and pectin, which helps thicken the butter naturally. Place the chopped plums in a large, heavy-bottomed pot.
Add the 0.5 cup Water to the pot to prevent the fruit from sticking as it begins to cook. Heat over medium-high until the mixture comes to a boil, then reduce the heat to medium-low and let it simmer for 10-12 minutes, stirring occasionally, until the plums soften and break down.
Step 2: Sweeten and Spice the Mixture
Once the plums have softened, stir in the 2 cups Granulated Cane Sugar, 1 cup Light Brown Sugar, 0.25 cup Fresh Lemon Juice, 1 tsp Ground Cinnamon, and 0.25 tsp Ground Cloves. The combination of granulated and brown sugar creates a complex sweetness, while the lemon juice balances the richness.
Return the mixture to a gentle boil, then reduce the heat to low. Stir in the 1 tsp Vanilla Extract at this stage to preserve its aromatic qualities. Continue cooking for 30-40 minutes, stirring frequently to prevent scorching, until the mixture thickens and the plums have completely broken down.
Step 3: Purée and Reduce to Desired Consistency
Remove the pot from the heat and allow the mixture to cool slightly. Using an immersion blender, purée the plum mixture until smooth. If you prefer a chunkier texture, you can skip this step or use a potato masher for a rustic finish.
Return the puréed mixture to low heat and continue cooking for another 20-30 minutes. Stir often, as the mixture will thicken significantly during this stage. You’ll know it’s ready when it holds its shape on a spoon and has a glossy, spreadable consistency.
Step 4: Test for Doneness and Adjust Flavor
To test for doneness, place a small spoonful of the plum butter on a chilled plate. If it thickens and doesn’t run when tilted, it’s ready. If it’s still too thin, continue cooking and retest every 5 minutes.
Taste and adjust the sweetness if needed, though the initial measurements should yield a well-balanced result. The flavors will deepen as it cools, so avoid over-sweetening at this stage.
Step 5: Prepare for Canning or Storage
Ladle the hot plum butter into sterilized jars, leaving ½-inch headspace at the top. Wipe the rims clean with a damp cloth to ensure a proper seal. Process the jars in a water bath for 10 minutes to preserve them for long-term storage.
For immediate use, let the plum butter cool to room temperature before transferring to airtight containers. It will keep in the refrigerator for up to 3 weeks or in the freezer for 6 months. The rich, spiced aroma will fill your kitchen, signaling a successful batch.
Pro Tips For Making Plum Butter Recipe For Canning
- Simmer Low and Slow: Cook the plums on medium-low heat for at least 45 minutes, stirring often—rushing with high heat burns the sugars before the fruit breaks down properly.
- Pit and Quarter: Remove all pits and quarter the plums before cooking; leaving pits in adds bitterness, and smaller pieces cook down faster and more evenly.
- Test for Thickness: I learned this the hard way—don’t rely on time alone. Spoon a bit onto a chilled plate; if it wrinkles when pushed, it’s ready for canning.
- Add Lemon Last: Stir in the fresh lemon juice during the final 10 minutes of cooking to preserve its bright flavor—adding it too early makes the butter taste flat.
Troubleshooting plum butter recipe for canning
🔥 Too Thin or Runny?
This usually happens if the plums weren’t cooked long enough or there was too much liquid in the fruit. Plum butter needs time for the natural pectin to thicken it.
Quick Fix: Return the mixture to the pot and simmer uncovered on low heat, stirring frequently, until it thickens. A spoon test (if it sheets off, it’s ready) works well.
🍳 Butter Separated or Greasy?
Overcooking or adding too much butter can cause the fats to separate. This often leaves a slick, unappetizing layer on top.
Quick Fix: Skim off excess fat with a spoon. For prevention, stir in butter gradually and avoid boiling the mixture too vigorously.
🥘 Mold or Fermentation in Jars?
Improper canning or sealing can introduce bacteria. If you see mold or bubbles after canning, the seal was likely compromised.
Quick Fix: Discard the affected jar. Ensure lids are sterilized, jars are filled while hot, and processing time is accurate for your altitude.
⏰ Uneven Color or Texture?
Using overripe or underripe plums can lead to inconsistent results. Variations in fruit ripeness affect both color and smoothness.
Quick Fix: Use a mix of ripe and slightly underripe plums. Blend thoroughly before cooking for a uniform texture and color.
Nutrition Facts

Trained in classic French technique but raised on slow-cooked ribs and spicy rubs, she blends culinary skill with smoke and soul.
- Recipe for Boneless Pork Chops in Cast Iron Skillet: Sear and Baste to Juicy Perfection - October 3, 2026
- Recipe for Boneless Cross Rib Roast: Slow-Roasted Beef with Herb Crust - October 3, 2026
- Hamburgers in Sauce Recipe Crock Pot: Slow-Cooked Savory Delight - October 3, 2026