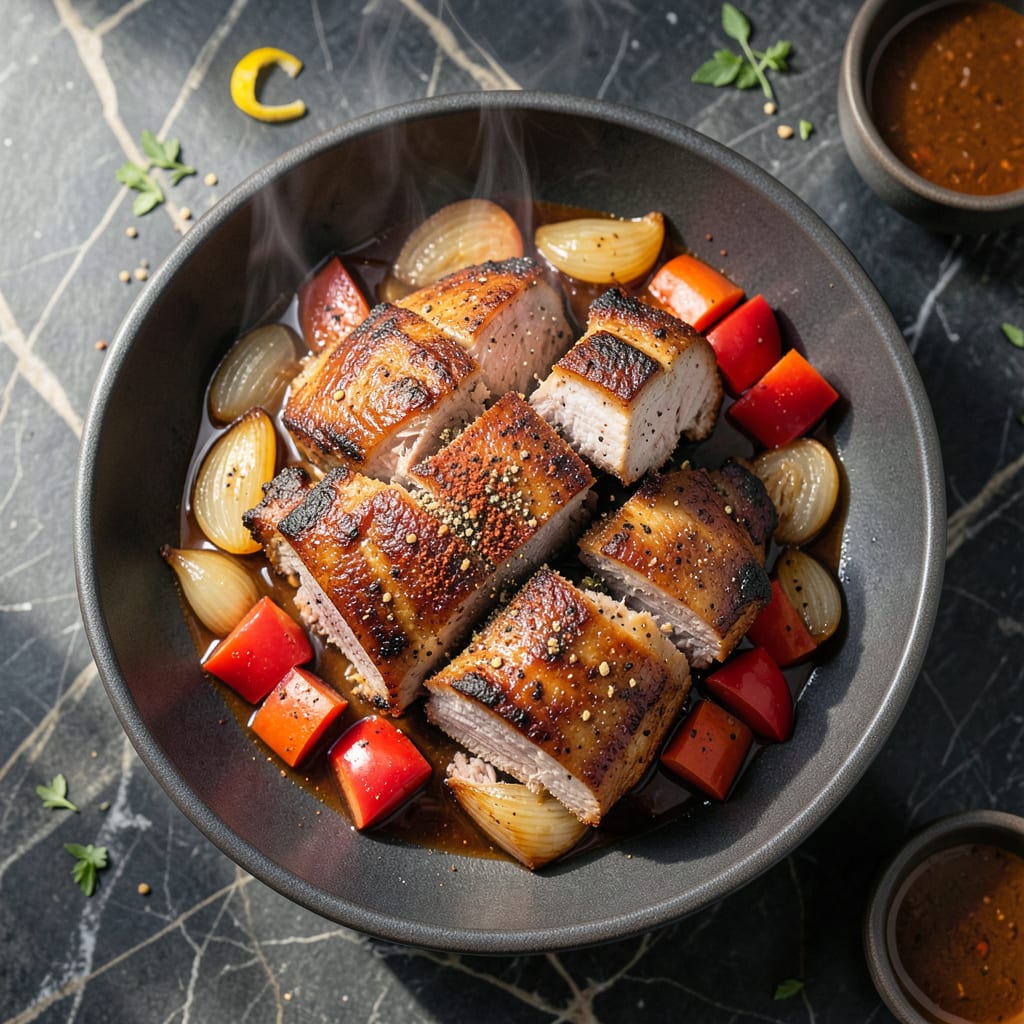
Growing up in Georgia, I learned that great pork requires patience—until I discovered the pressure cooker method that delivers tender results in a fraction of the time.
This approach transforms tough pork butt into fall-apart perfection without sacrificing depth of flavor. The key lies in proper seasoning, precise liquid ratios, and controlled pressure cooking.
What emerges is meat so tender it shreds with a fork, infused with smoky notes that belies its quick cooking time. The pressure cooker locks in moisture while breaking down connective tissue.
Ready to serve in sandwiches, tacos, or as a main course with your favorite sides. Here’s how to achieve professional results at home.
Ingredients for Pork Butt Pressure Cooker
Pantry staples meet a few fresh items for meat that falls apart beautifully.
| Ingredient | Amount | Notes |
|---|---|---|
| Pork Butt 🥩 | 3 lb | Boneless, cut into large chunks |
| Kosher Salt 🧂 | 2 tbsp | Diamond Crystal preferred for even seasoning |
| Black Pepper 🌶️ | 1 tbsp | Freshly ground for maximum flavor |
| Smoked Paprika 🌶️ | 2 tsp | For authentic smoky depth |
| Garlic Powder 🧄 | 1 tbsp | Not garlic salt substitute |
| Onion Powder 🧅 | 1 tbsp | Balances the seasoning blend |
| Brown Sugar 🍚 | ¼ cup | Light or dark, packed firmly |
| Apple Cider Vinegar 🍏 | ¼ cup | Adds tang and tenderizes meat |
| Chicken Stock 🥘 | 1 cup | Low-sodium preferred for control |
| Olive Oil 🫒 | 2 tbsp | For searing pork chunks |
| Yellow Onion 🧅 | 1 whole | Diced, for aromatic base |
| Liquid Smoke 🔥 | 1 tsp | Optional for extra smokiness |
[recipe_ingredient_scaler]
The pork butt is everything here. Look for good marbling—that fat renders down into pure flavor. I grab mine from Costco when they’ve got the big cuts, but any grocery store’s pork shoulder works (butt and shoulder are the same thing, just different names). Cut it into 2-inch chunks yourself—pre-cut pieces are often too lean. The Diamond Crystal kosher salt is my go-to for even seasoning without over-salting.
No smoked paprika? Regular paprika plus a pinch of chipotle powder gets you close. Swap apple cider vinegar for white vinegar in a pinch (just add a teaspoon of sugar to balance). Chicken stock can be vegetable broth if that’s what you’ve got. The brown sugar’s mostly for caramelization—honey works too (don’t tell the purists). Liquid smoke is optional but nice if you want that deep pit-smoked taste.
Raw pork keeps in the fridge for 3-4 days, but I like to cook it fresh. Leftovers? They reheat like a dream—shred and store in the cooking liquid for up to 5 days. Freezes beautifully for 3 months if you’re meal prepping.
Why You’ll Love This Recipe
- Set and Forget: I toss the pork butt in the pressure cooker with spices, seal it, and walk away—dinner practically makes itself.
- Smoky Depth: That smoked paprika and garlic powder combo gives the meat a rich, almost barbecue-like flavor without the grill.
- Feeds the Crew: I made this for a Sunday dinner with 8 people and everyone left full, with leftovers for sandwiches the next day.
- Budget Hero: Pork butt is cheap, and this recipe turns it into something that tastes like it cost twice as much.
Step-by-Step Instructions for Pork Butt Pressure Cooker
Here’s the method I rely on for fall-apart meat with deep flavor.
Step 1: Season and Sear the Pork Butt
Pat the 3 lb Pork Butt dry, then cut it into large chunks for even cooking. In a bowl, mix the 2 tbsp Kosher Salt, 1 tbsp Black Pepper, 2 tsp Smoked Paprika, 1 tbsp Garlic Powder, and 1 tbsp Onion Powder. Rub this blend all over the pork chunks, pressing it in so it adheres.
Heat the 2 tbsp Olive Oil in your pressure cooker on the sauté function. Sear the pork chunks in batches until deeply browned on all sides, about 3-4 minutes per side. Transfer to a plate and set aside.
Step 2: Build the Flavor Base
Add the diced Yellow Onion to the pressure cooker and sauté for 3-4 minutes until softened and lightly caramelized. Stir in the 0.25 cup Brown Sugar and cook for 1 minute to dissolve it slightly.
Deglaze the pot with the 0.25 cup Apple Cider Vinegar, scraping up all the browned bits from the bottom. Add the 1 tsp Liquid Smoke and 1 cup Chicken Stock, stirring to combine.
Step 3: Pressure Cook to Tender Perfection
Return the seared pork chunks to the pressure cooker, along with any accumulated juices. Secure the lid and set the valve to sealing. Cook on high pressure for 60 minutes for 3 lb Pork Butt.
Allow a natural pressure release for 15 minutes, then quick-release any remaining pressure. The pork is done when it shreds easily with a fork. Serve immediately for the most tender results.
Pro Tips For Making Pork Butt Pressure Cooker
- Sear the Butt: Brown the pork butt in batches before pressure cooking—about 4-5 minutes per side in a little oil. I learned this the hard way: skipping this step leaves the meat lacking depth, even with all those spices.
- Trim the Fat: Cut off large fat caps but leave a thin layer for flavor. Too much fat in the pressure cooker can make the sauce greasy, and nobody wants to skim that off later.
- Use Enough Liquid: Add at least 1 cup of broth or water to the pressure cooker—pork butt needs moisture to cook properly under pressure. After burning a batch, I finally figured out that dry heat isn’t the move here.
- Shred When Warm: Let the pork rest 10-15 minutes after cooking, then shred while it’s still warm. Sounds weird, but it works: cold pork butt just doesn’t pull apart as easily.
Essential Equipment for This Recipe
Pressure Cooker Choice
I swear by my Instant Pot Duo Crisp 11-in-1 for this—it has the sauté function for searing and reliable pressure control. The 6-quart size handles 3 lb Pork Butt perfectly. Any electric pressure cooker works, but avoid stovetop models for this recipe.
Searing Matters
A good sear builds flavor foundations. Use the sauté setting on normal heat, not high. I learned this the hard way when my first batch burned. The 2 tbsp Olive Oil should shimmer but not smoke when you add the pork.
Liquid Considerations
Never exceed the ⅔ max fill line—this recipe uses 1¼ cups total liquid (stock + vinegar), which is safe. The Apple Cider Vinegar helps tenderize while adding that tang we love in Southern cooking.
Release Valve
Natural release for 15 minutes prevents the meat from seizing up. I use this time to prep sides—cornbread works great. Quick-release the rest if you’re in a hurry, but natural gives better texture.
Serving Tools
Two forks make shredding effortless. I keep a pair of OXO Good Grips in my drawer just for pulled pork. The meat should pull apart with minimal pressure when done right. 💪
Cleanup Essentials
The pressure cooker insert soaks easily in warm, soapy water. I use Bar Keepers Friend for any stubborn browned bits. This method creates less mess than smoking, but that flavor base sticks a bit.
Nutrition Facts
Frequently Asked Questions
Can I use a smaller pressure cooker?
For this recipe, a 6-quart is ideal. A 3-quart won’t fit 3 lb of pork. If using a 5-quart, reduce meat to 2 lb maximum. Never exceed the ⅔ max fill line for safety.
What if my pork isn’t shredding easily?
It likely needs more time. Return to pressure cook for another 10-15 minutes, then natural release again. Undercooked pork resists shredding. Don’t rush the process for perfect texture.
Can I skip the searing step?
Technically yes, but you’ll lose depth of flavor. Searing creates the fond that builds rich taste. Takes just 3-4 minutes per side—worth the effort for professional results.
How do I store leftovers?
Shred and store in the cooking liquid in an airtight container. Keeps in fridge for 5 days or freezer for 3 months. Reheat gently to maintain moisture.

Trained in classic French technique but raised on slow-cooked ribs and spicy rubs, she blends culinary skill with smoke and soul.
- Recipe for Boneless Pork Chops in Cast Iron Skillet: Sear and Baste to Juicy Perfection - October 3, 2026
- Recipe for Boneless Cross Rib Roast: Slow-Roasted Beef with Herb Crust - October 3, 2026
- Hamburgers in Sauce Recipe Crock Pot: Slow-Cooked Savory Delight - October 3, 2026