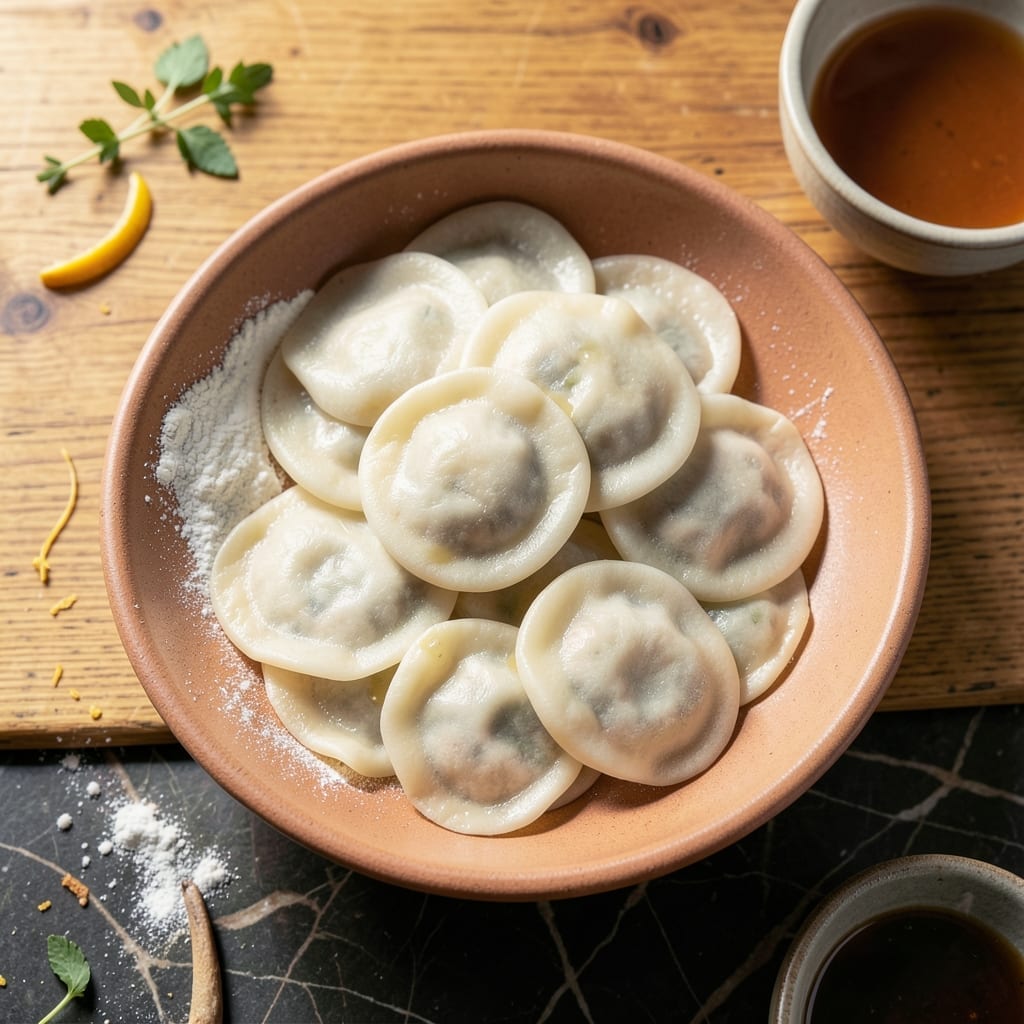
Homemade potsticker wrappers make all the difference in achieving that ideal perfect fold and texture. This recipe delivers thin, elastic dough that holds its shape during cooking without tearing.
With just a few simple ingredients and proper resting time, the dough becomes smooth and pliable. The key is kneading until silky, then letting it rest to develop the right consistency for rolling.
You’ll create wrappers that are sturdy enough to hold fillings yet delicate enough to cook to a tender finish. The process is straightforward but requires attention to detail for the best results.
Store extras in the refrigerator for up to three days or freeze for longer use. This foundation ensures your potstickers turn out restaurant-quality every time.
Ingredients for Potsticker Wrappers
Four simple ingredients create elastic dough for perfect potsticker folds every time.
| Ingredient | Amount | Notes |
|---|---|---|
| All-Purpose Flour 🌾 | 2 cups | Plus extra for dusting |
| Warm Water 💧 | ¾ cup | Approximately 110°F |
| Neutral Oil 🫒 | 1 tbsp | Vegetable or canola oil |
| Salt 🧂 | ½ tsp | Fine sea salt preferred |
[recipe_ingredient_scaler]
The flour is the foundation—King Arthur or Bob’s Red Mill all-purpose give the best texture. Look for unbleached if possible (it’s what most restaurants use). The water temp matters more than you think: too hot kills the gluten, too cold won’t activate it. I use a kitchen thermometer for precision, but you can test with your wrist—should feel warm, not hot (like a baby bottle).
No all-purpose? Bread flour works but makes the wrappers slightly chewier. Swap the neutral oil for melted coconut oil if you want a subtle flavor. The salt is flexible—kosher or sea salt both dissolve well. If your dough feels too dry, add water 1 tsp at a time. Too sticky? More flour, same approach.
Rest the dough at least 30 minutes before rolling—this relaxes the gluten. Wrapped tightly, it’ll keep in the fridge for 3 days or freeze for 2 months. Thaw frozen dough in the fridge overnight before using (don’t rush it).
Why You’ll Love This Recipe
- No Fuss Mixing: I just dump flour, warm water, a pinch of salt, and a splash of oil—no resting, no fancy steps, and the dough comes together in minutes.
- Pillowy Bite: The warm water makes them tender with a slight chew, exactly like the ones from my favorite takeout spot.
- Freezer Best Friend: I make a double batch, freeze the extras, and pull them out whenever I crave dumplings.
- Penny-Pincher Win: Flour and water cost almost nothing, and I skip store-bought wrappers without sacrificing quality.
Step-by-Step Instructions for Potsticker Wrappers
Follow this method precisely and you’ll achieve wrappers with the perfect balance of elasticity and thinness for expert folds.
Step 1: Create the Dough Base with Precision
In a large mixing bowl, combine the 2 cups All-Purpose Flour and 0.5 tsp Salt. I use fine sea salt as it dissolves more evenly. Create a well in the center of the flour mixture—this helps distribute the liquid ingredients consistently throughout the dough.
Pour the 0.75 cup Warm Water (approximately 110°F) into the well. The water temperature is crucial: too hot and it will kill the gluten development; too cold and it won’t activate properly. Use a chopstick or wooden spoon to gradually incorporate the flour into the water until a shaggy dough forms.
Step 2: Knead to Develop Elasticity
Turn the dough onto a lightly floured surface. Here’s the thing—you’ll need to knead for at least 8-10 minutes to develop the gluten properly. This creates that elastic quality that allows the wrappers to stretch without tearing when you’re pleating your potstickers.
Drizzle the 1 tbsp Neutral Oil over the dough about halfway through kneading. I prefer vegetable or canola oil as they have a neutral flavor that won’t compete with your filling. The oil makes the dough smoother and easier to work with while maintaining that perfect chew.
You’ll know the dough is ready when it’s smooth, elastic, and slightly tacky to the touch. If it feels too sticky, add a teaspoon of flour at a time, but don’t over-flour or the wrappers will be tough.
Step 3: Rest the Dough for Workability
Shape the kneaded dough into a ball and place it in a clean bowl. Cover with a damp kitchen towel or plastic wrap. Let it rest at room temperature for 30-45 minutes. This resting period allows the gluten to relax, making the dough much easier to roll out thinly.
During this time, the dough will also absorb any remaining moisture, ensuring uniform consistency. I’ve found that skipping this step results in wrappers that shrink back when rolled or tear during pleating. Don’t rush this—patience here ensures perfect results later.
Step 4: Roll and Cut the Wrappers
After resting, divide the dough into 4 equal portions (since this makes wrappers for about 4 servings). Work with one portion at a time, keeping the others covered to prevent drying. On a lightly floured surface, roll the dough as thin as possible—aim for about 1/16-inch thickness.
The thinner you can roll them while maintaining structural integrity, the better your potstickers will be. The dough should be nearly translucent when held up to light. Use a 3-3.5 inch round cutter to cut out the wrappers. Re-roll the scraps once to maximize yield, but avoid overworking as this can make the dough tough.
Dust the finished wrappers lightly with flour to prevent sticking, then stack them under a damp towel until ready to use. These wrappers are best used immediately but can be refrigerated for up to 24 hours in an airtight container with parchment between layers.
Pro Tips For Making Potsticker Wrappers
- Rest the Dough: After kneading, let the dough rest for at least 30 minutes under a damp towel—I learned this the hard way when my first batch kept shrinking while rolling.
- Use Hot Water: Warm water works, but near-boiling water makes the wrappers more pliable and less likely to crack when folding.
- Skip the Over-flouring: Dust your surface lightly, but resist the urge to add too much flour while rolling or the wrappers will turn tough and dry.
- Roll Thin, Not See-through: Aim for about 1/16-inch thickness—any thinner and they’ll tear, any thicker and they won’t cook evenly in the pan.
Dietary Considerations for These Flavors
Gluten-Free Option
Swap the All-Purpose Flour for a 1:1 gluten-free blend like King Arthur Measure for Measure. Add 1 tsp xanthan gum to improve elasticity. The dough will be slightly more delicate, so roll it between parchment paper. 💪
Vegan Adaptation
This recipe is naturally vegan as is—no animal products needed. Just ensure your filling ingredients align with vegan principles. I often use tofu and cabbage for a classic plant-based filling.
For extra richness, replace the water with unsweetened plant milk. This adds subtle flavor without compromising texture.
Low-Sodium Version
Simply reduce the Salt to ¼ tsp or omit entirely. The wrappers will still hold together well, though the flavor will be more neutral. I find the filling usually provides enough seasoning.
Whole Wheat Variation
Replace up to 50% of the All-Purpose Flour with whole wheat flour. The dough will be slightly denser but adds great nuttiness. You may need to add 1-2 tbsp extra warm water as whole wheat absorbs more liquid.
Allergen Note
This recipe contains wheat and gluten. For nut allergies, ensure your flour isn’t processed in facilities with nuts. The Neutral Oil is typically safe, but always verify with your brand. 💡
Nutrition Facts
Frequently Asked Questions
Can I use bread flour instead of all-purpose?
Yes, but the wrappers will be slightly chewier. Bread flour has more protein, creating a firmer texture. For best results, stick to all-purpose.
Why does my dough keep springing back when rolling?
The gluten hasn’t relaxed enough. Let the dough rest for the full 30-45 minutes before rolling. If it still resists, cover and rest another 15 minutes.
How do I prevent wrappers from sticking together?
Dust each wrapper lightly with flour and stack them with parchment paper between layers. Store in an airtight container until ready to use.
Can I make these wrappers in advance?
Refrigerate for up to 24 hours or freeze for 2 months. Thaw frozen dough in the fridge overnight before using.

Trained in classic French technique but raised on slow-cooked ribs and spicy rubs, she blends culinary skill with smoke and soul.
- Recipe for Boneless Pork Chops in Cast Iron Skillet: Sear and Baste to Juicy Perfection - October 3, 2026
- Recipe for Boneless Cross Rib Roast: Slow-Roasted Beef with Herb Crust - October 3, 2026
- Hamburgers in Sauce Recipe Crock Pot: Slow-Cooked Savory Delight - October 3, 2026