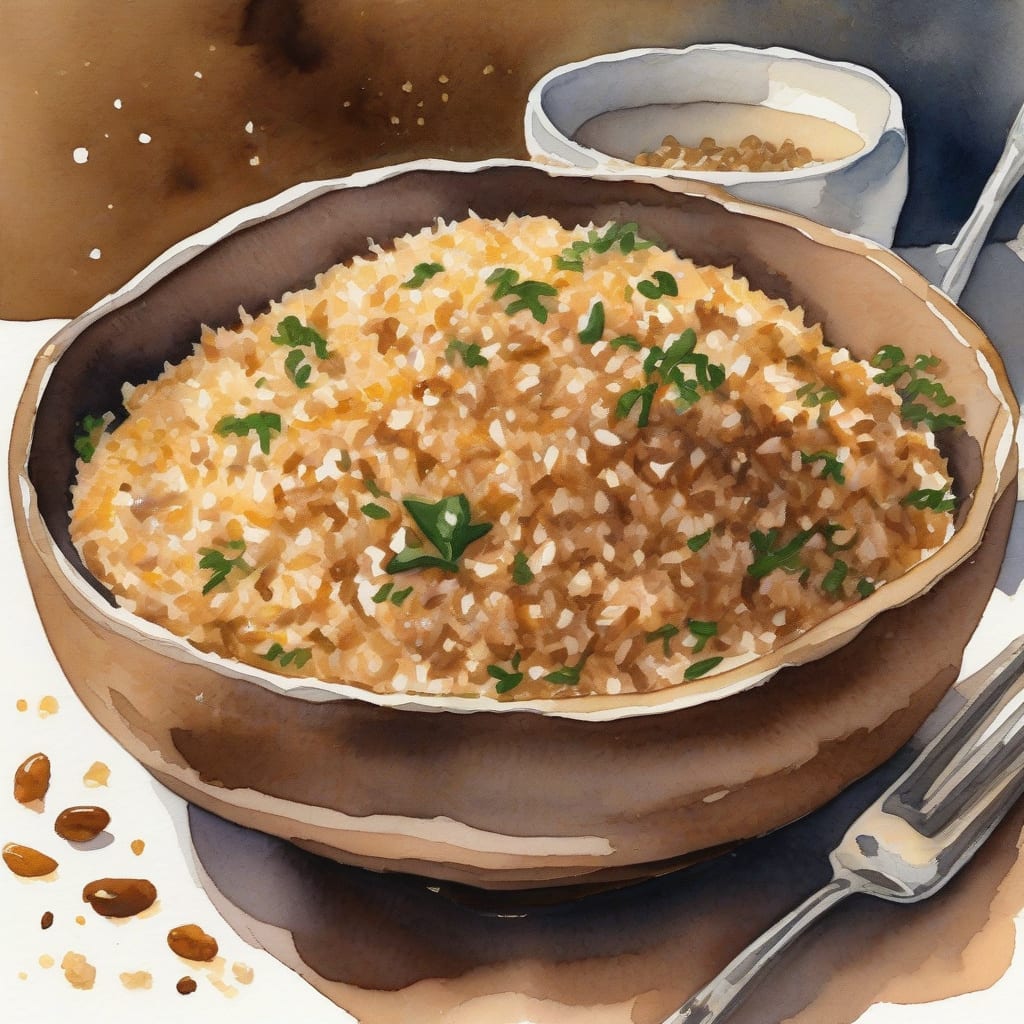
Puffed Brown Rice Recipe: Crunchy Snack Perfection in Minutes
I’ve perfected a simple puffed brown rice recipe that delivers crunchy snack perfection in minutes. 🔥 This easy-to-make treat is ideal for satisfying your cravings without compromising on nutrition. The key is achieving that perfect puff.
To start, you’ll need brown rice and a few basic kitchen tools. The process involves cooking the rice, drying it, and then puffing it using high heat. This technique ensures the rice puffs up nicely, creating a light and crunchy texture.
The result is a delicious and healthy snack that’s perfect for munching on the go. You can season it with your favorite spices or herbs for added flavor. This recipe is sure to become a staple in your snack rotation.
Let’s get started with the simple steps to make this crunchy puffed brown rice at home. With just a few minutes of preparation, you’ll have a tasty and nutritious snack ready to enjoy.
Ingredients for puffed brown rice
Here’s what you need to make this crunchy puffed brown rice recipe at home easily.
| Ingredient | Amount | Notes |
|---|---|---|
| Brown Rice 🍚 | 2 cups | Uncooked, short-grain preferred |
| Water 💧 | 4 cups | For cooking rice |
| Salt 🧂 | ¼ tsp | Optional, for flavor |
| Olive Oil 🫒 | 1 tbsp | For drying rice |
| Your Favorite Seasoning 🌶️ | 1 tsp | Optional, for added flavor |
[recipe_ingredient_scaler]
You can find brown rice at most grocery stores or health food stores like Whole Foods. Look for short-grain brown rice for the best results. For added flavor, consider using specialty salts like Himalayan pink salt or sea salt from trusted brands.
For a different flavor, try substituting the salt with other seasonings like garlic powder, paprika, or dried herbs. You can also experiment with different types of oil for varying flavors. Make sure the rice is completely dry before puffing to achieve the perfect crunch.
Store puffed brown rice in an airtight container to maintain its crunchiness. It stays fresh for up to 3 days at room temperature. For longer storage, consider keeping it in the refrigerator to preserve freshness.
Step-by-Step Instructions for Puffed Brown Rice
Let me guide you through making perfect puffed brown rice – crispy, flavorful, and ready in minutes.
🔥 Step 1: Cook the Brown Rice
Start by cooking the 2 cups of brown rice with 4 cups of water. I use a medium saucepan and bring the water to a boil over high heat. Once boiling, reduce the heat to low, cover, and simmer for about 40-45 minutes or until the water is absorbed and the rice is tender. Turn off the heat and let it sit covered for 5 minutes.
Fluff the cooked rice with a fork to separate the grains. This step is crucial as it prevents the rice from becoming mushy when dried later.
👨🍳 Step 2: Dry the Cooked Rice
Preheat your oven to 200°F. Spread the cooked brown rice on a parchment-lined baking sheet in a thin, even layer. I like to use a spatula to break up any clumps. Drizzle the 1 tablespoon of olive oil over the rice and sprinkle with 0.25 teaspoon of salt (if using). Toss gently to distribute evenly.
Bake for about 2 hours, stirring every 30 minutes, until the rice is completely dry and crispy. You’ll know it’s ready when the rice is hard and makes a cracking sound when pressed between your fingers.
🔥 Step 3: Puff the Dried Rice
Heat about 2-3 inches of oil (I use vegetable or peanut oil for their high smoke points) in a deep pot or deep fryer to 375°F. When the oil is hot, test it by dropping a single grain of rice – if it puffs immediately, the oil is ready.
Carefully add a handful of the dried rice to the hot oil. It will puff up instantly. Use a slotted spoon to remove the puffed rice from the oil and drain on paper towels. Repeat with the remaining dried rice.
👨🍳 Step 4: Season the Puffed Rice
While the puffed rice is still warm, sprinkle with 1 teaspoon of your favorite seasoning. I like to use a mix of spices or herbs that complement the nutty flavor of brown rice. Toss gently to coat evenly. Serve immediately for the best texture.
For longer storage, let the puffed rice cool completely before transferring to an airtight container. This keeps it crispy for up to 24 hours.
Are you ready to elevate your snack game? 🌟 Puffed brown rice is a delicious and healthy snack that’s incredibly easy to make at home. The best part? You can customize it to your taste with a variety of seasonings and spices!
🔪 Preparing the Brown Rice
To make puffed brown rice, you’ll need to start with cooked brown rice. If you’re using leftover rice, make sure it’s dry and not clumpy. You can also cook fresh rice and let it cool completely before proceeding.
🔥 Puffing the Rice
Heat a large pot or deep fryer with about 2-3 inches of oil (such as peanut or avocado oil) to around 375°F. Once the oil is hot, add a small handful of rice to the pot. The rice will start to puff up immediately. Use a slotted spoon to remove the puffed rice from the oil and drain off any excess oil on paper towels. Repeat with the remaining rice.
👨🍳 Seasoning the Puffed Rice
While the puffed rice is still warm, sprinkle your desired seasonings over the top. Some popular options include sea salt, garlic powder, chili powder, or dried herbs like thyme or oregano. You can also try sweet seasonings like cinnamon or cocoa powder for a different twist. Toss the puffed rice gently to distribute the seasonings evenly.
💡 Pro tip: Experiment with different seasoning combinations to find your favorite flavor! You can also add some grated cheese or chopped nuts for extra flavor and texture.
- Try making puffed brown rice with different types of oil, like coconut or olive oil, for unique flavors.
- Add some dried fruit, like cranberries or cherries, for a sweet and salty mix.
- Use puffed brown rice as a topping for salads or soups for added crunch.
Tips & Tricks for Perfect Puffed Brown Rice
These simple tips will help you achieve crunchy, flavorful puffed brown rice every time.
Cooking Rice to Perfection: In Step 1, make sure to fluff the cooked rice with a fork to separate the grains. This prevents clumping when drying. I also recommend using a medium saucepan to ensure even cooking.
Drying Technique Matters: When drying the rice in Step 2, keep the oven temperature low (200°F) to prevent browning. Stir every 30 minutes to ensure even drying. The rice is ready when it’s hard and makes a cracking sound.
Puffing with Precision: For Step 3, heat the oil to the correct temperature (375°F) for perfect puffing. Test with a single grain of rice – if it puffs immediately, the oil is ready. Be cautious when adding rice to hot oil as it will puff up quickly.
Seasoning Secrets: In Step 4, season the puffed rice while it’s still warm for the best flavor absorption. Experiment with different seasonings like garlic powder, chili powder, or dried herbs to create unique flavor variations. 🔥
Nutrition Facts
120kcal
This puffed brown rice recipe is a fantastic snack option that’s both crunchy and nutritious. You’ll love that it’s made with simple ingredients and can be ready in just a few minutes. The best part is that it’s a great way to enjoy brown rice in a new and exciting form.
The nutrition facts for this recipe show that it’s low in fat and calories, making it a great choice for those looking for a healthy snack. You’ll get a good amount of dietary fiber from the brown rice, which can help support digestive health. The recipe is also very low in sodium.
Enjoy this puffed brown rice in moderation as part of a balanced diet. You can season it with your favorite spices to add flavor without adding extra calories. It’s perfect for munching on its own or using as a topping for salads or yogurt parfaits.
[recipe_ingredient_scaler]

Trained in classic French technique but raised on slow-cooked ribs and spicy rubs, she blends culinary skill with smoke and soul.
- Recipe for Boneless Pork Chops in Cast Iron Skillet: Sear and Baste to Juicy Perfection - October 3, 2026
- Recipe for Boneless Cross Rib Roast: Slow-Roasted Beef with Herb Crust - October 3, 2026
- Hamburgers in Sauce Recipe Crock Pot: Slow-Cooked Savory Delight - October 3, 2026