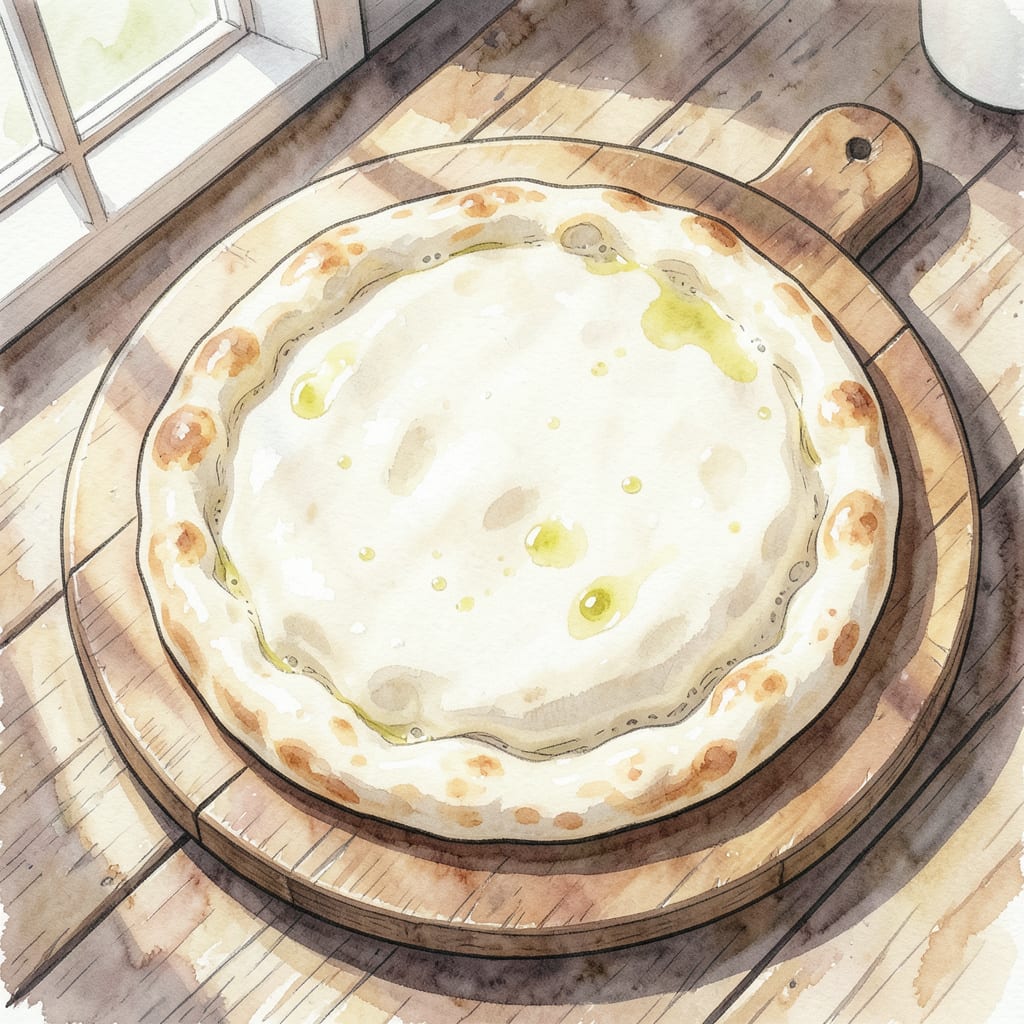
I’ve perfected my puffy pizza dough recipe through years of experimentation, and it’s a game-changer. The secret lies in slow fermentation and precise temperature control, resulting in a crust that’s both light and airy.
This dough recipe yields a perfectly crispy exterior while maintaining a tender interior. With a rise time of just 1 hour and a bake time of 12-15 minutes at 450°F, you’ll achieve restaurant-quality results at home. Let’s get started!
Ingredients for Puffy Pizza Dough
Basic pantry staples come together to create this puffy pizza dough masterpiece every time.
| Ingredient | Amount | Notes |
|---|---|---|
| All-Purpose Flour 🌾 | 2 ½ cups | Unbleached, unbromated preferred |
| Active Dry Yeast 🍞 | 1 tsp | Instant yeast works too |
| Salt 🧂 | 1 tsp | Kosher or sea salt |
| Sugar 🍮 | 1 tbsp | Granulated white sugar |
| Olive Oil 🫒 | 2 tbsp | Extra-virgin for richness |
| Warm Water 💧 | 1 cup | About 100°F to 110°F |
[recipe_ingredient_scaler]
The flour matters here. King Arthur or Bob’s Red Mill all-purpose works beautifully—look for unbleached, unbromated. I prefer King Arthur for its consistent protein content. If you’re near a Whole Foods, their store brand is a good backup. Don’t overwork the dough; just mix until it comes together in a shaggy mess.
No instant yeast? Active dry yeast is fine, just dissolve it in warm water first. Want a bit more flavor? Garlic powder or dried herbs in the dough can be nice. If you find the dough too sticky, add flour a tablespoon at a time—don’t overdo it. The olive oil helps with browning and gives a richer crust.
This dough keeps well in the fridge for up to 3 days. Let it come to room temp before shaping. Freeze portions on a baking sheet, then transfer to a freezer bag for up to 3 months. Thaw overnight in the fridge. Simple, right?
Step-by-Step Instructions for Puffy Pizza Dough
Here’s the method for creating a light and airy pizza crust that’s sure to impress.
Step 1: Mix Dry Ingredients and Activate Yeast
In a large mixing bowl, combine the 2.5 cups All-Purpose Flour, 1 tsp Sugar, and 1 tsp Active Dry Yeast. I like to whisk these dry ingredients together first to ensure they’re evenly distributed. The sugar helps feed the yeast, promoting a good rise.
Next, add the 1 cup Warm Water to the dry ingredients. The water should be between 100°F and 110°F – this temperature range is ideal for activating the yeast without killing it. Mix until the dough starts to come together.
Step 2: Knead the Dough to Develop Gluten
Add the 2 tbsp Olive Oil and 1 tsp Salt to the dough mixture. I use a stand mixer with a dough hook attachment for this step, but you can do it by hand with a wooden spoon and some elbow grease. Knead the dough for about 10 minutes until it becomes smooth and elastic. You’ll know it’s ready when it passes the “windowpane test” – stretch a small piece thin enough to see light through it.
During kneading, the dough will transform from a shaggy mess to a cohesive, slightly sticky ball. If it’s too dry, add a splash of warm water; if it’s too wet, sprinkle in a bit more flour. The goal is a dough that’s smooth and slightly tacky to the touch.
Step 3: Let the Dough Rise to Perfection
Transfer the dough to a lightly oiled bowl, turning it to coat evenly. Cover with plastic wrap or a damp kitchen towel and let it rise in a warm, draft-free place. I like to use my oven with the light on – it provides gentle warmth without overheating the dough. Let it rise for about 1-2 hours, or until it has doubled in size.
You’ll know the dough is ready when it springs back slowly when pressed gently with a finger. This rise time is crucial for developing that light, airy texture we want in our pizza crust. Don’t rush it – letting it rise fully will make all the difference in the final product.
Step 4: Shape and Prepare for Baking
Once risen, punch down the dough gently to release any large air bubbles. Turn it out onto a lightly floured surface and divide into 4 equal portions for individual pizzas. Shape each portion into a ball and then flatten into disks using your hands or a rolling pin.
Place the shaped dough on a lightly floured pizza peel or baking sheet. Top with your favorite ingredients and bake in a preheated oven at 450°F for 12-15 minutes, or until the crust is golden brown and puffy. Keep an eye on it – oven temperatures can vary, and you want that perfect golden color.
Perfect Pairings for This Recipe
Classic Italian Pairings
A traditional Italian feast featuring Margherita or Prosciutto e Funghi pizzas pairs beautifully with a simple green salad dressed with lemon vinaigrette. The bright acidity cuts through the richness of the pizza. I often add some cherry tomatoes and fresh basil to the salad for extra flavor. 🥗
Wine Companion
Pinot Grigio or Vermentino are excellent wine choices to complement your puffy pizza. Their crisp acidity and citrus notes enhance the flavors of your pizza toppings. For a red wine option, a light-bodied Valpolicella works well, especially with meat-topped pizzas. The moderate tannins help balance the richness. 🍷
Side Dishes to Enhance
Roasted vegetables like eggplant, zucchini, or bell peppers make great side dishes. Simply toss them with olive oil, salt, and pepper, and roast at 400°F for 20-25 minutes until tender. Garlic bread is another classic pairing—just be sure to use a crusty bread. I like to sprinkle some parmesan cheese on top for extra flavor. 🔥
Dessert Pairings
Finish your meal with a classic Italian dessert like Tiramisù or Panna Cotta. The creamy texture and sweetness provide a nice contrast to the savory pizza. If you prefer something lighter, a fruit salad with seasonal fruits such as berries or citrus is refreshing. I often add a drizzle of honey for a touch of sweetness.
Nutrition Facts

Trained in classic French technique but raised on slow-cooked ribs and spicy rubs, she blends culinary skill with smoke and soul.
- Recipe for Boneless Pork Chops in Cast Iron Skillet: Sear and Baste to Juicy Perfection - October 3, 2026
- Recipe for Boneless Cross Rib Roast: Slow-Roasted Beef with Herb Crust - October 3, 2026
- Hamburgers in Sauce Recipe Crock Pot: Slow-Cooked Savory Delight - October 3, 2026