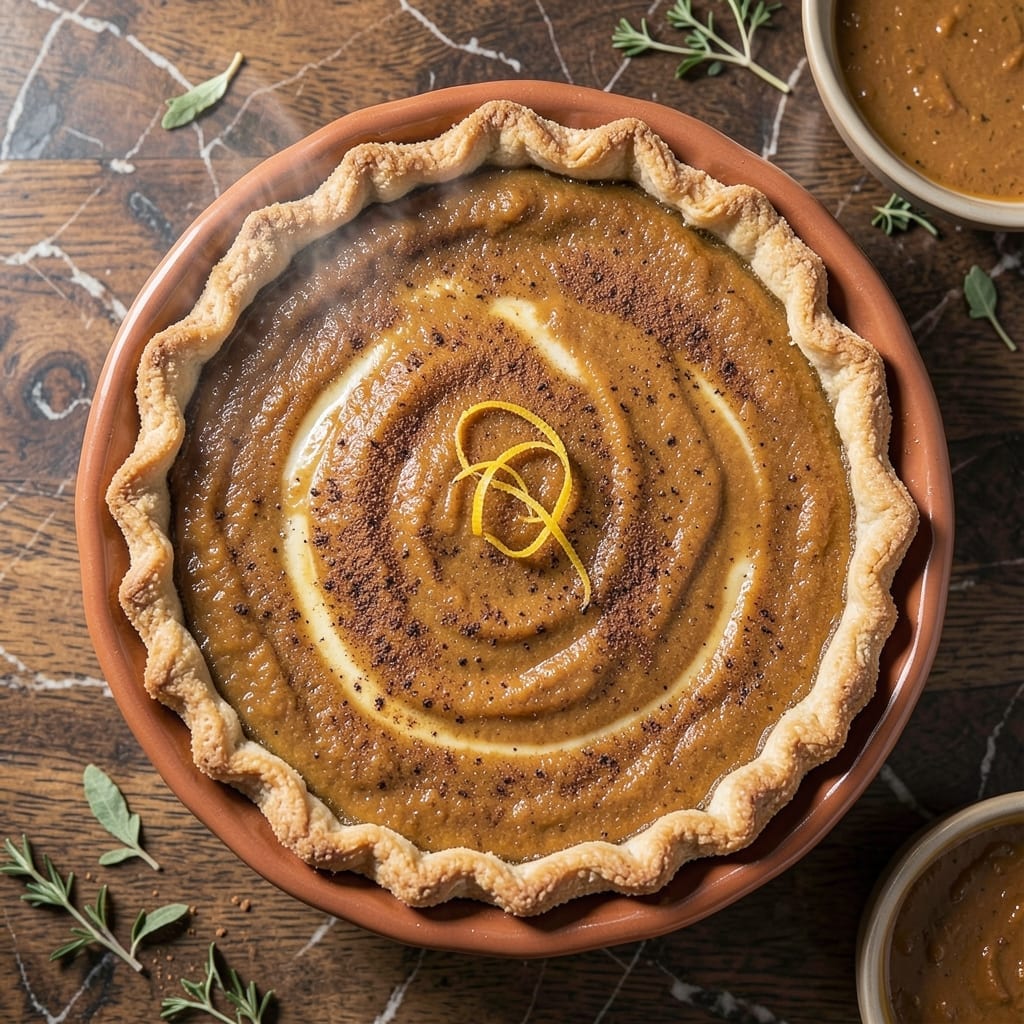
This classic pumpkin pie delivers the perfect balance of warm spices and creamy custard texture that defines holiday dessert perfection.
The secret lies in using evaporated milk to create a velvety filling that sets beautifully while maintaining that signature smooth consistency we all love.
Ingredients for Pumpkin Pie Recipe with Evaporated Milk
A handful of pantry spices and canned pumpkin create that nostalgic holiday dessert everyone craves.
| Ingredient | Amount | Notes |
|---|---|---|
| Canned Pumpkin Puree 🎃 | 15 oz | Not pumpkin pie filling |
| Evaporated Milk 🥛 | 12 oz | Whole milk variety preferred |
| Granulated Sugar 🍚 | ¾ cup | Fine white sugar |
| Brown Sugar 🟤 | ¼ cup | Light or dark variety |
| Large Eggs 🥚 | 2 whole | Room temperature preferred |
| Ground Cinnamon 🌿 | 1 tsp | Freshly ground for best flavor |
| Ground Ginger 🌿 | ½ tsp | Powdered ginger root |
| Ground Nutmeg 🌰 | ¼ tsp | Freshly grated preferred |
| Ground Cloves 🌿 | ¼ tsp | Use sparingly for warmth |
| Salt 🧂 | ½ tsp | Fine table salt |
| Unbaked Pie Crust 🥧 | 1 piece | 9-inch deep dish preferred |
| Vanilla Extract 🌿 | 1 tsp | Pure vanilla for best flavor |
[recipe_ingredient_scaler]
The evaporated milk is non-negotiable here—Nestlé Carnation is the classic choice, but any brand works. The pumpkin puree must be plain, not the pre-spiced pie filling (check the label). I always grab Libby’s at the grocery store—consistent texture, no surprises. The spices should be fresh; if your cinnamon smells weak, it’s time for a new jar.
No evaporated milk? Heavy cream reduced by half gets close, but the texture won’t be quite the same. Brown sugar can be swapped for all granulated (add 1 tbsp molasses for depth). Missing a spice? Pumpkin pie spice blend at 1.5 tsp covers cinnamon, ginger, nutmeg, and cloves. The crust can be homemade or store-bought—Pillsbury in the red box works perfectly.
The filling can be mixed 1 day ahead—cover and refrigerate. Baked pie keeps 3-4 days at room temperature (the crust softens in the fridge). Freeze slices for up to 2 months (thaw overnight before serving). Always let it cool completely before slicing for clean pieces.
Why You’ll Love This Recipe
- One Bowl Wonder: I love that I can mix everything—pumpkin, evaporated milk, sugars, eggs—right in one bowl, no fancy tools needed.
- Creamy Perfection: The evaporated milk gives it that ultra-smooth, rich texture that store-bought pies just can’t match.
- Holiday Staple: Between us, this is my go-to for Thanksgiving and friendsgiving—always disappears first.
- Budget Friendly: Honestly, canned pumpkin and evaporated milk keep it affordable without sacrificing that classic pie taste.
Step-by-Step Instructions for Pumpkin Pie With Evaporated Milk
Here’s my time-tested method for a custard filling that’s rich, smooth, and perfectly spiced every time.
Step 1: Preheat and Prepare the Crust
Start by preheating your oven to 425°F. While it heats, fit the unbaked pie crust into a 9-inch deep dish pie plate, pressing it gently into the bottom and up the sides. Crimp the edges decoratively or simply press them with a fork.
I like to dock the crust by pricking the bottom and sides all over with a fork—this prevents air pockets from forming during blind baking. Place the prepared crust in the refrigerator to chill while you make the filling. A cold crust holds its shape better when baked.
Step 2: Whisk Wet Ingredients Until Smooth
In a large mixing bowl, combine the 15 oz canned pumpkin puree, 0.75 cup granulated sugar, and 0.25 cup brown sugar. Whisk vigorously until the sugars dissolve completely and the mixture looks uniform—this ensures no grainy texture in your finished pie.
Add the 2 whole large eggs and 12 oz evaporated milk, then whisk again until fully incorporated. The mixture should be smooth and slightly thick, with no streaks of egg or milk visible. This is the base of your custard, so take your time here.
Step 3: Season and Flavor the Filling
Sprinkle in the 1 tsp ground cinnamon, 0.5 tsp ground ginger, 0.25 tsp ground nutmeg, 0.25 tsp ground cloves, and 0.5 tsp salt. Whisk these spices into the pumpkin mixture until fully combined and fragrant. These warm spices are the soul of the dish—make sure they’re evenly distributed.
Finally, stir in the 1 tsp vanilla extract. The vanilla enhances the natural sweetness of the pumpkin and rounds out the spice blend. Taste the filling and adjust seasoning if needed, though remember the flavors will deepen during baking.
Step 4: Bake Until Set with a Slight Wobble
Pour the filling into the chilled pie crust. To prevent over-browning, I like to cover the crust edges with a pie shield or strips of aluminum foil. Bake at 425°F for 15 minutes, then reduce the heat to 350°F and bake for another 40-50 minutes.
The pie is done when the edges are set but the center still has a slight wobble—about 2-3 inches in the middle should jiggle gently when you nudge the pan. Overbaking leads to a dry, cracked filling, so pull it out just as the center begins to set.
Step 5: Cool Completely Before Serving
Transfer the pie to a wire rack and let it cool completely at room temperature for at least 2 hours. This cooling time is non-negotiable—it allows the custard to set fully and develop its signature velvety texture. Slicing too soon will result in a runny filling.
Once cooled, the pie can be served immediately or refrigerated for up to 2 days. I recommend bringing it to room temperature before serving for the best flavor and texture. The top should be smooth and lightly browned, with a firm but silky interior.
Pro Tips For Making Pumpkin Pie Recipe With Evaporated Milk
- Pre-bake the crust: Blind-bake your pie crust for 8-10 minutes at 375°F before adding the filling—I learned this the hard way after too many soggy bottoms ruined my pies.
- Warm the evaporated milk: Take the chill off the evaporated milk by microwaving it for 20-30 seconds before mixing, or it can cause the eggs to curdle when combined.
- Don’t overmix the filling: Whisk just until the eggs, pumpkin, and sugars are fully incorporated—overmixing adds air that can make the pie puff up and then sink as it cools.
- Pull it early: The pie should still have a slight jiggle in the center when you take it out; it’ll finish setting as it cools on the rack, and you’ll avoid that dreaded cracked top.
Pro Cooking Tips for pumpkin pie recipe with evaporated milk
Mixing Order Matters
Always whisk the pumpkin puree with sugars first until completely smooth. This prevents grainy texture in your finished pie. I learned this the hard way after my first attempt had little sugar crystals throughout.
Room Temperature Ingredients
Let your eggs and evaporated milk sit out for 30 minutes before mixing. Cold ingredients can cause the custard to separate slightly, affecting that velvety texture we’re after. 💡
Spice Bloom Technique
Lightly toast the cinnamon, ginger, and nutmeg in a dry pan for 30 seconds before adding to the filling. This wakes up the oils and makes the flavors more vibrant, especially if your spices aren’t super fresh.
Baking Surface Trick
Place your pie on a preheated baking steel or pizza stone in the oven. This ensures even heat distribution from the bottom, preventing soggy crust. I use my Lodge cast iron griddle for this.
Doneness Test
The center should jiggle like Jell-O when gently shaken. Use a toothpick test—insert 1 inch from the edge. Clean toothpick means it’s done, but that center wobble is perfect.
Cooling Hack
After 2 hours on the rack, move to the fridge for 30 minutes to speed up setting. This helps if you’re short on time but still want clean slices. Never skip cooling completely—it’s what makes the texture magical. 🥧
Nutrition Facts
Frequently Asked Questions
Can I use regular milk instead of evaporated?
No, regular milk won’t give the same rich, creamy texture. Evaporated milk has 60% less water, which helps create that signature velvety custard. You can substitute with half-and-half reduced by half, but expect slight differences.
Why does my pie crack on top?
Cracking usually means overbaking. Pull it out when the center still has a slight wobble—it sets as it cools. Also, avoid opening the oven door during the first 30 minutes of baking.
Can I make this without eggs?
Eggs are essential for the custard structure. For an egg-free version, try a recipe specifically designed with cornstarch or arrowroot as thickeners. The texture won’t be identical.
How far ahead can I bake this?
The pie stays fresh for 2 days at room temperature. For longer storage, refrigerate for up to 4 days or freeze slices for 2 months. Thaw overnight before serving.

Trained in classic French technique but raised on slow-cooked ribs and spicy rubs, she blends culinary skill with smoke and soul.
- Recipe for Boneless Pork Chops in Cast Iron Skillet: Sear and Baste to Juicy Perfection - October 3, 2026
- Recipe for Boneless Cross Rib Roast: Slow-Roasted Beef with Herb Crust - October 3, 2026
- Hamburgers in Sauce Recipe Crock Pot: Slow-Cooked Savory Delight - October 3, 2026