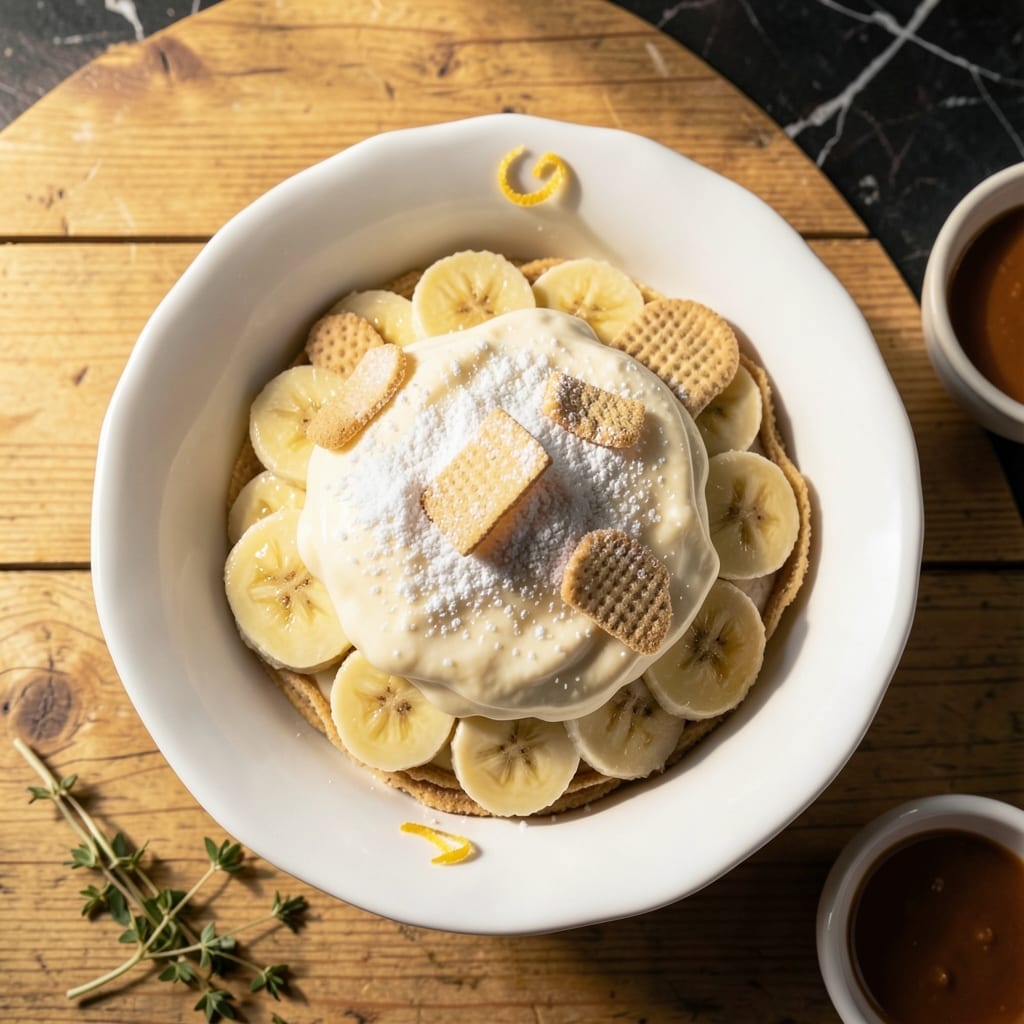
This timeless dessert delivers creamy layers of vanilla custard, fresh bananas, and vanilla wafers for a classic treat that never disappoints.
I’ve perfected the layering technique to ensure every bite combines soft cookies, sweet fruit, and velvety pudding in perfect harmony.
Ingredients for Recipe for Banana Pudding with Vanilla Wafers
Classic ingredients for a timeless dessert everyone loves at first bite.
| Ingredient | Amount | Notes |
|---|---|---|
| Vanilla Wafers 🍪 | 12 oz | About 48 wafers, full box |
| Granulated Sugar 🍚 | 1 ½ cups | Divided for custard and meringue |
| All-Purpose Flour 🌾 | ¼ cup | For thickening custard |
| Salt 🧂 | ¼ tsp | Fine grain preferred |
| Large Eggs 🥚 | 5 whole | Separated, room temperature |
| Whole Milk 🥛 | 2 cups | Full-fat for creaminess |
| Vanilla Extract 🌿 | 2 tsp | Pure extract preferred |
| Unsalted Butter 🧈 | 2 tbsp | Melted for custard |
| Ripe Bananas 🍌 | 4 whole | Sliced just before layering |
| Heavy Cream 🥛 | ½ cup | For whipped topping optional |
[recipe_ingredient_scaler]
The vanilla wafers are non-negotiable—Nilla Wafers are the gold standard here, found in any grocery store baking aisle. For the custard, full-fat whole milk delivers that velvety texture mentioned in the intro. I recommend organic eggs for richer color and flavor, and always check the date on your vanilla extract. A good pure extract (like McCormick) makes a noticeable difference in the final custard depth.
No whole milk? 2% works in a pinch but the custard won’t be as luxurious. For a quicker version, vanilla pudding mix can replace the homemade custard—just follow package instructions. Bananas should be ripe but firm (yellow with some brown speckles). If using heavy cream for topping, whip it just before serving to prevent weeping. The flour can be swapped for cornstarch at a 1:1 ratio if preferred.
Assemble this 1-2 hours before serving so the wafers soften properly. Keeps covered in the fridge for up to 3 days—though it’s best the first day. Bananas may brown slightly, but the flavor stays perfect. Leftovers? Doubt there will be any.
Why You’ll Love This Recipe
- No-Bake Layers: That creamy custard comes together on the stovetop while I line the dish with vanilla wafers—no oven required.
- Sweet Nostalgia: The combination of soft bananas, crispy vanilla wafers, and rich custard tastes like my grandma’s kitchen.
- Potluck MVP: I bring this to every picnic and it’s always the first dish gone, especially when I add a little whipped cream on top.
- Budget Dessert: A box of vanilla wafers and a few eggs make this feel indulgent without breaking the bank. Honestly, it’s my go-to for sweet cravings on a dime.
Step-by-Step Instructions for Banana Pudding With Vanilla Wafers
Master this classic technique for velvety custard and perfectly layered texture every time.
Step 1: Prepare the Custard Base
In a medium saucepan, whisk together 1.5 cups granulated sugar, 0.25 cup all-purpose flour, and 0.25 tsp salt until no lumps remain. This dry blend ensures even distribution and prevents clumping when liquid is added.
Gradually whisk in 2 cups whole milk until smooth. The mixture should look like thin pancake batter. Place the saucepan over medium heat and cook, stirring constantly, until the mixture begins to thicken and bubble around the edges—about 5-7 minutes.
Step 2: Temper and Cook the Eggs
In a separate bowl, lightly beat 5 whole large eggs. Slowly pour about 1 cup of the hot milk mixture into the eggs while whisking vigorously—this tempers the eggs and prevents curdling. Return the tempered egg mixture to the saucepan.
Cook over medium-low heat for an additional 3-5 minutes, stirring constantly, until the custard thickens enough to coat the back of a spoon. Remove from heat and stir in 2 tbsp unsalted butter and 2 tsp vanilla extract until fully melted and incorporated.
The custard should be rich and glossy, with a consistency similar to thick pudding. Let it cool for 10 minutes, stirring occasionally to prevent a skin from forming.
Step 3: Layer the Pudding Components
Begin assembling the pudding in a 9×13-inch baking dish or individual serving glasses. Start with a layer of 12 oz vanilla wafers, arranging them in a single, even layer to cover the bottom completely.
Slice 4 whole ripe bananas just before layering to prevent browning. Arrange half the banana slices over the vanilla wafers. Pour half the cooled custard over the bananas, spreading it evenly to the edges.
Repeat with another layer of vanilla wafers, remaining banana slices, and the rest of the custard. The top layer should be custard, ensuring the vanilla wafers soften evenly as the pudding sets.
Step 4: Chill and Set
Cover the dish with plastic wrap, pressing it directly onto the surface of the pudding to prevent a skin from forming. Refrigerate for at least 4 hours, or preferably overnight, to allow the flavors to meld and the custard to fully set.
As the pudding chills, the vanilla wafers will absorb moisture from the custard and bananas, creating that signature soft, cake-like texture. The pudding is ready when the layers are distinct but cohesive, and the custard holds its shape when served.
Step 5: Finish with Whipped Cream
Just before serving, whip 0.5 cup heavy cream to soft peaks and spread or dollop it over the top of the pudding. The whipped cream adds a light, airy contrast to the rich, creamy layers below.
For a classic presentation, garnish with additional vanilla wafer crumbs or a few thin banana slices. Serve chilled, ensuring each portion includes all the layers for the full experience of this timeless dessert.
Pro Tips For Making Recipe For Banana Pudding With Vanilla Wafers
- Chill the layers: After assembling each layer of wafers, bananas, and pudding, refrigerate for at least 30 minutes—this keeps the wafers crisp and prevents sogginess. I learned this the hard way after my first attempt turned into a mushy mess.
- Use ripe bananas: Pick bananas with brown speckles for maximum sweetness and creaminess. Sounds obvious, but I’ve ruined batches by using underripe ones that stayed firm and bland.
- Temper the eggs: Slowly mix a bit of the hot custard into the beaten eggs before adding them back in—this prevents scrambled egg bits in your pudding. After burning three batches, I finally figured out this step matters most.
- Soak the wafers: Lightly dip each vanilla wafer in milk for 2-3 seconds before layering. It softens them just enough without turning them to mush—yes, even if you’re impatient like me.
Creative Variations of This Recipe
Chocolate Lovers Twist
Swap half the vanilla wafers for chocolate wafer cookies and add 2 tbsp cocoa powder to the custard mixture. This creates rich chocolate layers that pair beautifully with the bananas. I love using Oreo Thins for this variation.
Tropical Paradise Version
Add 1 cup toasted coconut flakes between layers and top with crushed pineapple for a tropical twist. The coconut adds texture while the pineapple brings a bright contrast to the creamy custard. Use sweetened coconut for best results.
Peanut Butter Delight
Spread ¼ cup peanut butter between each wafer layer before adding bananas. The nutty flavor complements the custard perfectly. I recommend Jif Natural for its smooth texture and balanced sweetness.
Boozy Adult Variation
Stir 2 tbsp bourbon into the cooled custard before layering. The alcohol bakes off during cooking but leaves a warm, caramel-like depth. Maker’s Mark works particularly well here. 🥃
No-Bake Cheater Method
Use 2 boxes instant vanilla pudding (prepared with 3 cups cold milk) instead of homemade custard. Layer as directed and chill for 2 hours. This version works in a pinch when time is tight.
Mini Mason Jar Servings
Create individual portions in 8-oz mason jars for easy serving. Layer 3 wafers, 2 banana slices, and 2 tbsp custard in each jar. These make perfect grab-and-go desserts for picnics. 💛
Nutrition Facts
Frequently Asked Questions
Can I make this ahead of time?
In fact, it tastes best after 4 hours or overnight in the fridge. This gives the wafers time to soften and absorb the custard flavors perfectly.
What if my custard turns lumpy?
Don’t worry—just whisk vigorously while cooking over medium-low heat. If lumps persist, strain through a fine mesh sieve before layering. Smooth custard is key for that velvety texture.
Can I use a different cookie?
Yes, but vanilla wafers are traditional. For variation, try shortbread or graham crackers. Just ensure they’re thin enough to soften properly during chilling.
How do I prevent banana browning?
Slice bananas just before layering and press plastic wrap directly on the pudding surface. A squeeze of lemon juice on the slices can also help preserve color.

Trained in classic French technique but raised on slow-cooked ribs and spicy rubs, she blends culinary skill with smoke and soul.
- Recipe for Boneless Pork Chops in Cast Iron Skillet: Sear and Baste to Juicy Perfection - October 3, 2026
- Recipe for Boneless Cross Rib Roast: Slow-Roasted Beef with Herb Crust - October 3, 2026
- Hamburgers in Sauce Recipe Crock Pot: Slow-Cooked Savory Delight - October 3, 2026