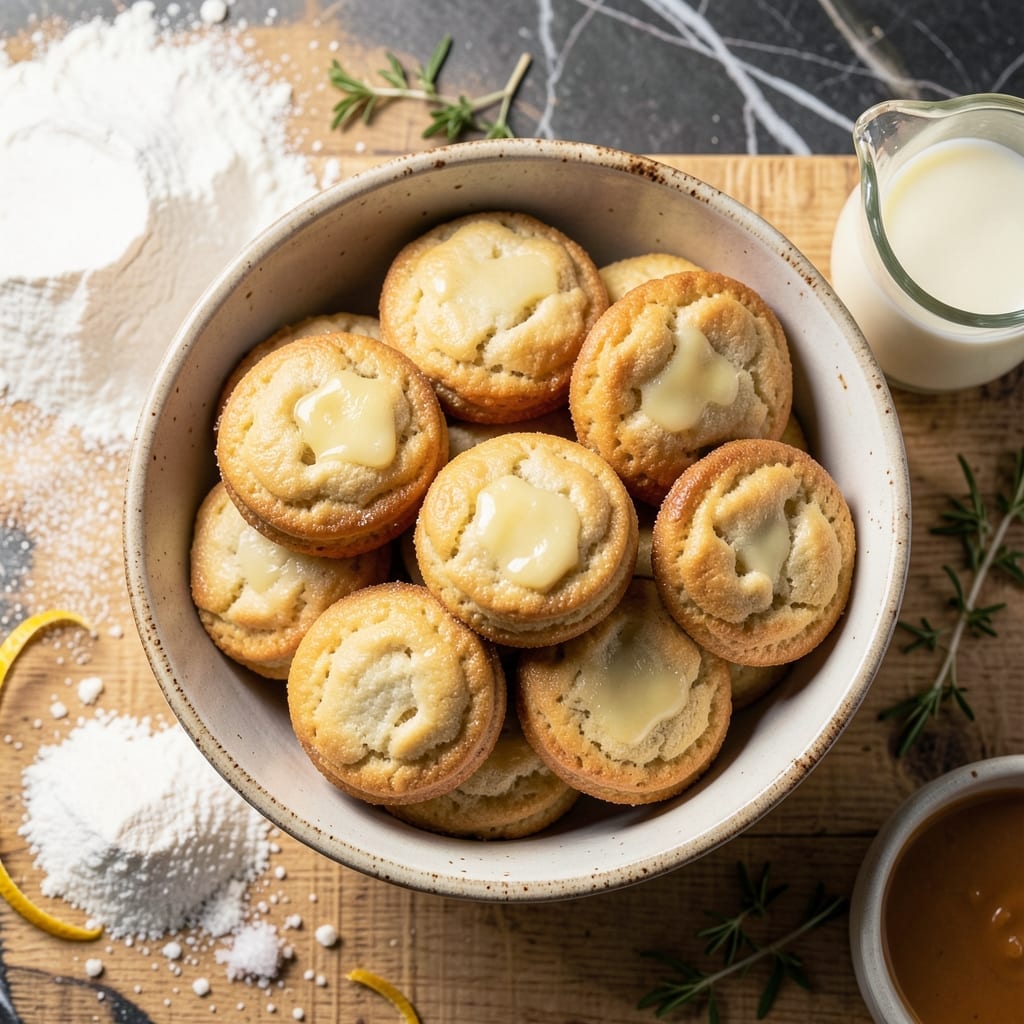
There’s a simple magic to homemade biscuits that store-bought versions can’t match. This proven method delivers flaky layers and a perfectly golden crust every time.
Cold butter and minimal handling are the secrets. The technique creates pockets of steam in the dough, resulting in tall, tender biscuits with distinct layers.
Ingredients for Recipe for Biscuits Made with Butter
Cold butter and minimal handling create those signature flaky layers and golden crust.
| Ingredient | Amount | Notes |
|---|---|---|
| All-Purpose Flour 🌾 | 2 cups | Plus extra for dusting surface |
| Baking Powder 🧂 | 1 tbsp | Aluminum-free for best flavor |
| Granulated Sugar 🍚 | 1 tbsp | Balances the richness |
| Salt 🧂 | 1 tsp | Fine sea salt preferred |
| Unsalted Butter 🧈 | ½ cup | Cold, cut into small cubes |
| Whole Milk 🥛 | ¾ cup | Cold, for flaky texture |
| Heavy Cream 🥛 | 2 tbsp | For brushing tops before baking |
| Baking Soda 🧂 | ¼ tsp | Enhances rise and browning |
[recipe_ingredient_scaler]
The butter is critical for achieving the flaky texture. Use high-quality unsalted butter like Plugrá or Land O’Lakes—their fat content is consistent. Keep it ice-cold; if it starts to soften, chill the dough for 10 minutes. All-purpose flour with a protein content around 10-12% works best here. Avoid self-rising flour as it contains added leavening agents that can throw off the balance.
No whole milk? Buttermilk at the same amount adds tang and tenderness (skip the baking soda if using buttermilk). For a richer flavor, substitute half-and-half. If avoiding dairy, unsweetened almond milk with 1 tsp lemon juice works, though the texture will be slightly denser. The baking powder must be fresh—test it by dropping a teaspoon in hot water; it should bubble vigorously.
Store biscuits in an airtight container at room temperature for up to 2 days. For longer storage, freeze unbaked biscuits on a tray, then transfer to a bag—they’ll keep for 3 months. Reheat in a 350°F oven for 10-12 minutes to restore that just-baked flakiness.
Why You’ll Love This Recipe
- One Bowl Wonder: I just dump everything in a single bowl—flour, baking powder, sugar, salt, and cold butter—then mix and bake. No fancy steps.
- Buttery Heaven: Honestly, the rich taste of real butter in these biscuits beats any shortcut. That flaky, golden crust? Worth every calorie.
- Breakfast to Dinner: I serve these with jam at breakfast, alongside soup for lunch, or as a side at dinner. Between us, they disappear fast every time.
- Pocket Friendly: All-purpose flour and butter are pantry staples, so I can make these without a special grocery trip. My wallet thanks me.
Step-by-Step Instructions for Butter Biscuits
Achieve perfect flakiness with this precise method for consistently tender, golden biscuits.
Step 1: Combine Dry Ingredients and Cut in Cold Butter
In a large mixing bowl, whisk together the 2 cups All-Purpose Flour, 1 tbsp Baking Powder, 1 tbsp Granulated Sugar, 1 tsp Salt, and 0.25 tsp Baking Soda until evenly distributed. This ensures the leavening agents are properly incorporated throughout the dough.
Add the 0.5 cup Unsalted Butter (cut into small cubes and kept cold) to the flour mixture. Using a pastry cutter or your fingertips, work the butter into the flour until the mixture resembles coarse crumbs with pea-sized butter pieces visible. The key to flaky layers is keeping the butter cold—don’t overwork it or the dough will become tough.
Step 2: Add Milk and Form the Dough
Create a well in the center of the flour-butter mixture and pour in the 0.75 cup Whole Milk. Using a wooden spoon or silicone spatula, gently stir until the dough just comes together. It should be shaggy and slightly sticky—avoid overmixing, as this develops gluten and results in dense biscuits.
Turn the dough out onto a lightly floured surface (using extra All-Purpose Flour for dusting). Gently pat it into a 1-inch thick rectangle. The dough will be soft but manageable. Resist the urge to knead; simply fold it in half once to create layers, then pat it back to 1-inch thickness.
Step 3: Cut and Arrange for Baking
Using a 2.5-inch biscuit cutter, press straight down into the dough (don’t twist—this seals the edges and prevents rising). Gather the scraps, gently re-pat, and cut additional biscuits until all dough is used. You should have about 8-10 biscuits for this 4-serving recipe.
Place the biscuits on a parchment-lined baking sheet, leaving them touching slightly. This encourages them to rise upward rather than outward, creating taller, flakier layers. Brush the tops generously with the 2 tbsp Heavy Cream to promote even browning.
Step 4: Bake Until Golden and Flaky
Preheat your oven to 450°F. Bake the biscuits on the middle rack for 12-15 minutes, or until the tops are deep golden brown and the centers are fully set. Rotate the baking sheet halfway through for even browning if your oven has hot spots.
Check for doneness by breaking one open—the interior should be light and flaky with visible layers. If the tops brown too quickly, tent loosely with foil for the remaining time. Remove from the oven and let cool for 2-3 minutes before serving warm for the best texture.
Pro Tips For Making Recipe For Biscuits Made With Butter
- Chill the Butter: Keep your unsalted butter ice-cold and cube it right before mixing—warm butter melts into the flour and you’ll lose those flaky layers.
- Don’t Overmix: Stir just until the dough comes together; I learned this the hard way after my first few batches turned out tough as hockey pucks.
- Use Fresh Baking Powder: If your baking powder’s been sitting in the cupboard for a year, test it in hot water first—old powder won’t give your biscuits that lift.
- Fold, Don’t Press: When shaping, gently fold the dough over itself 2-3 times instead of kneading—this creates layers without working the gluten too much.
Storing and Reheating recipe for biscuits made with butter
🍳 Refrigerator Storage
To keep your biscuits fresh for a few days, store them in an airtight container or a resealable plastic bag. They’ll stay soft and delicious at room temperature for about 1-2 days, but for longer freshness, pop them in the fridge. Properly stored, they’ll maintain their flavor and texture for 3-4 days. Just
❄️ Freezer Storage
For longer storage, freezing is your best bet. Wrap each biscuit individually in plastic wrap or aluminum foil, then place them in a freezer-safe bag or container. This prevents freezer burn and keeps them tasting fresh. Your butter biscuits will stay in great condition for 2-3 months. When you’re ready to enjoy them, thaw overnight in the fridge or at room temperature for a couple of hours.
🔥 Reheating Methods
To revive your biscuits, the oven is the best choice for restoring that warm, flaky texture. Preheat your oven to 350°F (175°C) and warm them for 5-10 minutes. For a quicker option, use the microwave: wrap a biscuit in a damp paper towel and heat for 15-20 seconds. If you’re feeling adventurous, a smoker at 225°F (107°C) for 10-15 minutes adds a subtle smoky flavor.
💡 Quality Preservation
To preserve moisture and flavor, avoid exposing biscuits to air. If they’ve dried out slightly, brush them with a little melted butter after reheating. For frozen biscuits, thaw them slowly in the fridge to maintain texture. Pro tip: If you plan to freeze, underbake them slightly before storing—they’ll finish cooking perfectly when reheated!
Nutrition Facts

Trained in classic French technique but raised on slow-cooked ribs and spicy rubs, she blends culinary skill with smoke and soul.
- Recipe for Boneless Pork Chops in Cast Iron Skillet: Sear and Baste to Juicy Perfection - October 3, 2026
- Recipe for Boneless Cross Rib Roast: Slow-Roasted Beef with Herb Crust - October 3, 2026
- Hamburgers in Sauce Recipe Crock Pot: Slow-Cooked Savory Delight - October 3, 2026