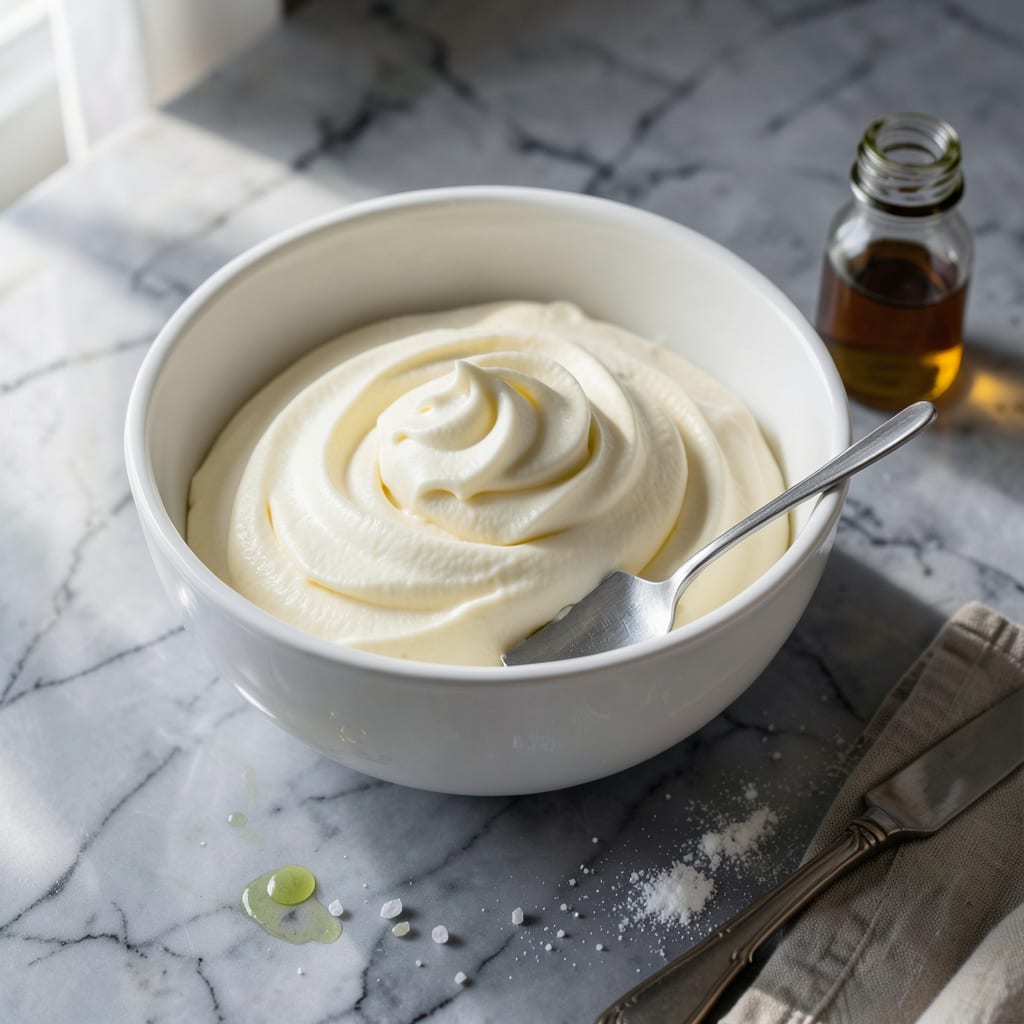
Achieving perfect piped decorations starts with the right buttercream foundation. This recipe delivers the ideal consistency for smooth, stable swirls every time.
With precise ingredient ratios and proper mixing technique, you’ll create a professional-quality icing that holds its shape yet pipes effortlessly through any tip.
Ingredients for Recipe for Buttercream Icing for Piping
Seven ingredients create this professional-grade piping foundation with perfect stability and smooth texture.
| Ingredient | Amount | Notes |
|---|---|---|
| Unsalted Butter 🧈 | 1 cup | Room temperature, high-fat content preferred |
| Powdered Sugar 🍚 | 4 cups | Sifted for smooth texture |
| Whole Milk 🥛 | 2 tbsp | Or heavy cream for richer texture |
| Vanilla Extract 🌿 | 1 tbsp | Pure extract for best flavor |
| Salt 🧂 | ¼ tsp | Fine grain for even distribution |
| Cream of Tartar 🧂 | ½ tsp | Stabilizes for piping consistency |
| Heavy Cream 🥛 | 2 tbsp | Optional for extra stability |
[recipeingredientscaler]
The butter is critical here. Use high-fat European-style (like Plugrá or Kerrygold) for superior texture and flavor. Room temperature means soft but not greasy—press your finger into it and it should leave a slight indentation. Powdered sugar quality matters too; C&H or Domino are reliable brands. Sifting removes lumps for silky smooth icing, which is non-negotiable for clean piping.
No cream of tartar? Lemon juice at half the amount works in a pinch, though the flavor will be slightly different. Milk can be swapped for any dairy milk you have, but avoid low-fat as it can make the icing too thin. For a vegan version, solid coconut oil replaces butter (chill your bowl first), and unsweetened almond milk works for the liquid. Vanilla is vanilla—just ensure it’s the real stuff, not imitation.
Buttercream keeps at room temperature for 2 days (covered, cool environment) or in the fridge for 1 week. Bring to room temperature and re-whip before piping. Freeze portions in airtight containers for up to 3 months—thaw overnight in the fridge before using.
Why You’ll Love This Recipe
- Five-Minute Mix: I can beat this together faster than the oven preheats—just butter, powdered sugar, a splash of milk, and vanilla.
- Velvety Vanilla Punch: That real vanilla extract cuts through the sweetness with a warm, rich depth you can actually taste.
- Pipe Any Celebration: Birthday cakes, cupcakes, even graham crackers for the kids—I’ve used it for all three in one weekend.
- Stays Soft for Days: Honestly, it pipes like a dream straight from the fridge and keeps its shape without turning rock-hard.
Step-by-Step Instructions for Buttercream Icing for Piping
Achieve professional-quality results with this precise method for smooth, stable buttercream every time.
Step 1: Cream the Butter to Ideal Consistency
In a stand mixer fitted with the paddle attachment, beat the 1 cup Unsalted Butter on medium speed for 3-4 minutes until pale and noticeably fluffier. The butter should be completely smooth with no visible lumps and a lighter yellow color.
Room temperature butter is critical here—it should yield slightly when pressed but not be greasy or melted. If your kitchen is warm, briefly chill the bowl and paddle before starting to prevent the butter from overheating during mixing.
This creaming step incorporates air, which creates a lighter base that holds its shape when piped. Stop occasionally to scrape down the sides of the bowl with a silicone spatula to ensure even mixing.
Step 2: Gradually Incorporate Powdered Sugar
Reduce the mixer speed to low and add the 4 cups Powdered Sugar in 1-cup increments, allowing each addition to fully incorporate before adding the next. This prevents a powdered sugar cloud and ensures even distribution without clumping.
After each addition, pause and scrape the bowl. The mixture will appear dry and crumbly at first—this is normal. Resist the urge to add liquid yet; the butter’s moisture will gradually hydrate the sugar.
Once all the powdered sugar is added, increase the speed to medium and beat for 1-2 minutes until the mixture looks like coarse sand with no dry spots remaining.
Step 3: Add Stabilizers and Flavorings
With the mixer still on low speed, add the 0.5 tsp Cream of Tartar, 0.25 tsp Salt, and 1 tbsp Vanilla Extract. The cream of tartar is the secret to piping stability—it strengthens the structure without affecting flavor.
Increase the speed to medium-high and beat for 30 seconds to fully distribute these ingredients. The mixture will still be quite thick and stiff at this point, which is exactly what you want before adding the liquid.
Step 4: Achieve Perfect Piping Consistency
With the mixer on low speed, slowly drizzle in the 2 tbsp Whole Milk and 2 tbsp Heavy Cream in a steady stream. This dual-liquid approach gives you precise control over the final texture—the milk thins while the cream adds richness and stability.
Once all the liquid is added, increase the speed to medium-high and beat for 2-3 minutes until the buttercream is smooth, creamy, and holds soft peaks. Stop the mixer and test the consistency by lifting the paddle—the buttercream should hold a defined peak that slightly droops at the tip.
If it’s too stiff, add additional heavy cream 1 teaspoon at a time. If too thin, add powdered sugar 2 tablespoons at a time. The ideal piping consistency should maintain its shape when piped but still be easy to squeeze through a piping bag.
Use immediately for best results, or store in an airtight container at room temperature for up to 2 days. If storing, rewhip briefly before using to restore the perfect texture.
Pro Tips For Making Recipe For Buttercream Icing For Piping
- Soften the Butter: Pull your butter out 1-2 hours before starting—it should dent when pressed but not be greasy. I learned this the hard way after ruining two batches with melted butter.
- Sift the Sugar: Always sift your powdered sugar first, even if the bag says “pre-sifted.” My grandmother swore by this, and it prevents those annoying little lumps in your piping.
- Skip Cold Milk: Use room temperature milk to prevent seizing the buttercream. After making grainy icing twice, I finally started setting the milk out with the butter.
- Add Salt Last: Mix in the salt at the very end so you can taste and adjust. Sounds weird, but it works—you’ll avoid over-salting if the butter was already salted by mistake.
Essential Equipment for Perfect Results
Must-Have Tools
To achieve flawless buttercream piping, start with a stand mixer like the KitchenAid Artisan for effortless mixing. A paddle attachment ensures smooth, lump-free icing. Don’t forget a spatula to scrape the bowl clean—every bit of buttercream counts!
For piping, invest in a piping bag and a set of Wilton piping tips (round and star tips are versatile). A coupler lets you swap tips without emptying the bag, saving time and mess.
Nice-to-Have
A turntable makes decorating cakes a breeze, while a bench scraper helps smooth sides for a polished look. For precision, a digital scale ensures consistent measurements.
Chill your buttercream quickly with a countertop chiller or use a silicone mat for easy cleanup. These extras elevate your piping game! 🎯
Budget Alternatives
No stand mixer? A hand mixer works fine—just be prepared to put in a little elbow grease. Use a ziplock bag with the corner snipped as a DIY piping bag.
For tips, check thrift stores or online marketplaces for affordable stainless steel tips. A butter knife can even stand in for a bench scraper in a pinch! ✨
Nutrition Facts

Trained in classic French technique but raised on slow-cooked ribs and spicy rubs, she blends culinary skill with smoke and soul.
- Recipe for Boneless Pork Chops in Cast Iron Skillet: Sear and Baste to Juicy Perfection - October 3, 2026
- Recipe for Boneless Cross Rib Roast: Slow-Roasted Beef with Herb Crust - October 3, 2026
- Hamburgers in Sauce Recipe Crock Pot: Slow-Cooked Savory Delight - October 3, 2026